Gobble Til You Wobble, a Thanksgiving Wobble Turkey Paper Toy
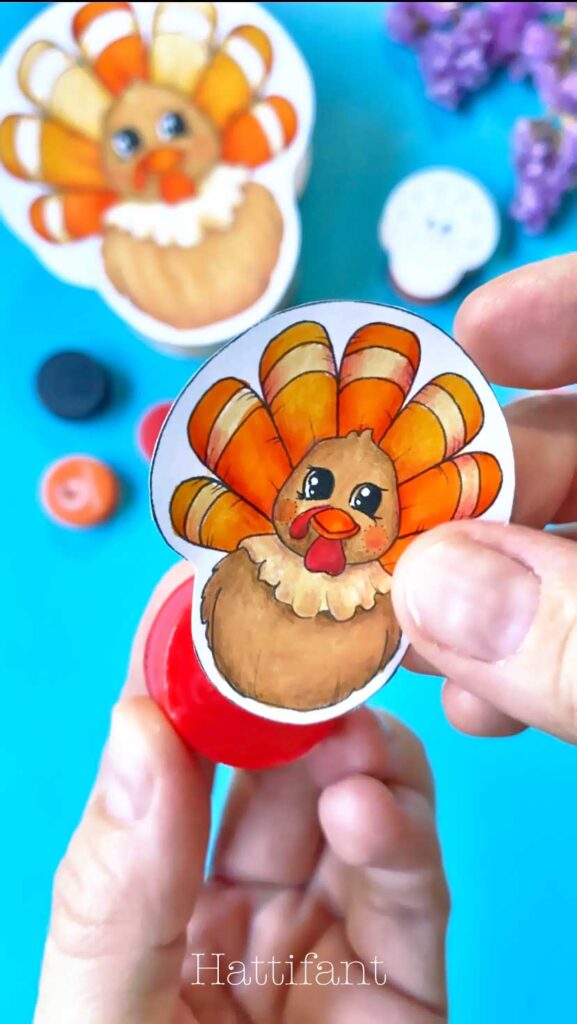
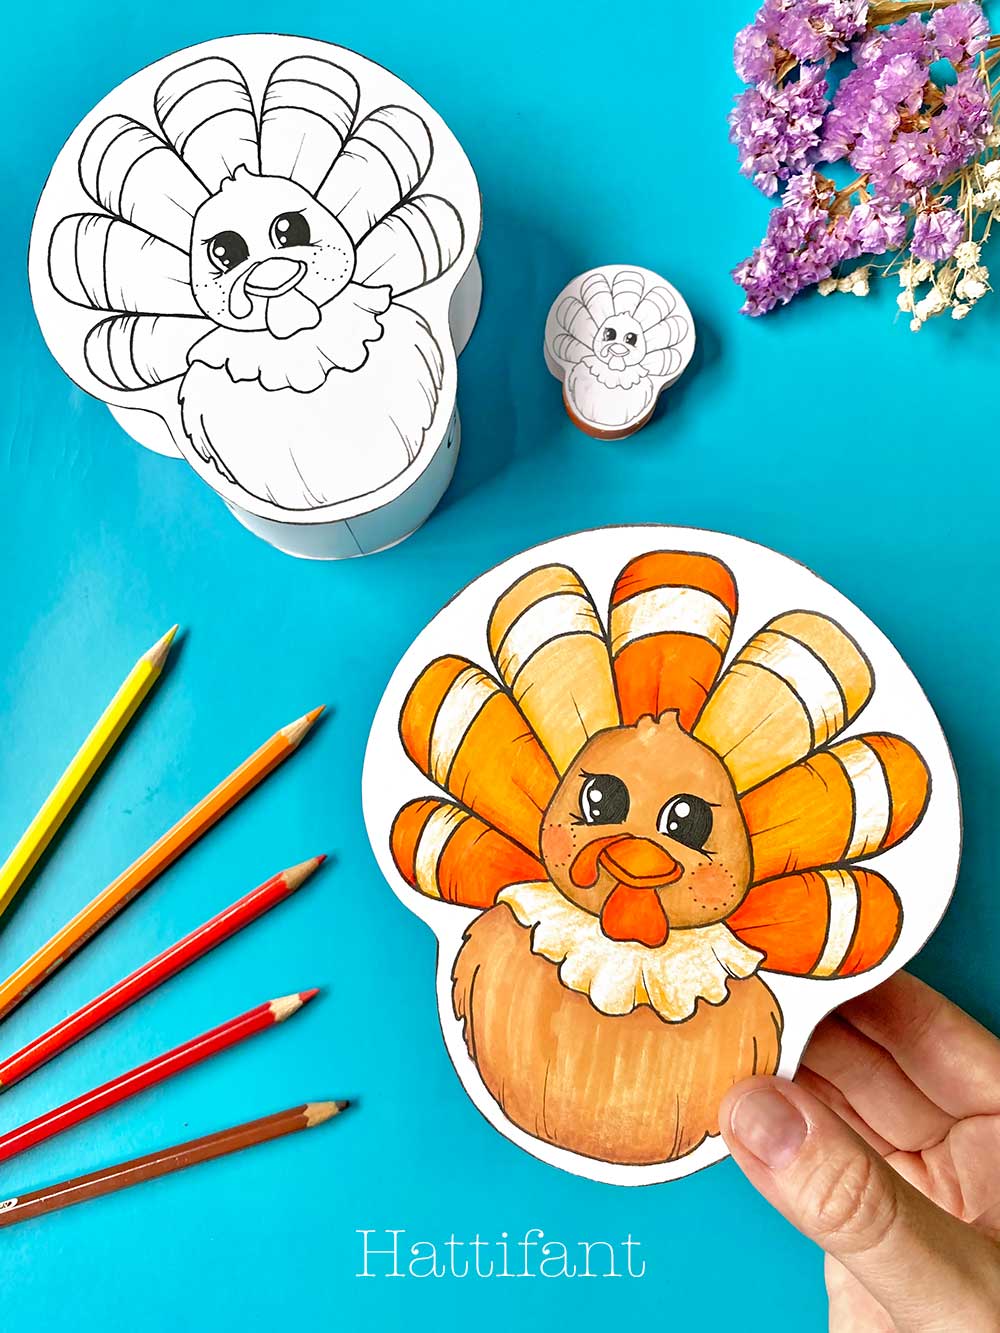
We are heading towards Thanksgiving and with it all things “Turkey”. So here is a fun Thanksgiving Turkey Paper Craft for you: the ‘Gobble Til You Wobble’ Thanksgiving Wobble Turkey Paper Toy! You will love it. Let me show you!
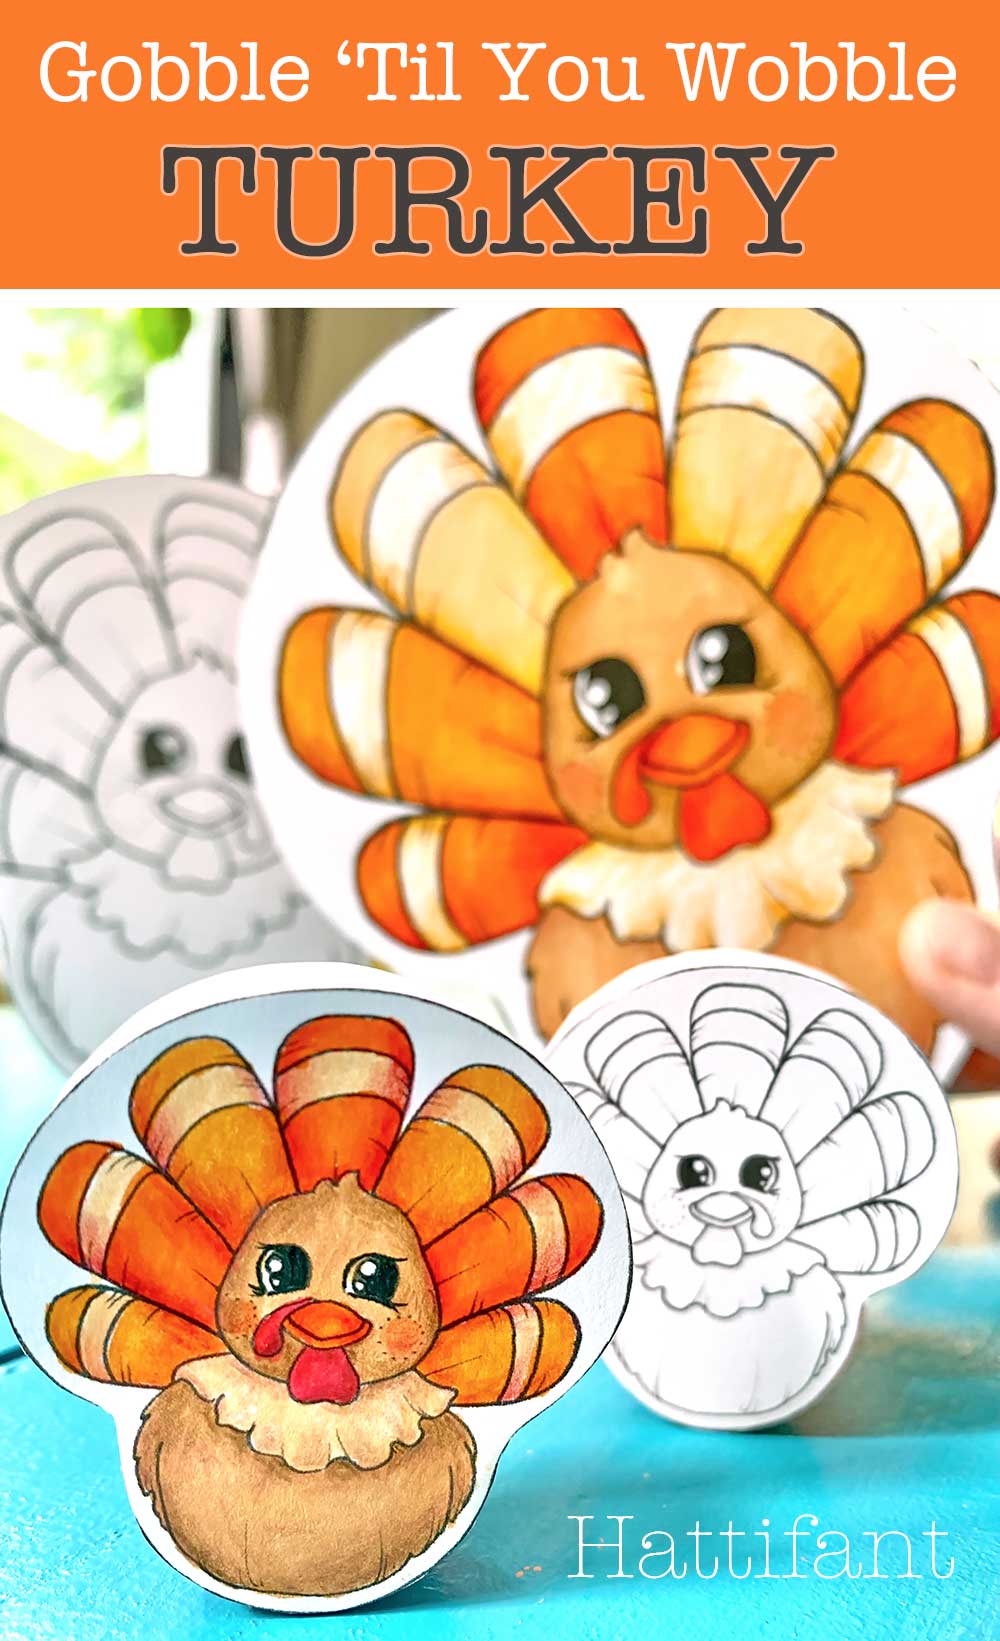
I have created quite a few Fall Paper Crafts as well. This one here is my favorite!
(*Disclosure: I only recommend products I would use myself and all opinions expressed here are my own. This post may contain affiliate links that at no additional cost to you, I may earn a small commission from. Thank you!)
First, you will have to make a mighty choice! Small or BIG Turkey?! I will start with showing you how to make the small turkey! It is made with the help of a small plastic bottle cap!
- small Thanksgiving Wobble Turkey Paper Toy made with Bottle Cap
- BIG Thanksgiving Wobble Turkey Paper Toy
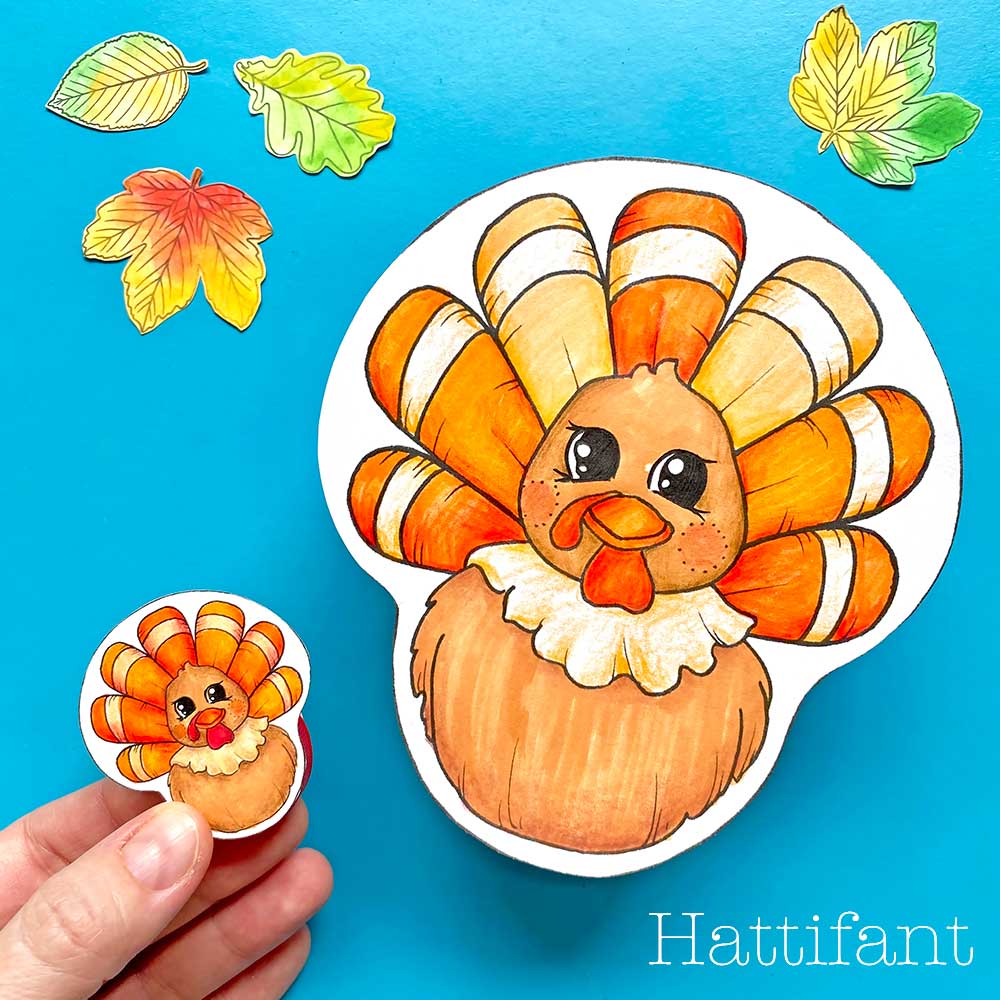
Thanksgiving Wobble Turkey Paper Toy with BOTTLE CAP
The Wobble Turkey is a pretty easy craft. You will need…
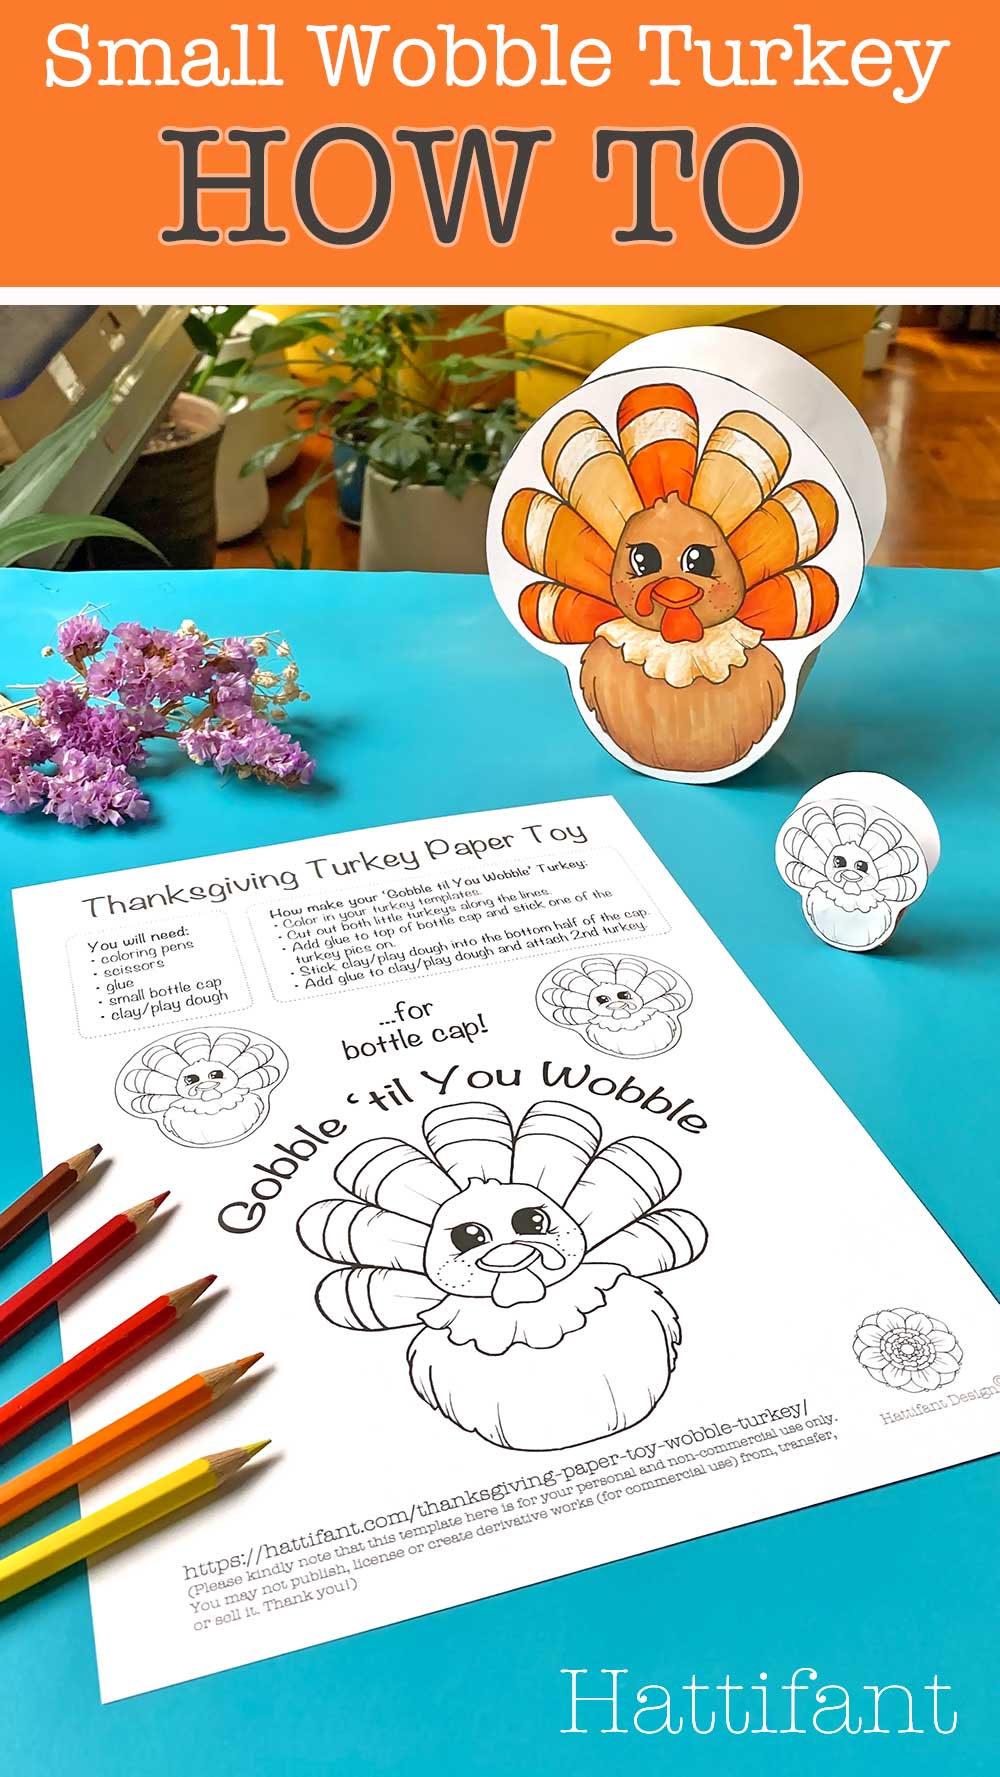
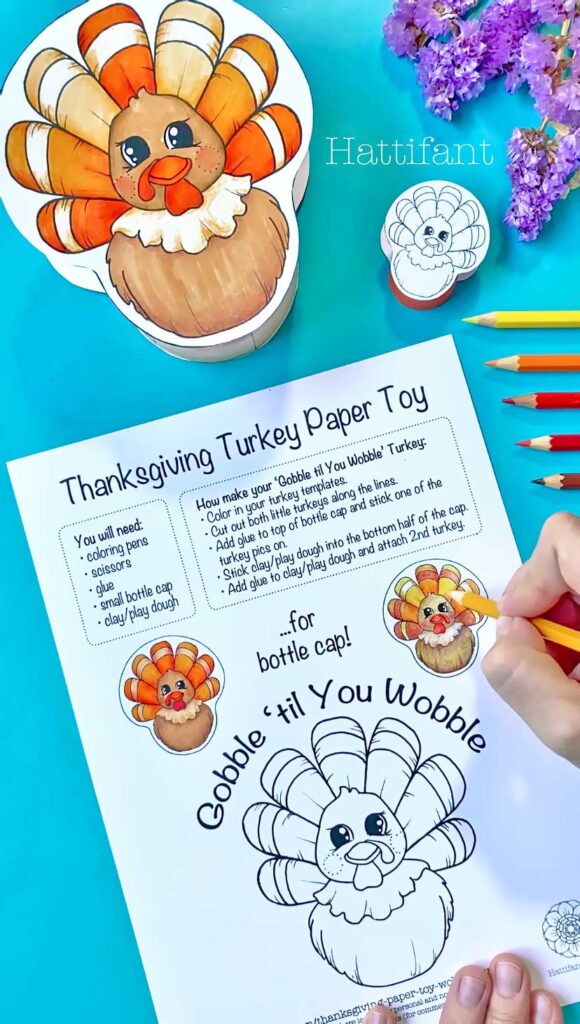
MATERIALS needed
- paper for printing (180gsm/48lb)
- your ‘Wobble Turkey’ Bottle Cap Printable
- coloring pens and pencils
- scissors
- glue
- small bottle cap (for example from Coca Cola bottle or Gatorade)
PRINTABLE
You can download the printable in color or if you like coloring yourself a black & white version in my Gumroad Shop. Simply add $0 (zero) into the number field and then click “I want this”!
HOW TO
I have prepared a little Video Tutorial for you or find underneath everything explained in non moving 2D pictures.
Now that you have your printable start with coloring in the turkey! I love using these Coloring Brush Pens for the first layer and then add shading with these Aquarell Coloring Pens.
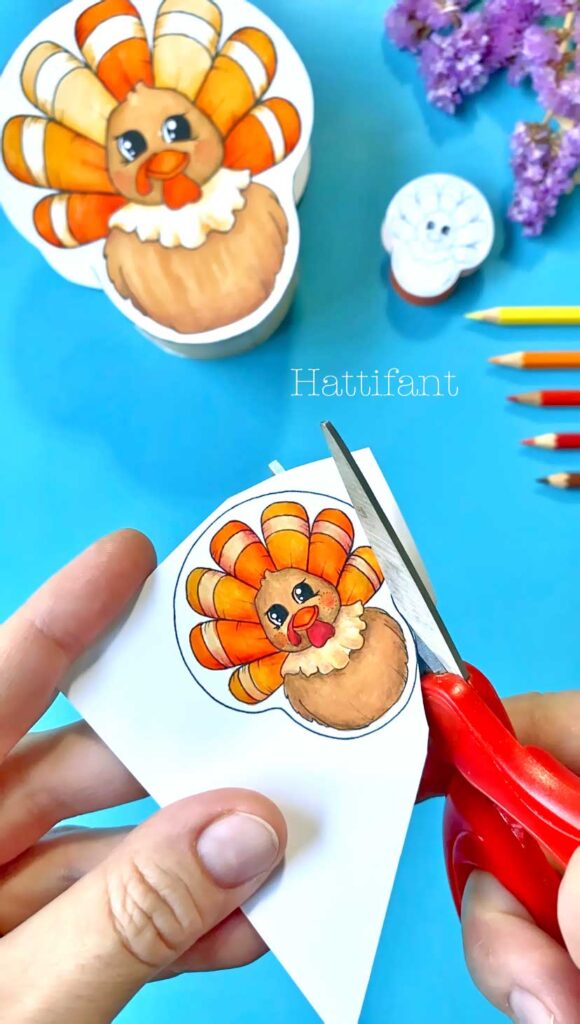
Finished coloring the two small turkey images? Then we head on to cut those out. You see the bigger turkey in the middle?! You can color this one in too, cut it out and glue on to a card and send some Thanksgiving greetings to family and friends! Or use as a bookmark! 🙂
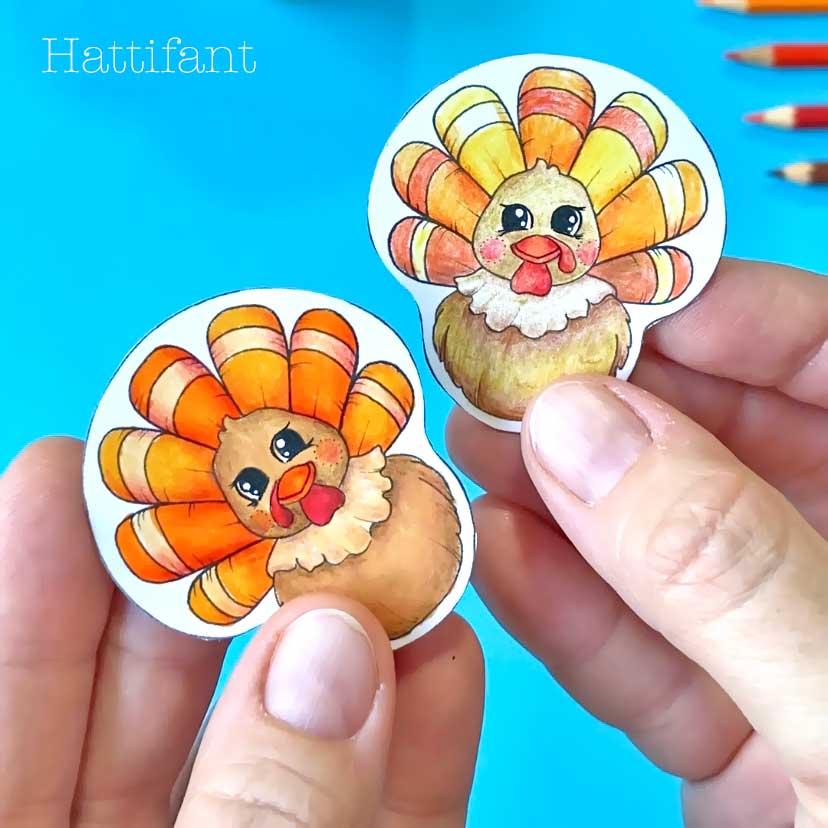
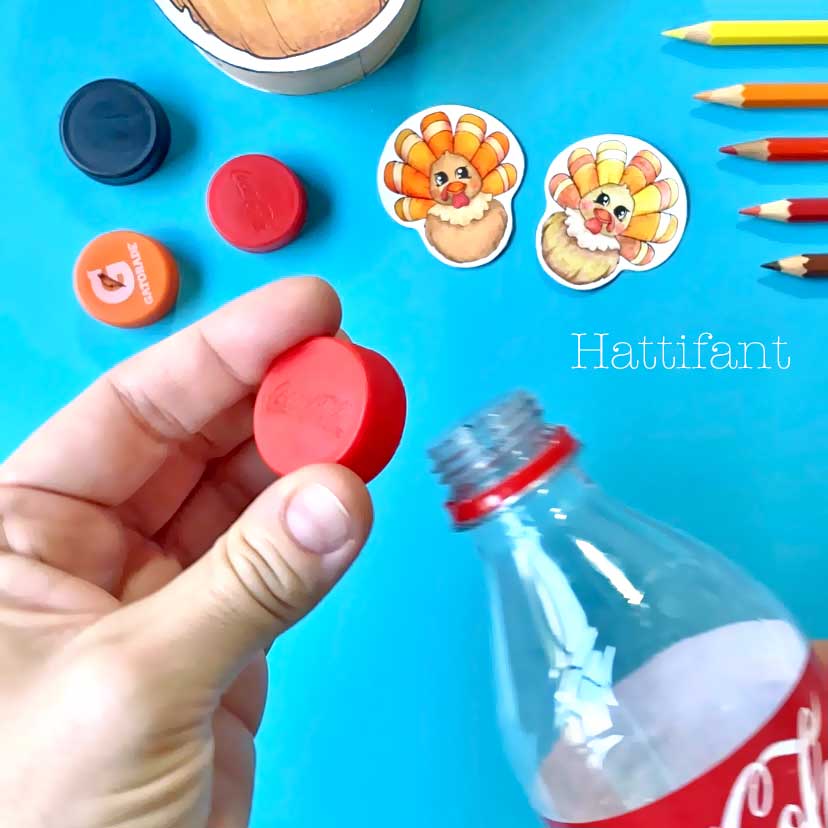
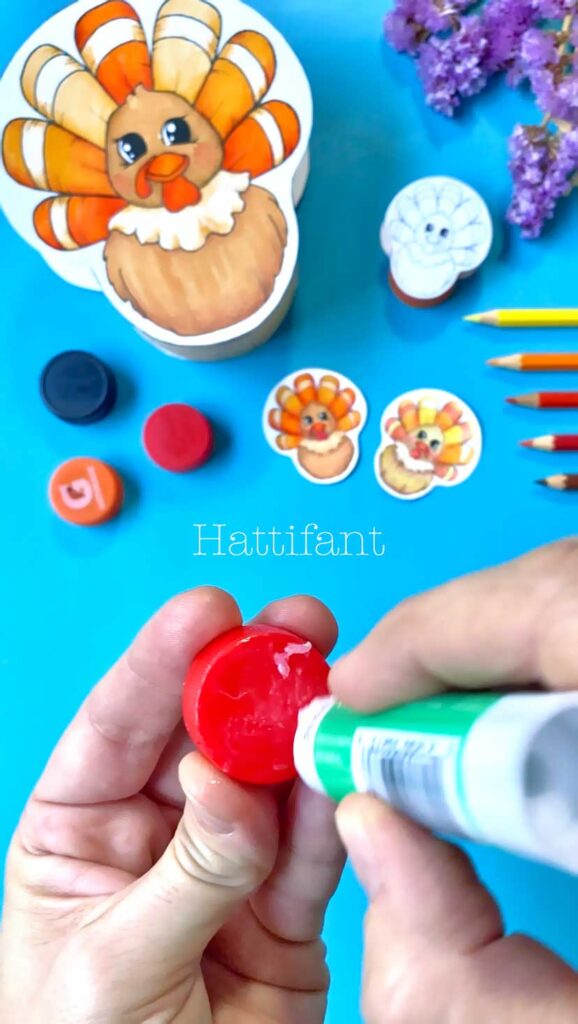
Have your two colored turkey cut outs ready and look for a bottle cap.
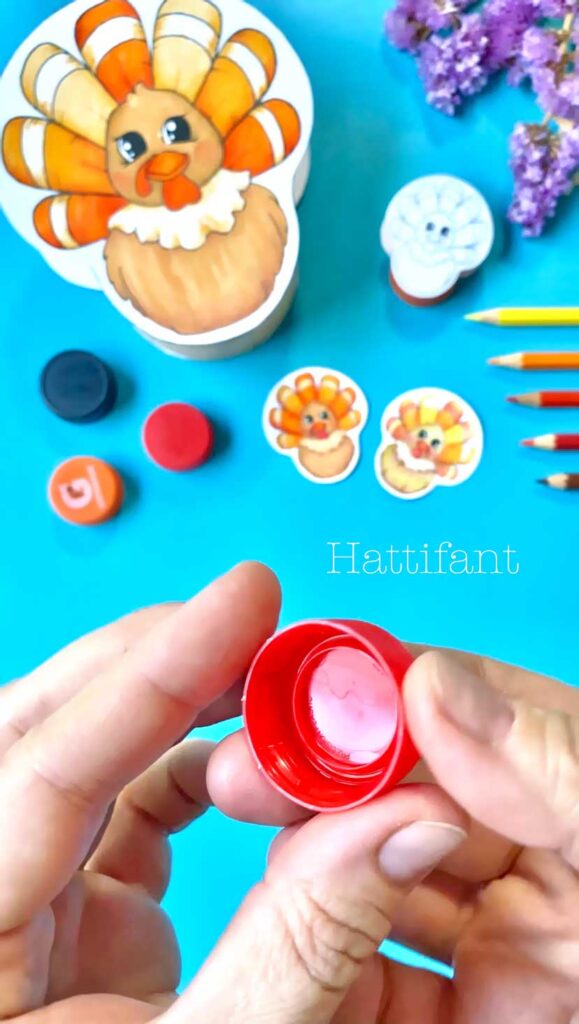
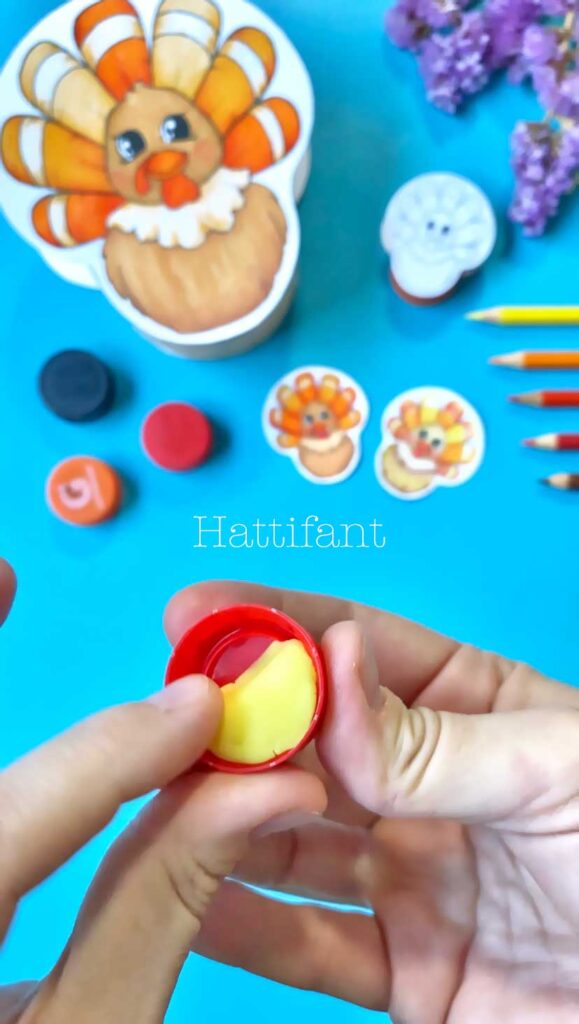
Fill the bottle cap half way with play dough.
Add glue to the top of the bottle cap and stick the first of your little turkey images on to it but so that the play dough is at the bottom of the turkey.
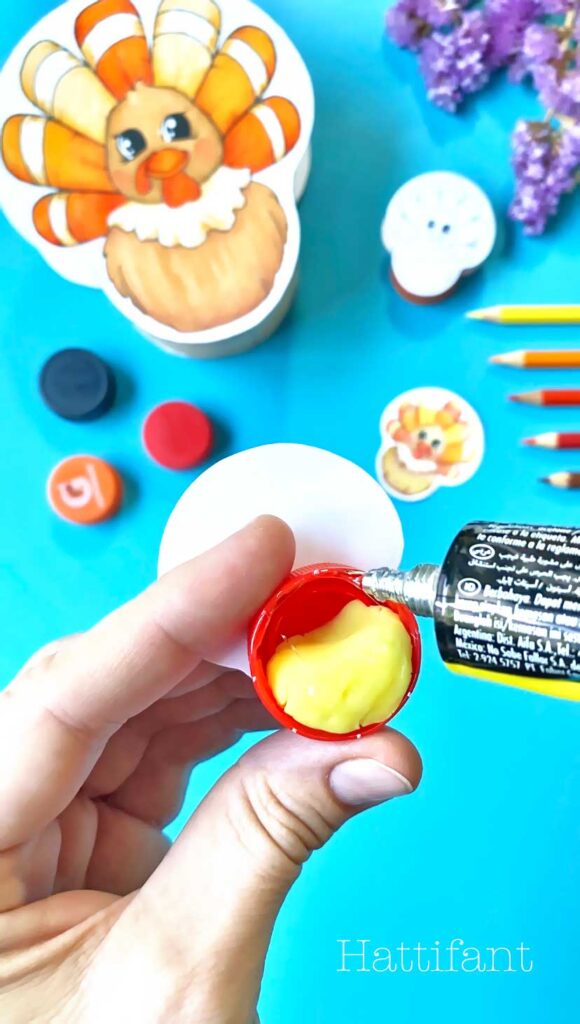
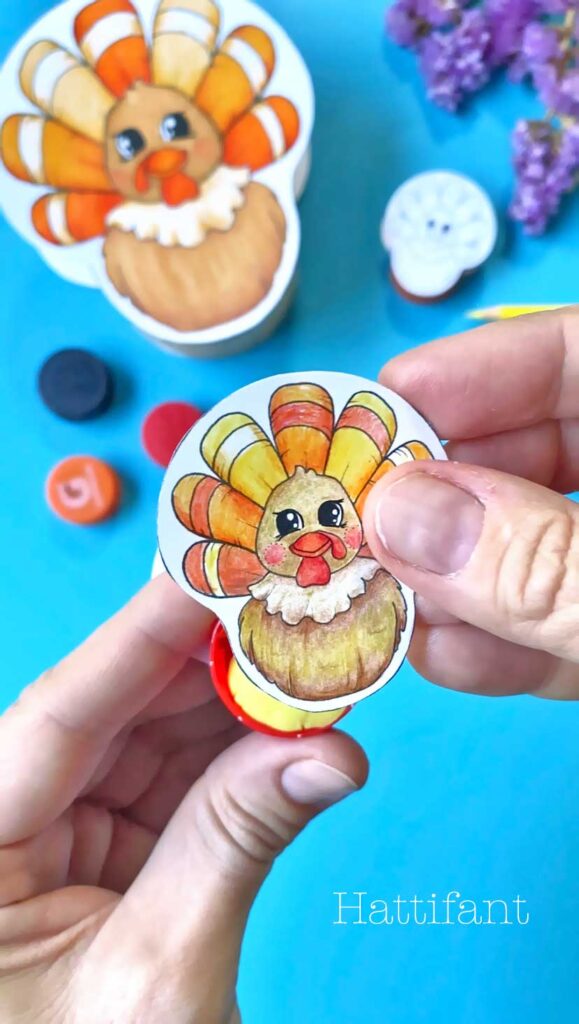
Now turn the bottle cap around so you face the inside of the bottle cap that we already filled halfway with play dough. Add more glue this time to play dough and rim of bottle cap and close shut by sticking the second turkey picture on.
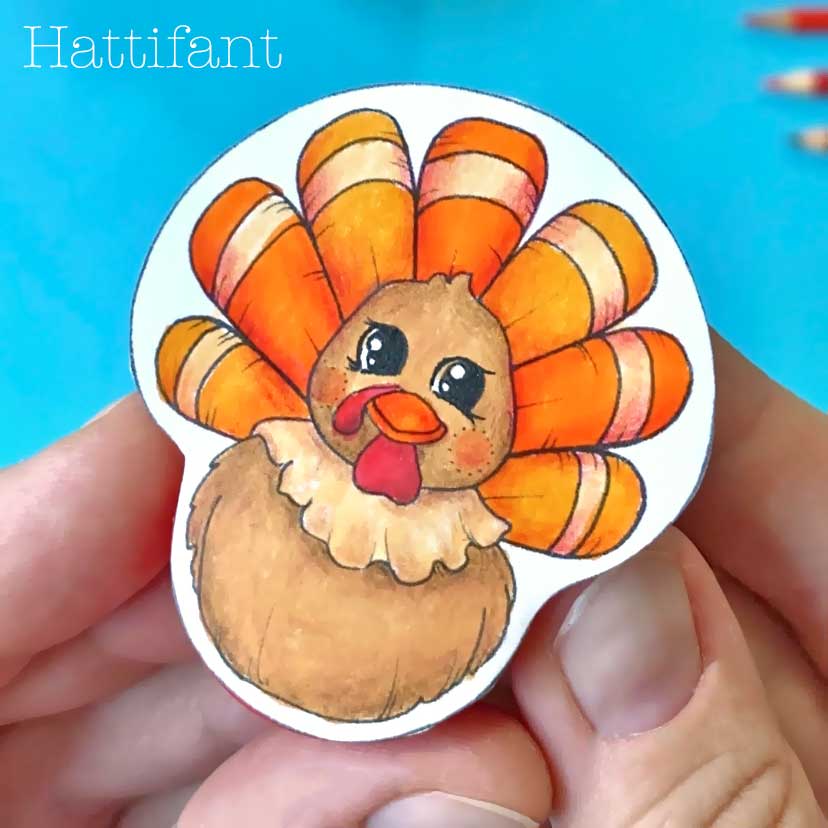
DONE! Now let it wobble! 🙂
BIG Wobble TURKEY
You want to make the BIG Wobble Turkey! Here you go.

If by any chance you have available one of these brilliant cardboard rolls from big tapes then you can use it here!!! It works without just fine but with the very sturdy tape roll it becomes a pretty long lasting Paper Toy.
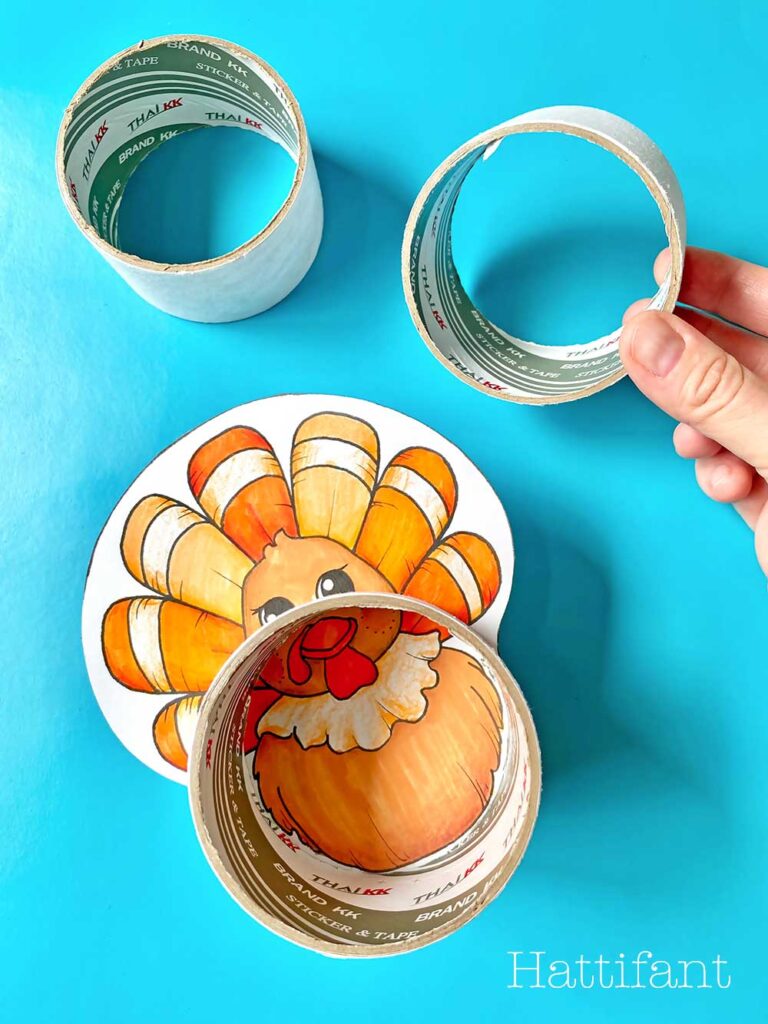
MATERIALS needed
- paper for printing (180gsm/48lb)
- your ‘BIG Wobble Turkey’ Printable
- coloring pens and pencils
- scissors
- glue
- cardboard roll from big tape (if you have)
PRINTABLE
You can download the printable in color or if you like coloring yourself a black & white version in my Gumroad Shop. Simply add $0 (zero) into the number field and then click “I want this”!
HOW TO
I have prepared a little Video Tutorial for you or find underneath everything explained in non moving 2D pictures.
I will show you how to make the BIG Wobble Turkey without the cardboard roll. I understand most won’t just have one lying around. But do remember for next time! 🙂 They make great craft accessories! If you do use the cardboard roll then just glue the strip of paper from the template around the roll and proceed as shown here.
Picture Tutorial
Now that you have your printable start with coloring in the turkey! I love using these Coloring Brush Pens for the first layer and then add shading with these Aquarell Coloring Pens.
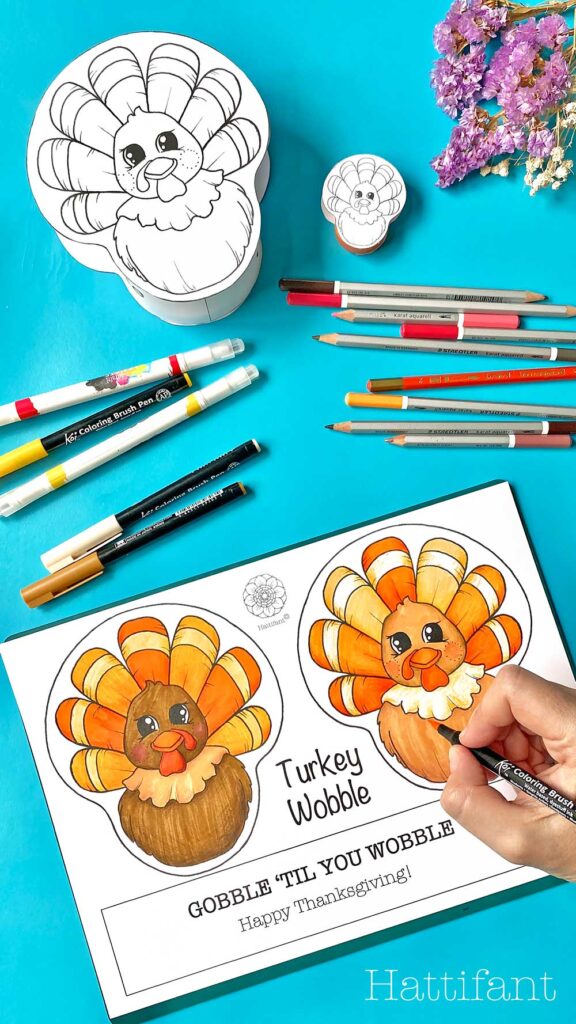
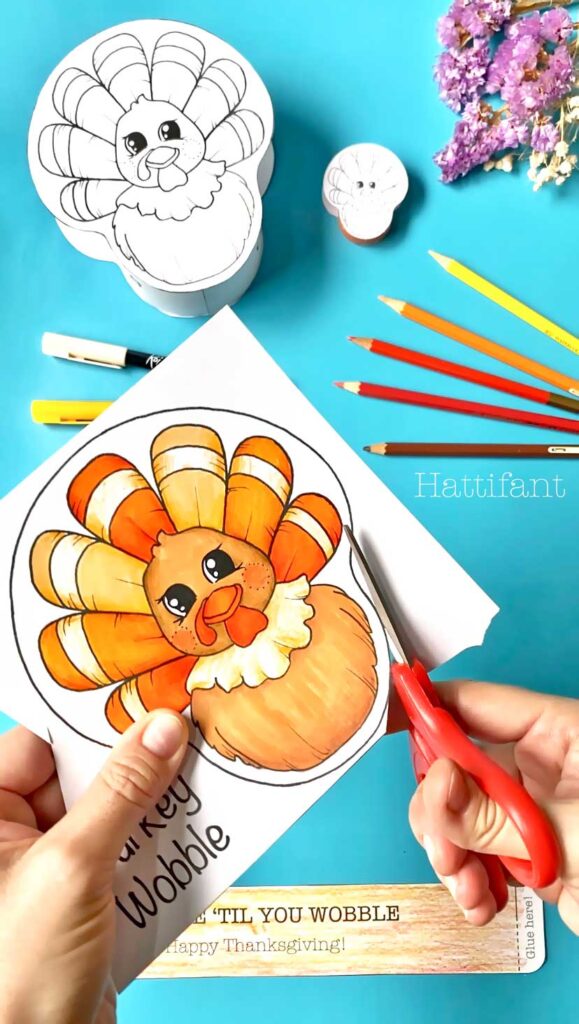
Cut out both turkey images and the big strip of paper with “Gobble ‘Til You Wobble”.
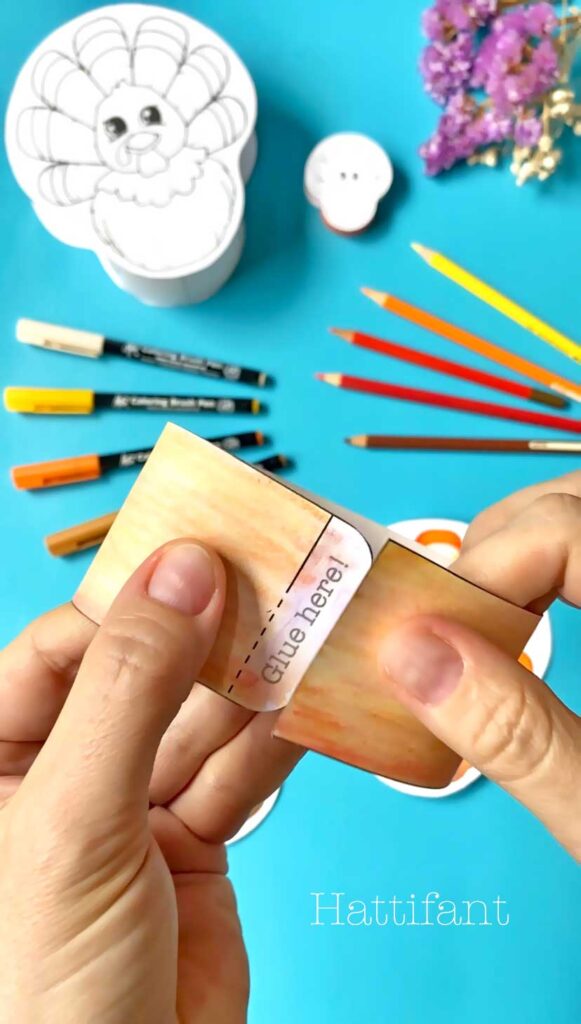
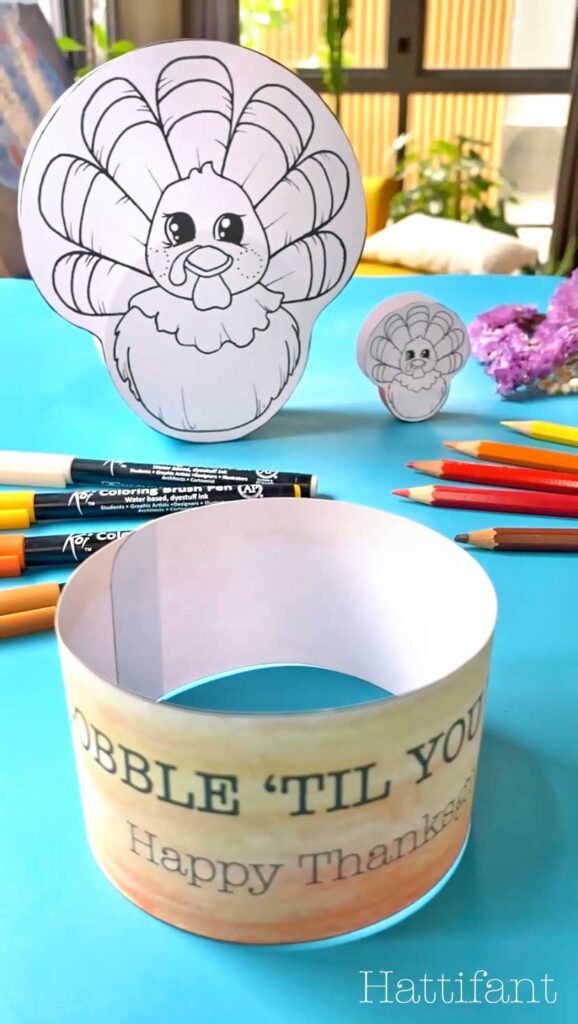
Bend the strip of paper into a loop. By glueing the ends together we will create a hollow cylinder shape. Did I get this right, dear Math teachers?! Please let me know and save me from years of embarrassment if I am totally wrong here. 🙂
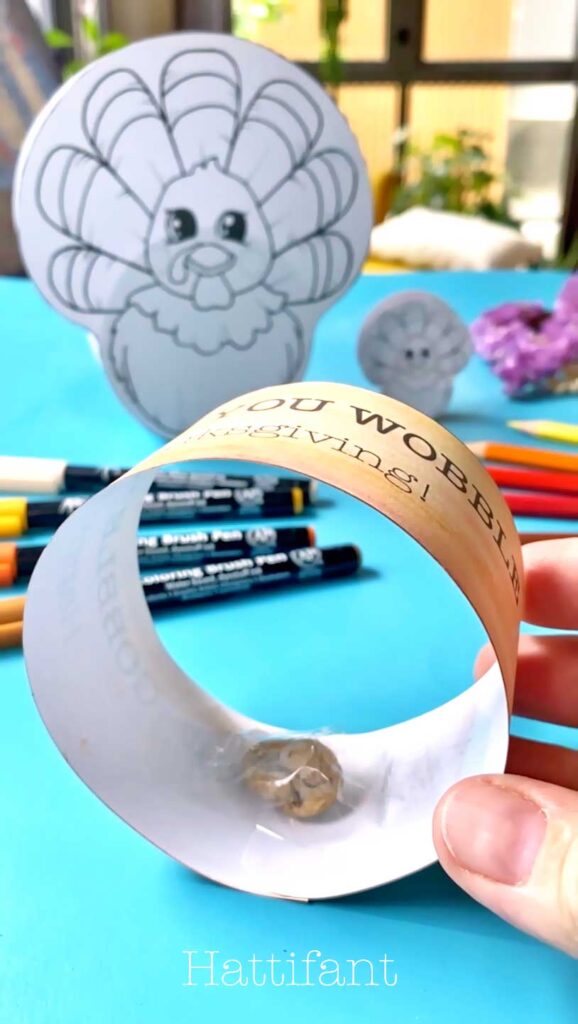
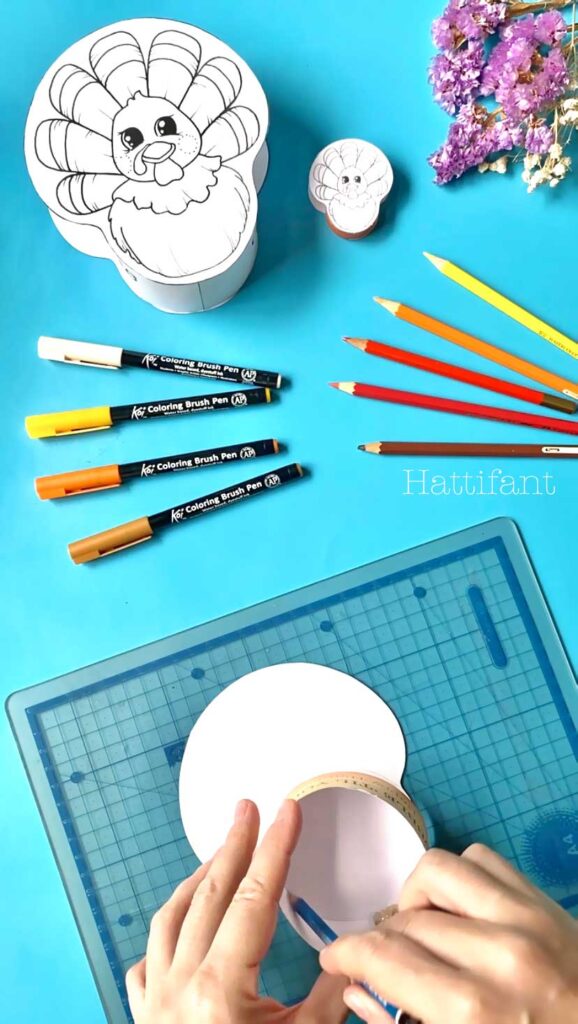
Now we will add a little weight to the cylinder so that our turkey can wobble. I used small stones and taped them inside the cylinder. I added 3 in the end not like here in the picture only one. Three little stones worked much better. You can also add coins, play dough or sand in a bag. I then outlined the circle on the back of both turkeys to know where to add glue. But you can also opt to add glue only to the rim of the cylinder and then attach the turkey to it.
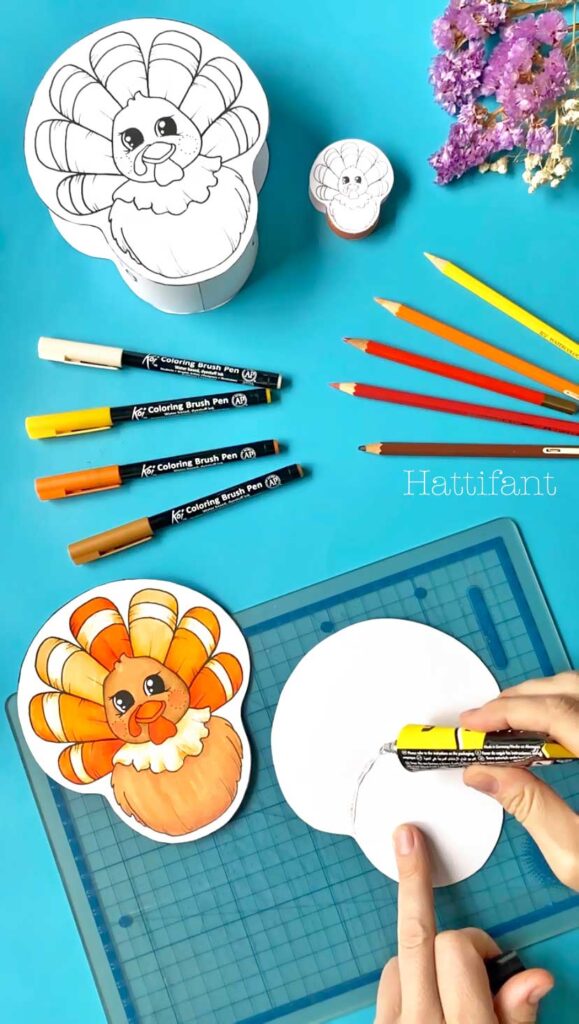
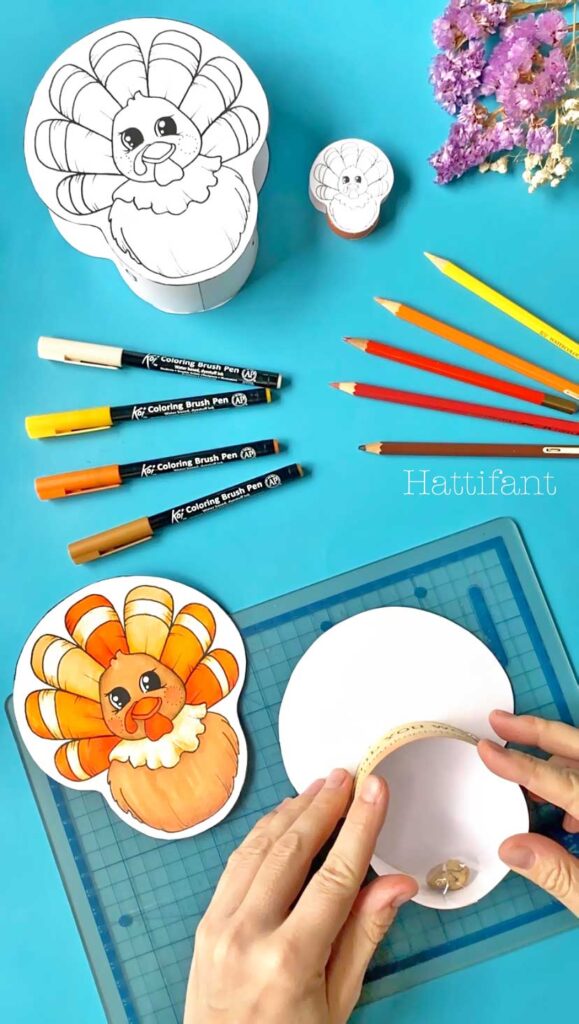
Add glue to the rim of the cylinder and/or the drawn outlines of the circle on the backside of your turkey and stick cylinder and turkey together. Both are positioned in a way that the stones are at the bottom of the turkey. When the cylinder and first turkey picture are glued dry test if it wobbles properly and if not add maybe another little stone or coin.
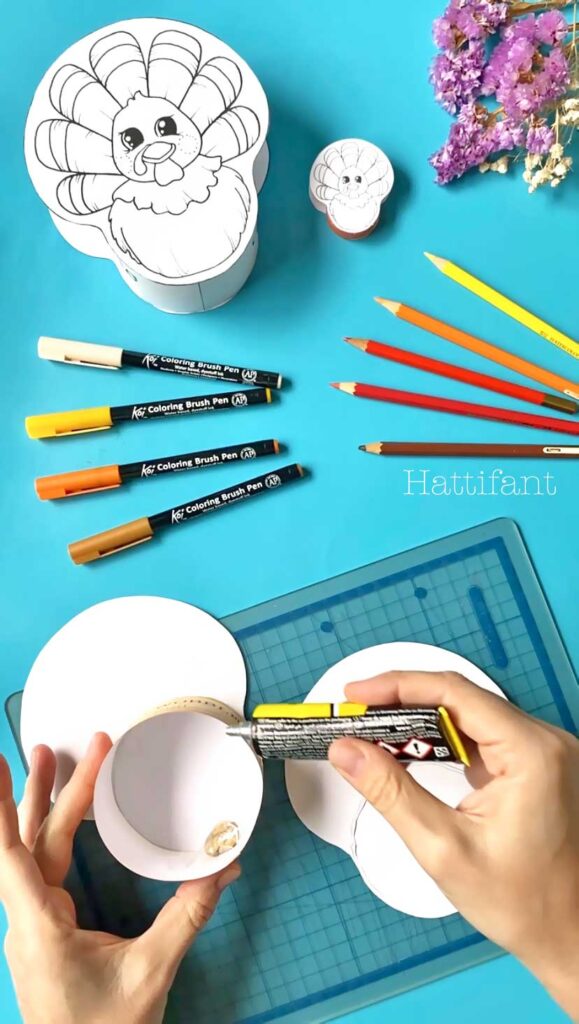
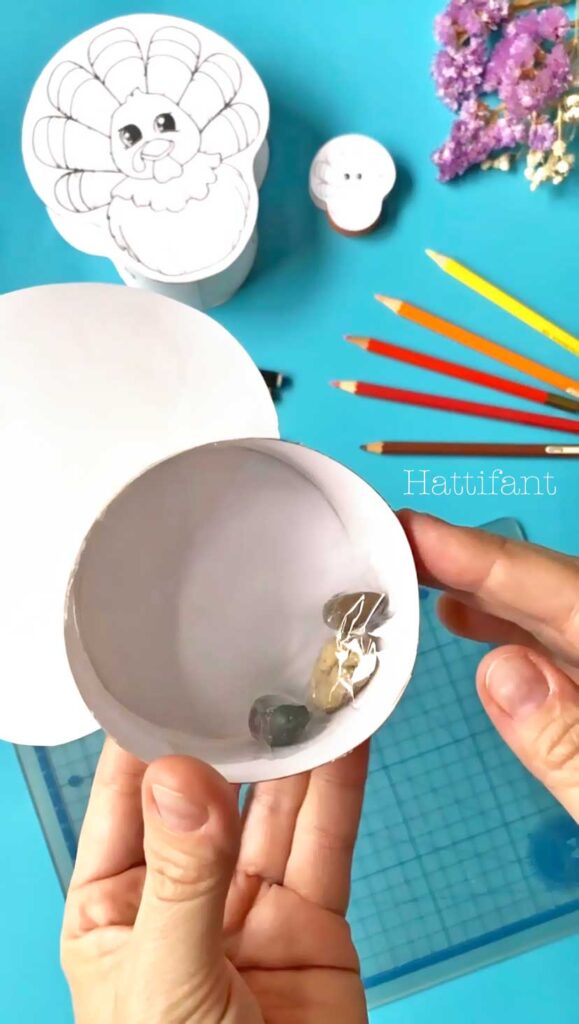
Add glue to the rim and then glue shut the cylinder by adding the second turkey to it. Again, do check if the toy wobbles properly BEFORE taking this last step! 🙂
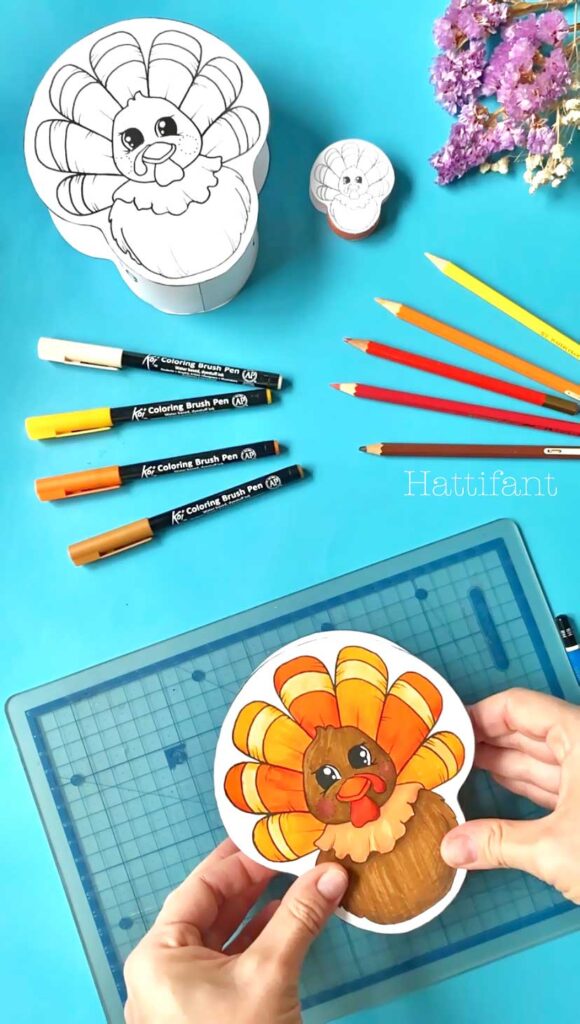
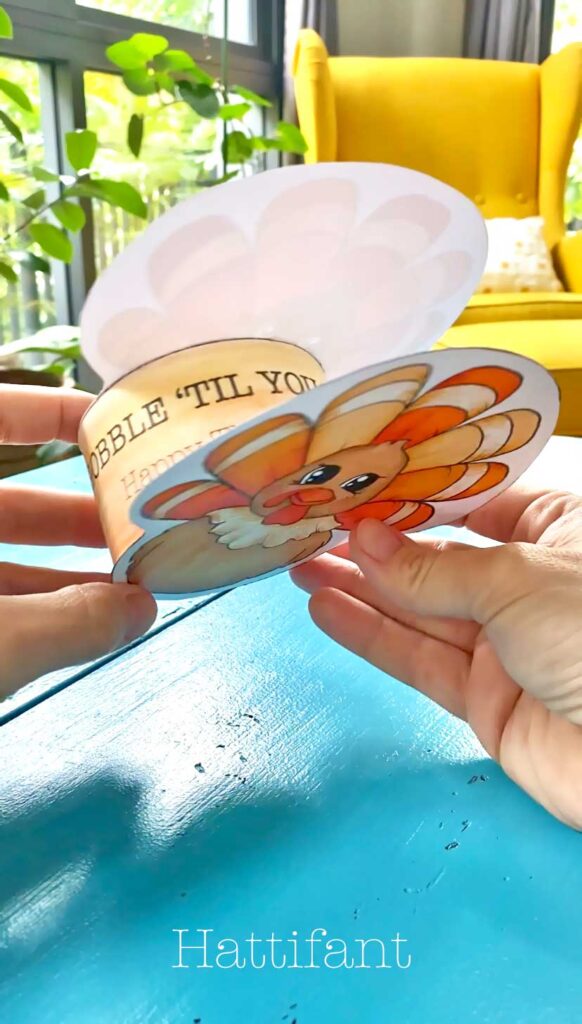
Hold until dried and then let it WOBBLE! That’s it! Congrats! You made your own Wobble Turkey! Woohoo!
MORE HATTIFANT CRAFTS
You like Hattifant’s designs, toys & décor? Why not FOLLOW Hattifant on Facebook or Instagram and always be up-to-date with Hattifant’s latest adventures…

