Advent Calendar | Christmas Town to Color
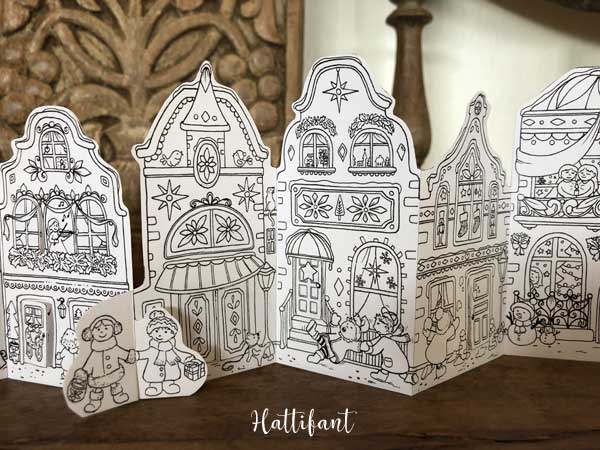
I am excited beyond belief to showcase this new Advent Calendar to you. It has taken me many many hours way past midnight to complete. I so hope you will fall in love with it also and treat yourself to this beauty. Let me introduce to you Hattifant’s Advent Calendar Christmas Town 2019.
I made a little video to show you better…
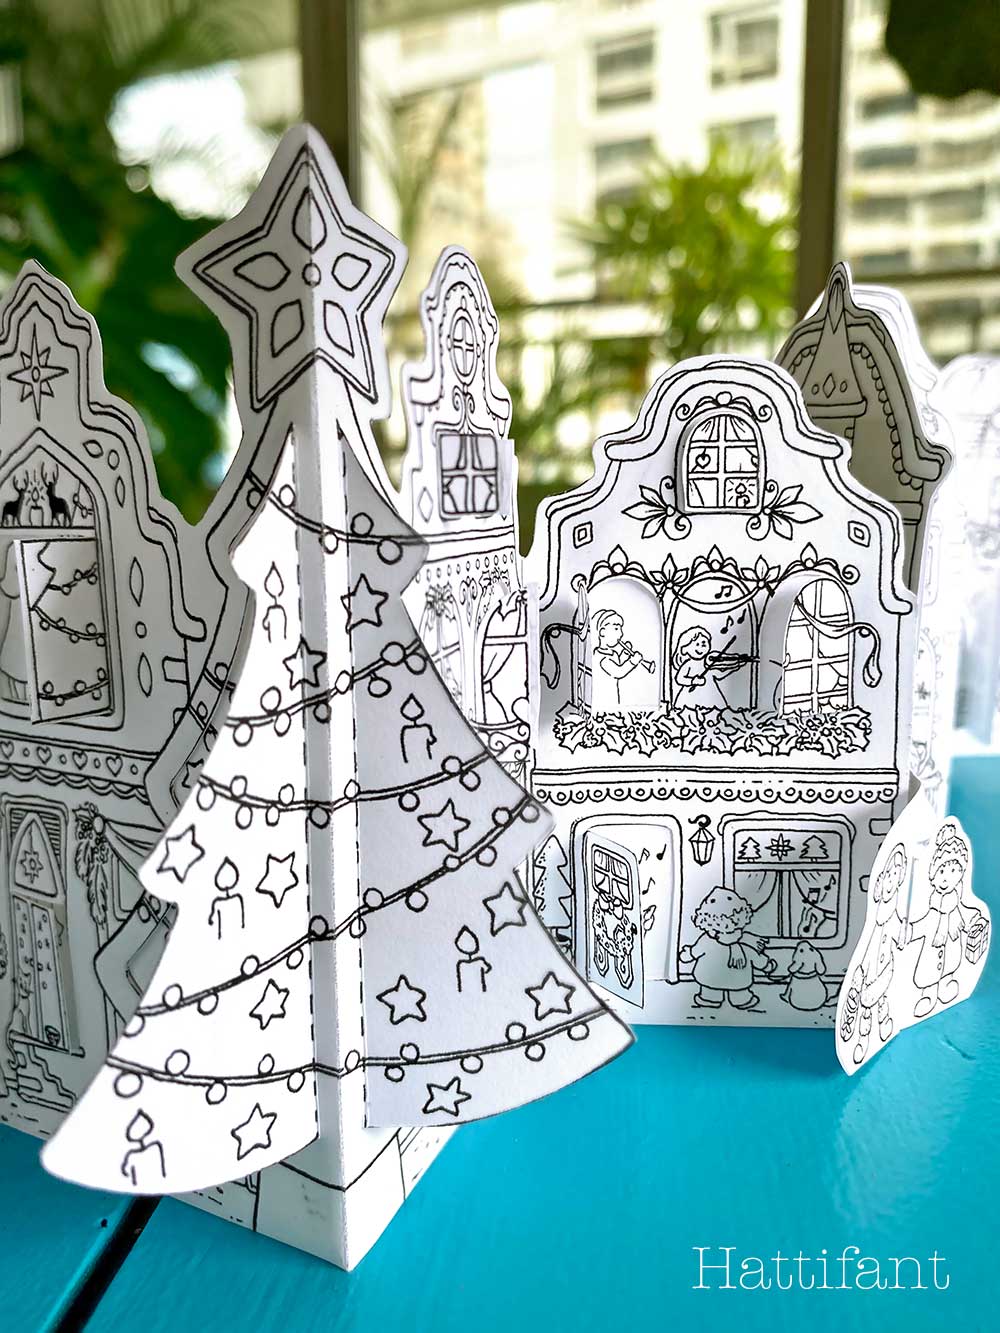
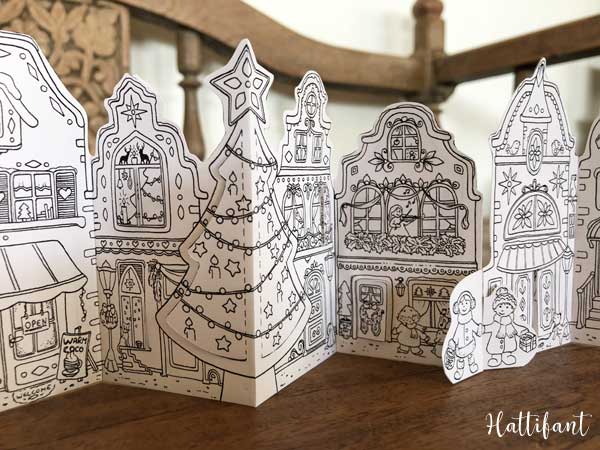
Isn’t it so very pretty?!
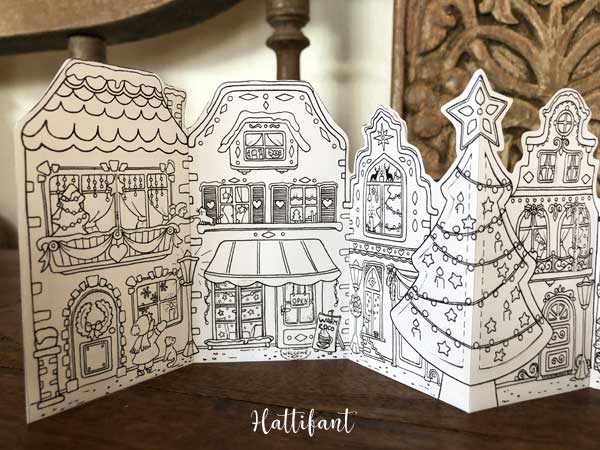
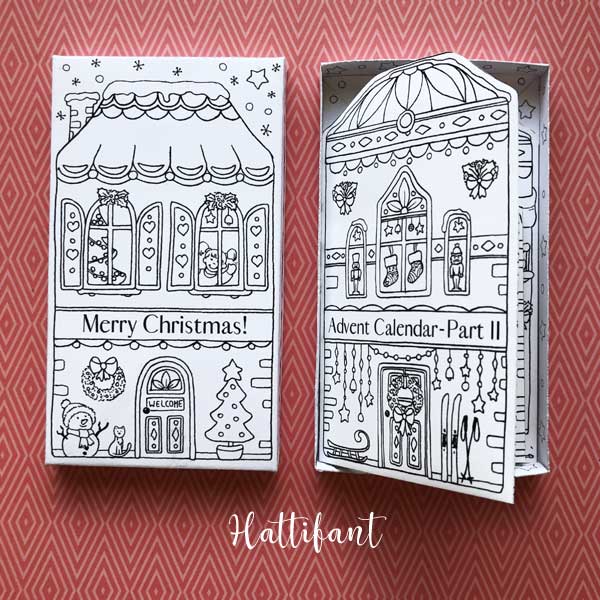
It will look gorgeous on top of your mantle piece or shelf! It stands up by itself due to the fold. There are two parts that connect – by doing so a little girl and boy hold hands!
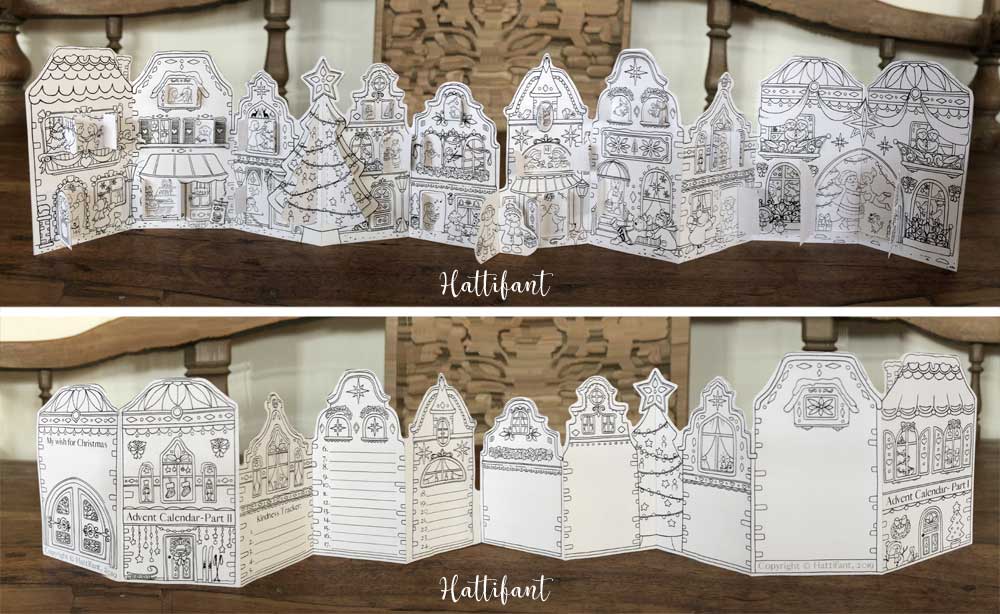
The back of the Advent Calendar Christmas Town is also decorated! I also added the possibility to write down one’s wish for Christmas and… I really look forward to this one: a personal Kindness Tracker!
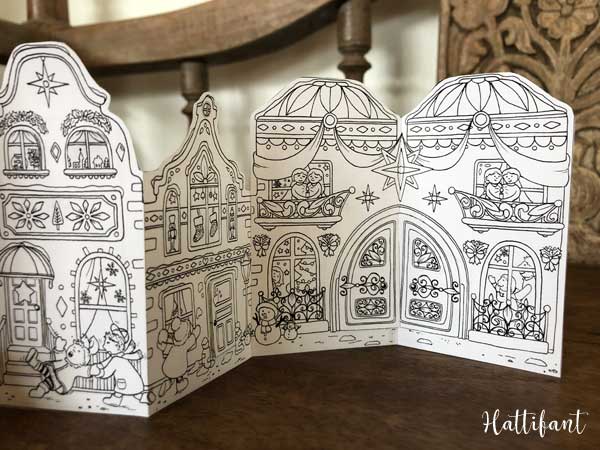
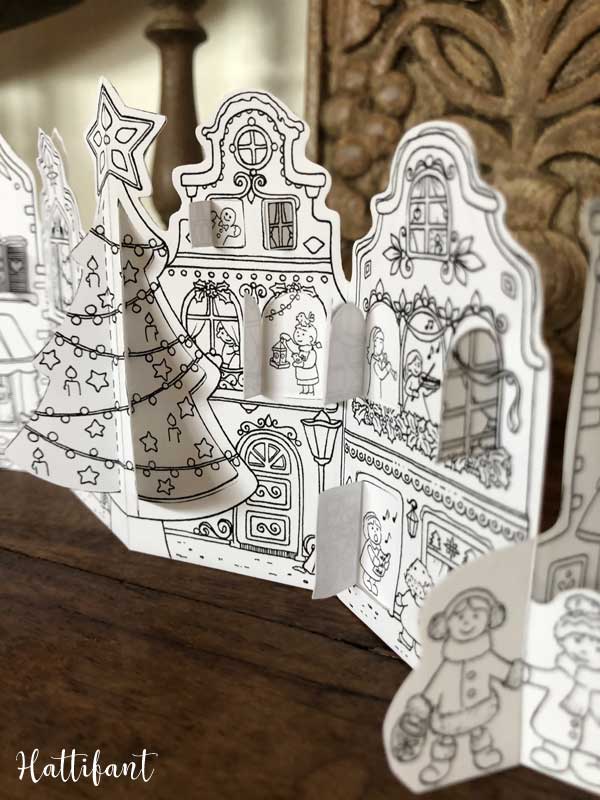
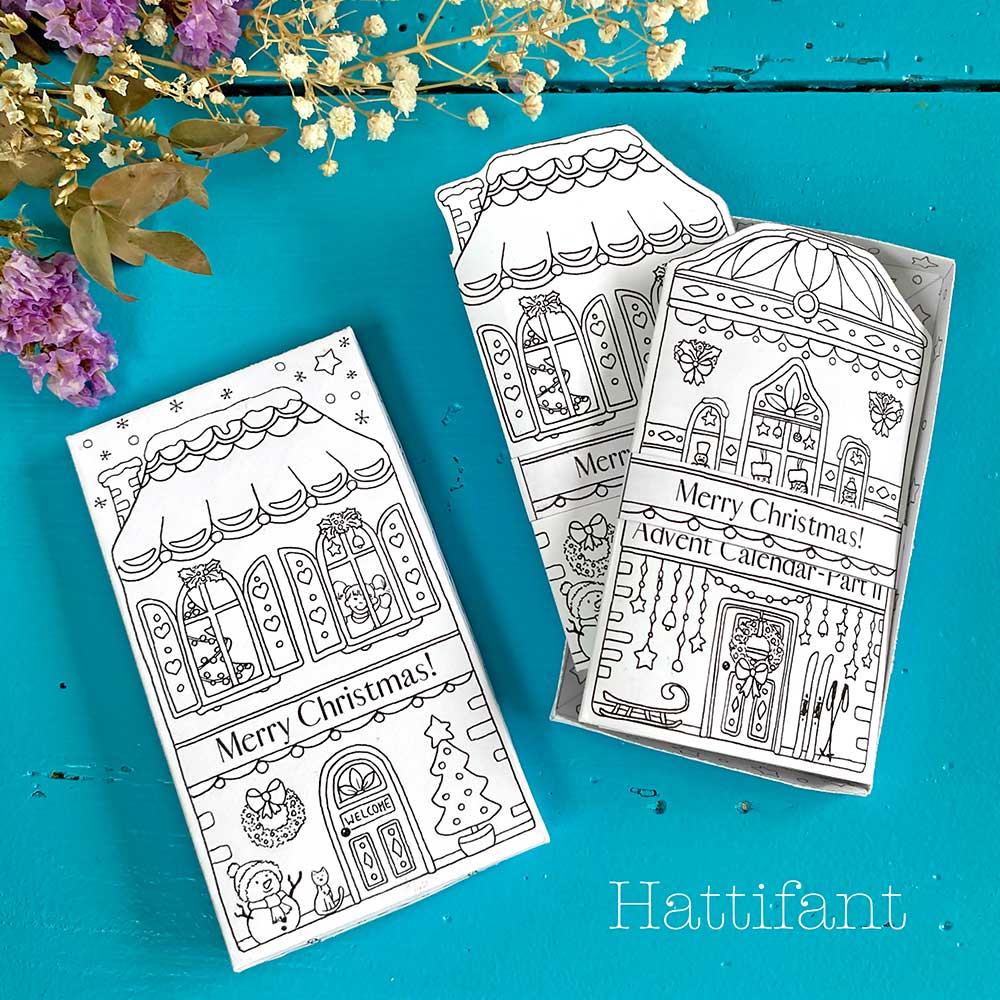
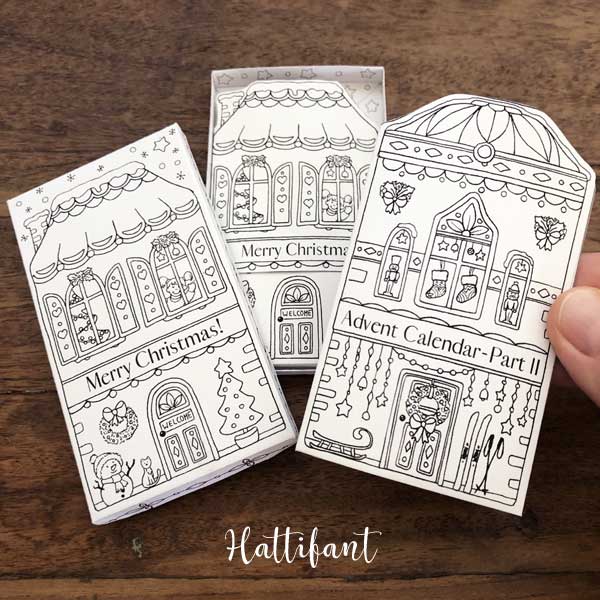
Let me show you a couple more close up with the Advent Calendar still closed! It might be of interest for some of you: I have added a non Advent Calendar version also! So you can use this also as Christmas decoration without flaps. This then may also serve as Seasonal Greetings (Christmas Card) as you can add your note on the back of the stand up.
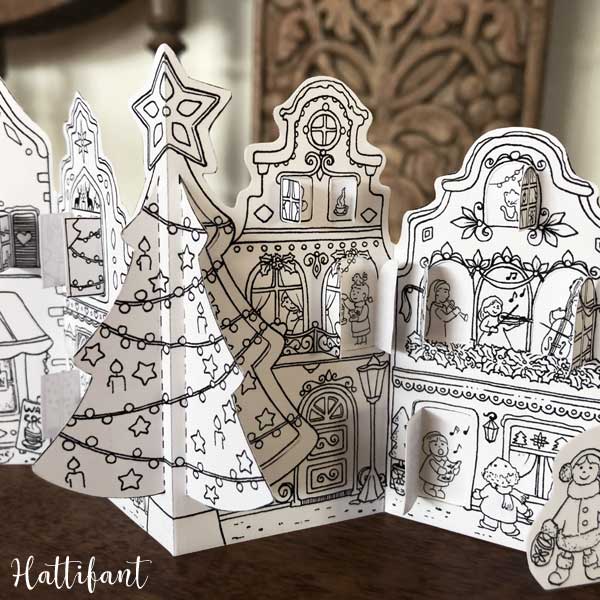
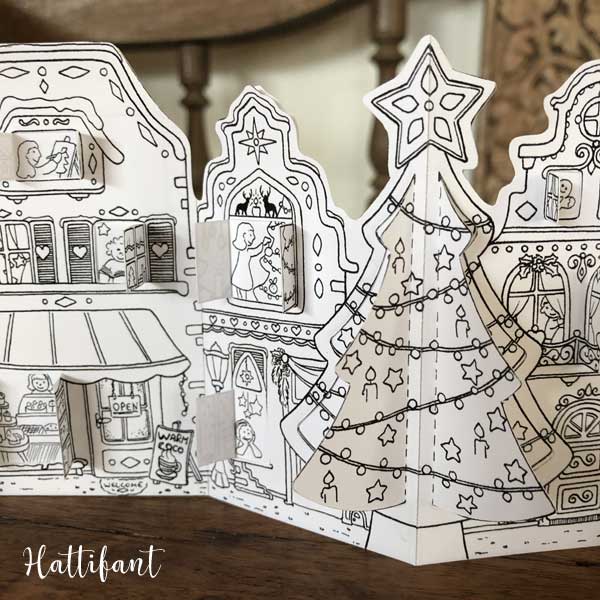
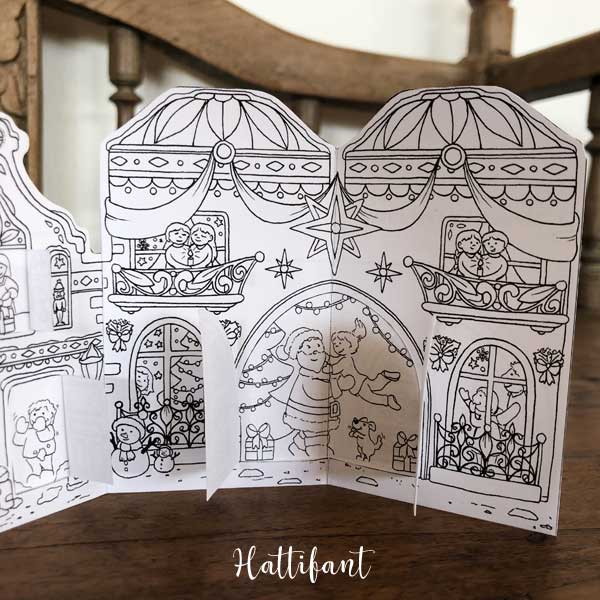
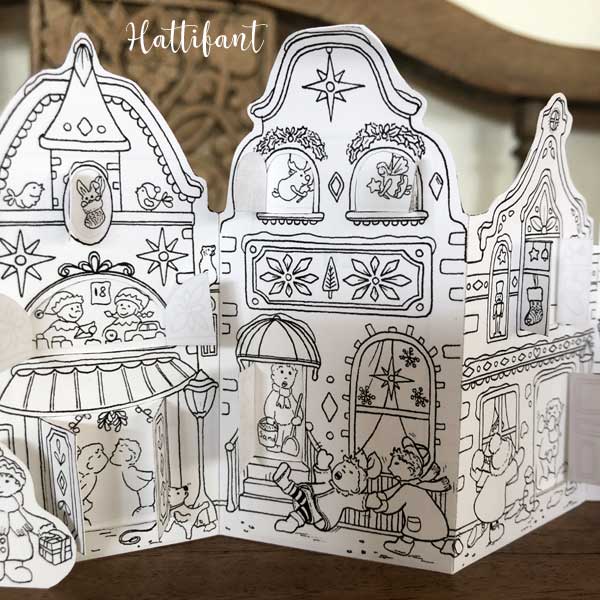
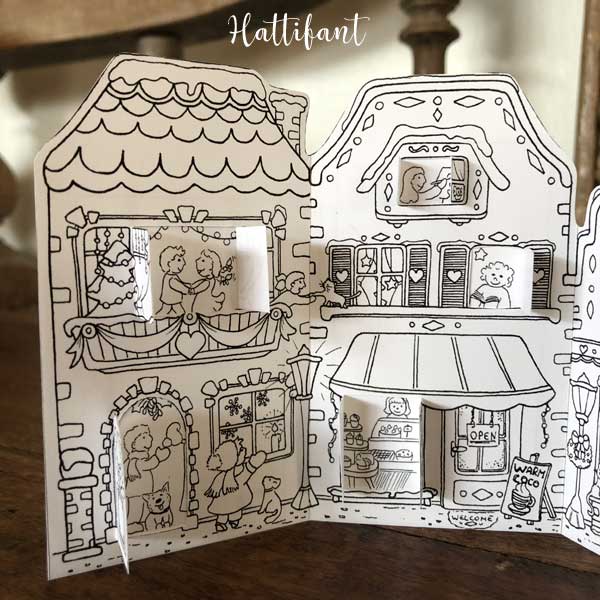
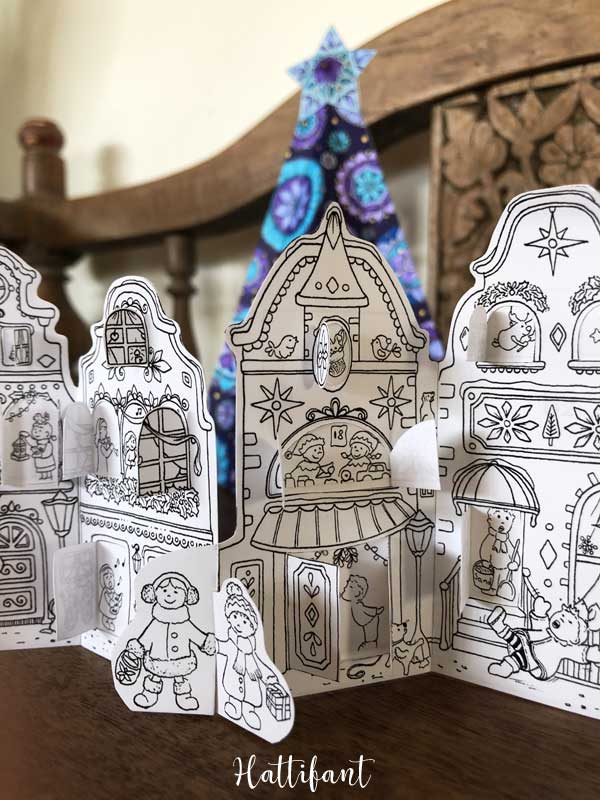
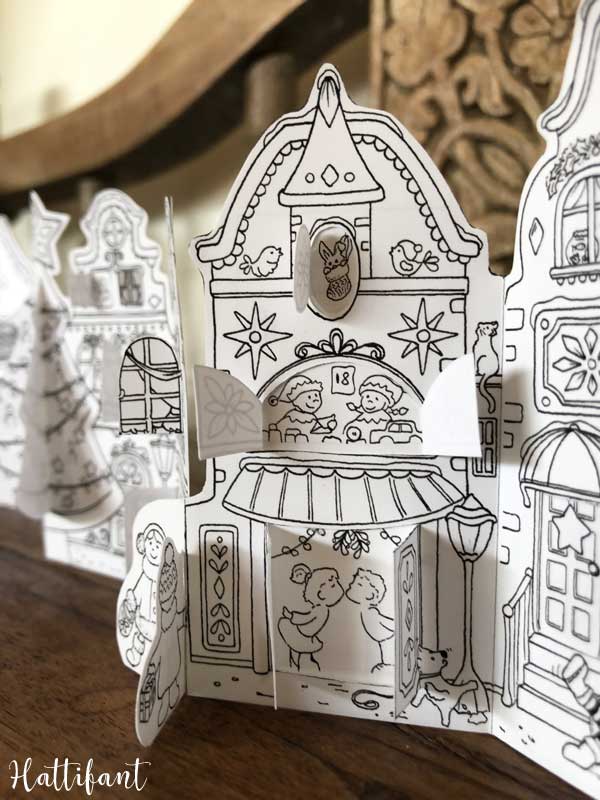
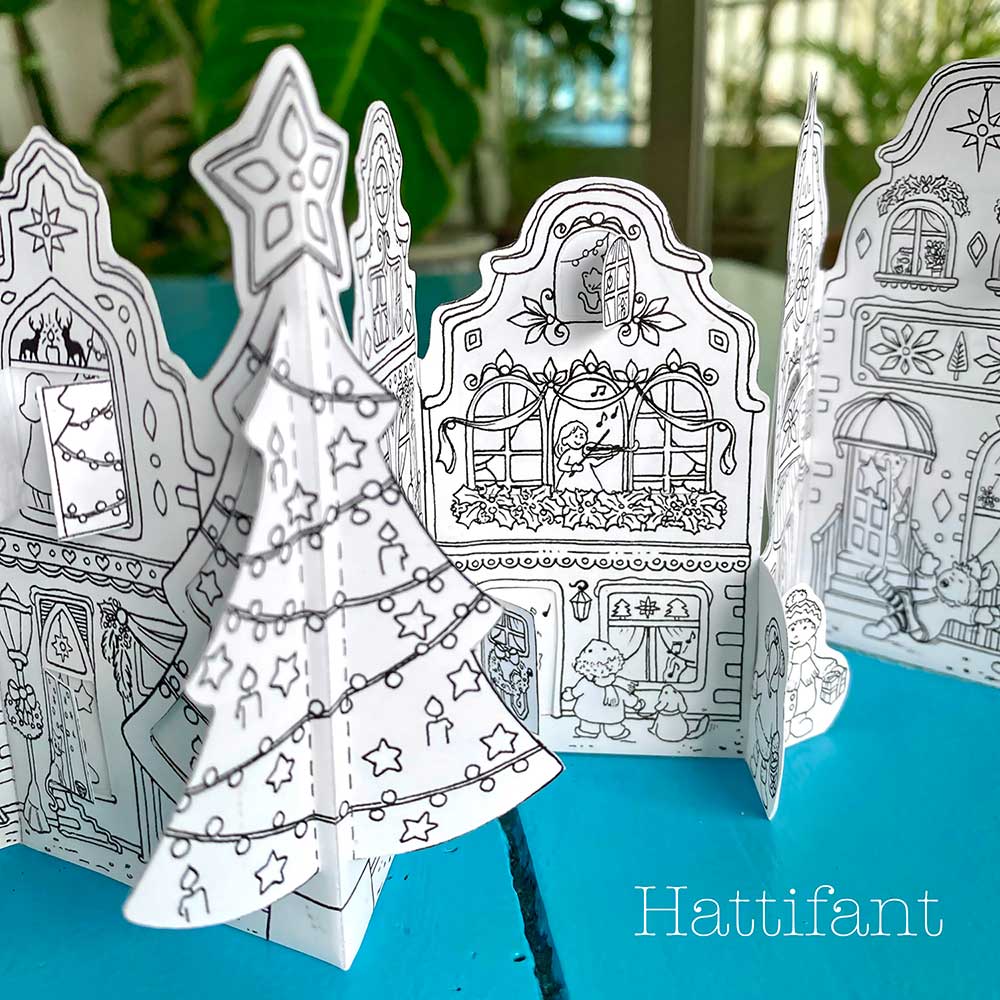
Above you can see Hattifant’s Advent Calendar Christmas Town “in action” – with the flaps/doors open. Yes, of course I have added both versions: with 24 and 25 doors to open! There are some really cute and funny (I think ^_^) details. Take a closer look!
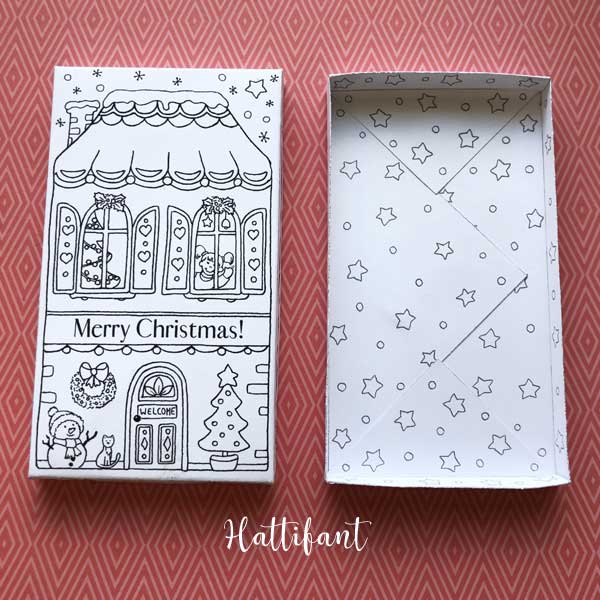
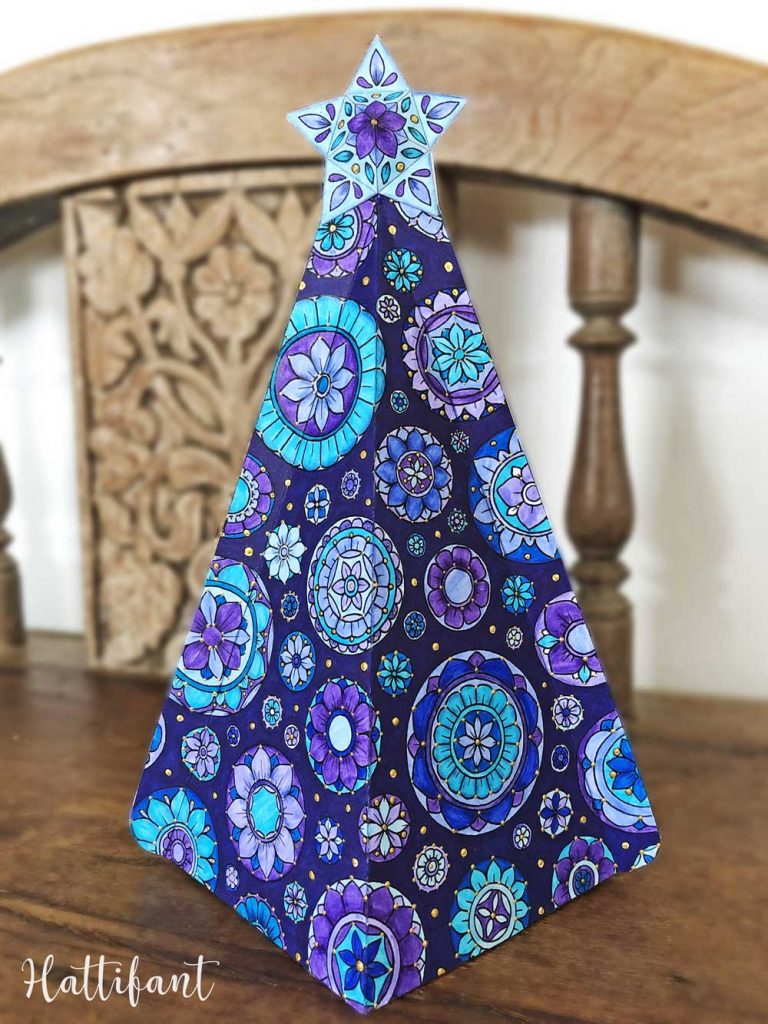
To make this Advent Calendar even better I created two gift boxes for you to put your Calendar into. Here is one of the boxes. The other one features a brand new Mandala design.


PRINTABLES
In this cute bundle you will find:
- Advent Calendar Part A & B with 24 or 25 doors/flaps to open
- Advent Calendar Inner Part (designs that become visible when opening the flaps)
- A Christmas Card version with either Merry Christmas on the front or no words at all.
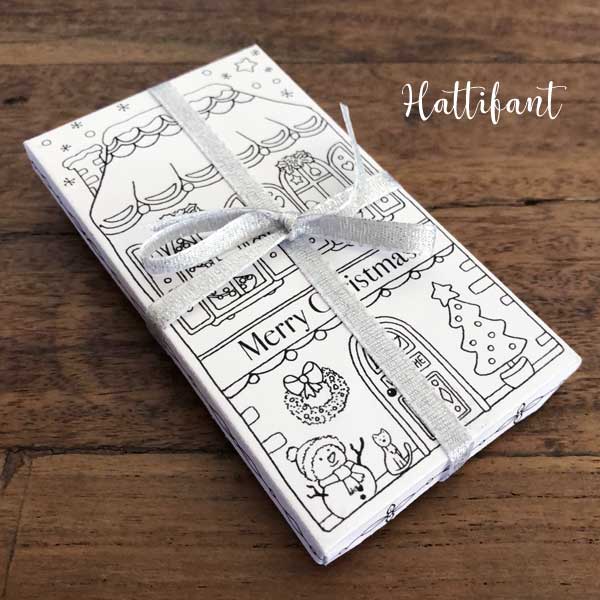
- 2 Gift Boxes to choose from and little paper bands that hold together the Advent Calendar parts A & B when put into Gift Box
- Cheat Sheet to help you paper cut, score and fold
- Instructions
How to create your own:
When you have printed off your templates you will need further:
- Paper (80gsm for Advent Calendar, 120gsm for gift box)
- Craft knife and safety mat
- Scoring tool & ruler
- Scissors
- Glue
- Coloring Pens
Advent Calendar
I created a video tutorial for you to follow along. If video isn’t for you then please skip to the picture tutorial below.
Picture Tutorial
Here are non moving pictures for you that will guide you in making your own Christmas Town Advent Calendar:
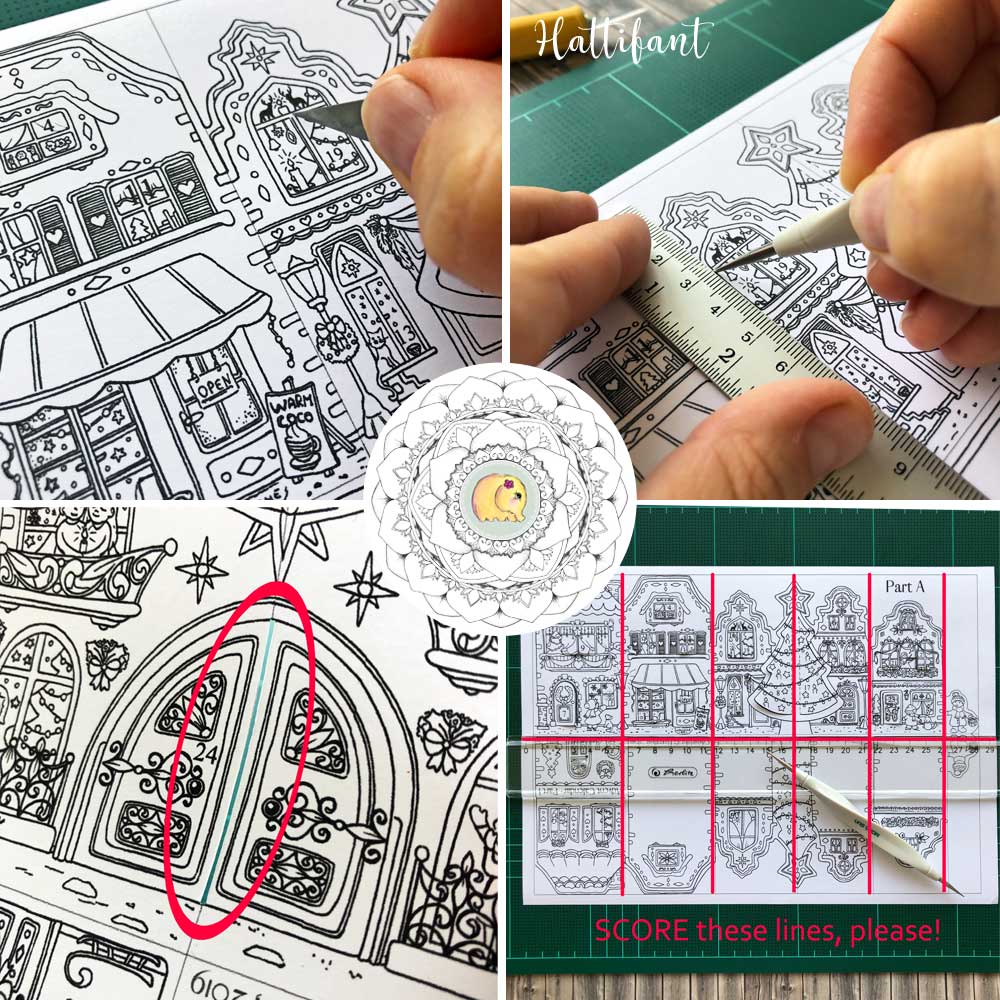
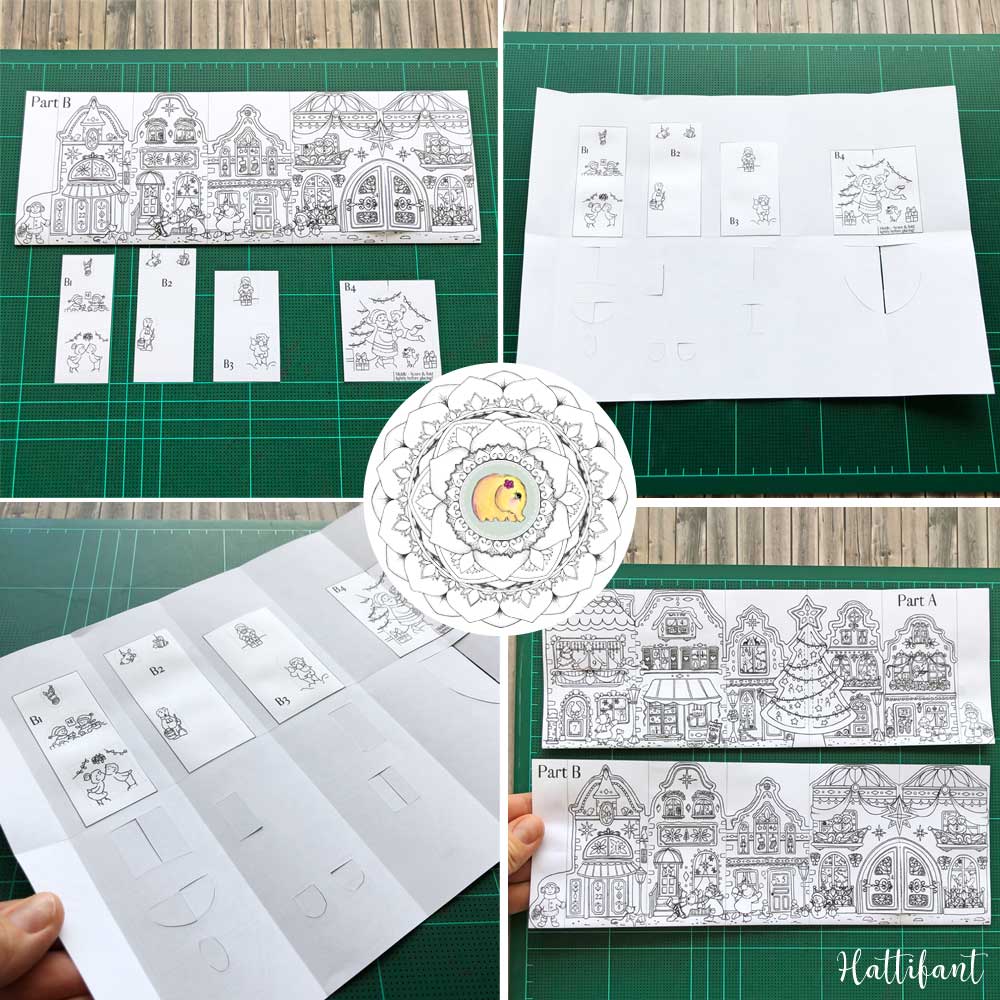
We will start off with some paper cutting. We will cut open all flaps/doors on the printable Part A & B. While cutting also score the part of the flap lightly that will be folded when the door is actually opened on the right day.
There is a Cheat Sheet that I ask you to use to see where you need to cut. I didn’t want extra lines to disturb the illustrations.
Attention: Door/flap 24/25 – here cut out a tiny stripe of paper as long as the gate but just about 1mm wide. This is necessary for when the Advent Calendar is folded up.)
When all doors are cut and gently scored we will score the main lines as seen in the picture above (red lines).
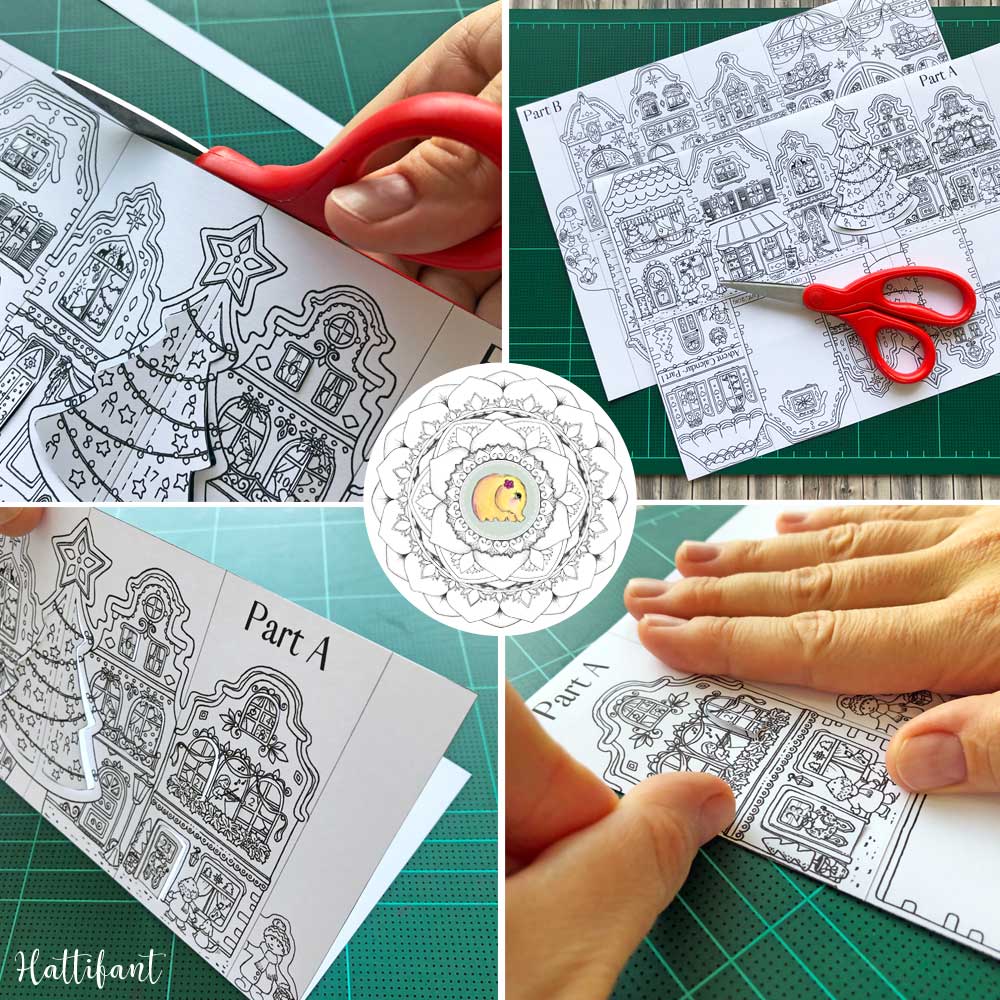
Cut out the template (rectangle) of both Part A & B. Then fold Part A and then Part B in half (see picture) and fold all the main lines we just scored.
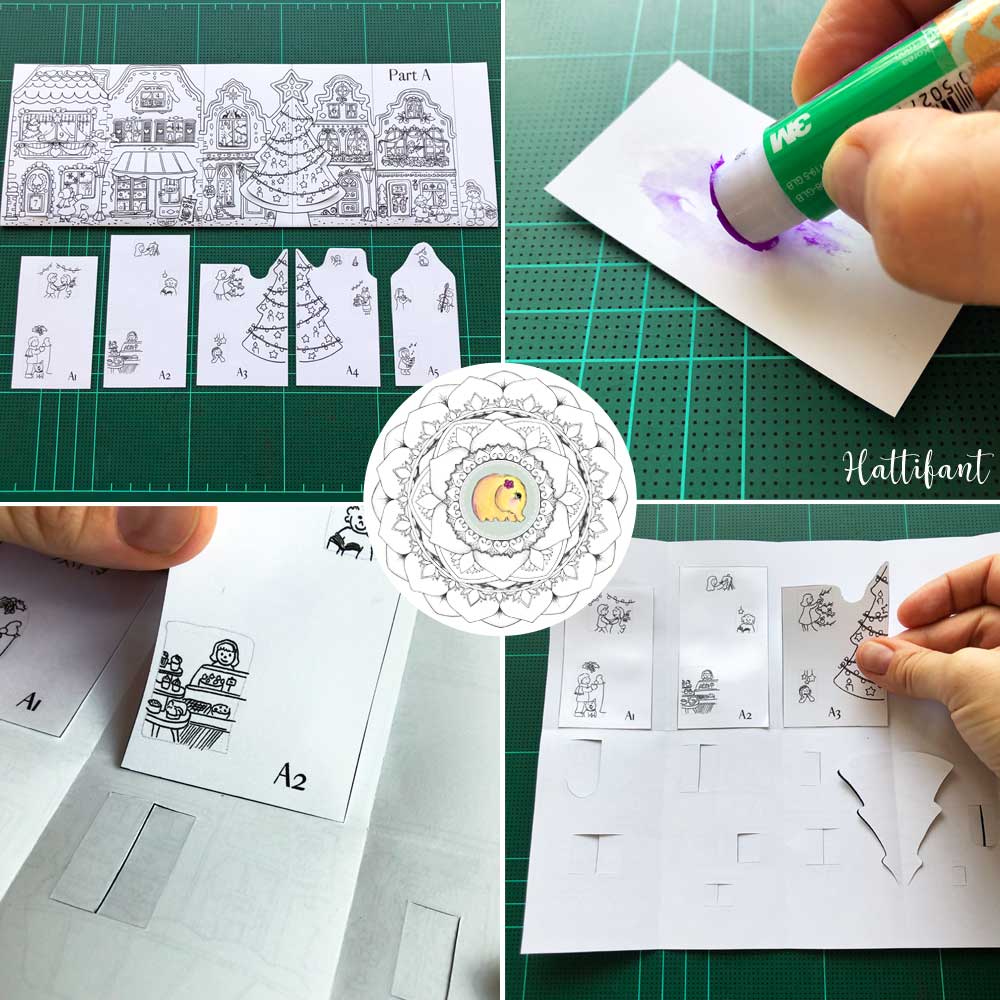
Time to insert the inner illustrations for when we open the flaps. Find the template with the inner illustrations and cut out the outlined paper parts. Align them according to their house. Add glue to each paper part. Every little paper shall be glued exactly center of each house. The scored lines show you the width of the house. Place the paper part centered in between those folded lines.
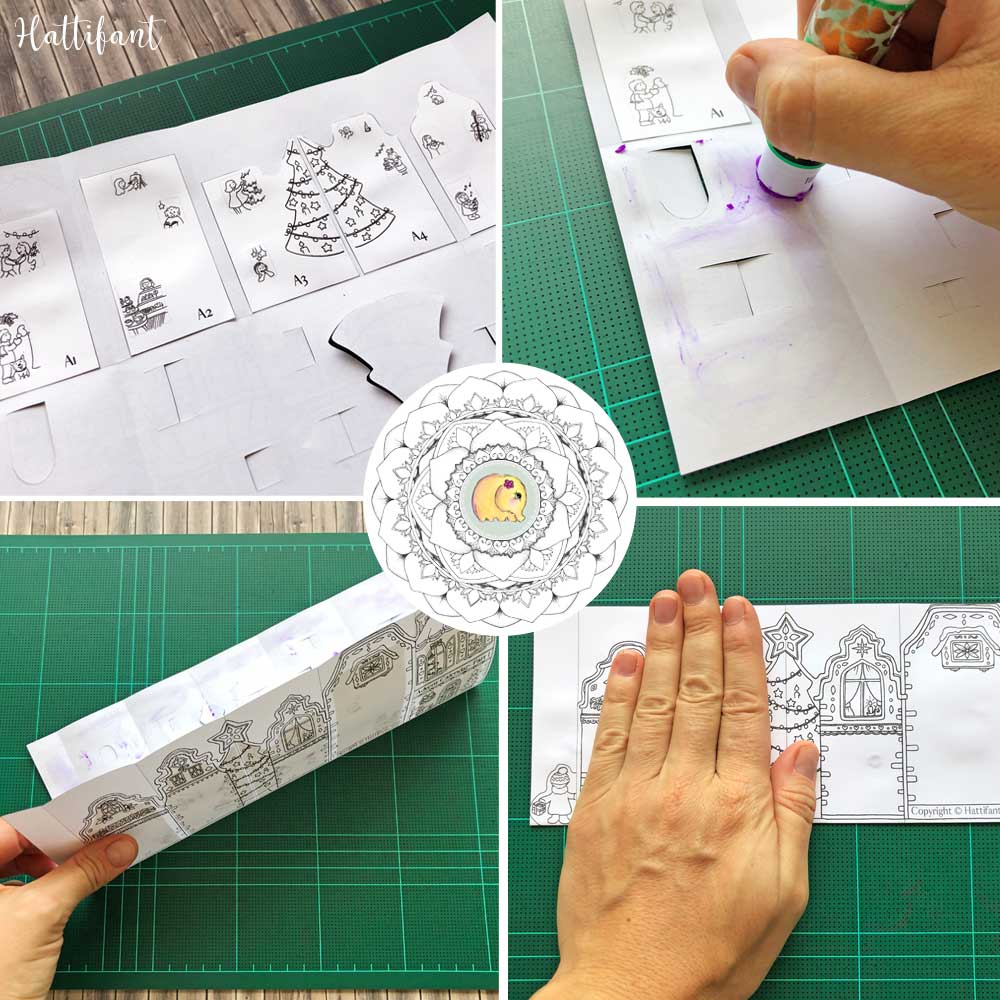
Then add glue to the side with the flaps. Be careful here not to get glue on the actual doors. Glue front and back of Part A shut as shown in the picture. Repeat these steps for Part B.
Let Part A & B dry!

Cut out Part A & B along the lines. This will give you the house shapes! Then also make a cut half way near the little boy in Part A (cut half way from above) and the little girl in Part B (cut halfway from the bottom).
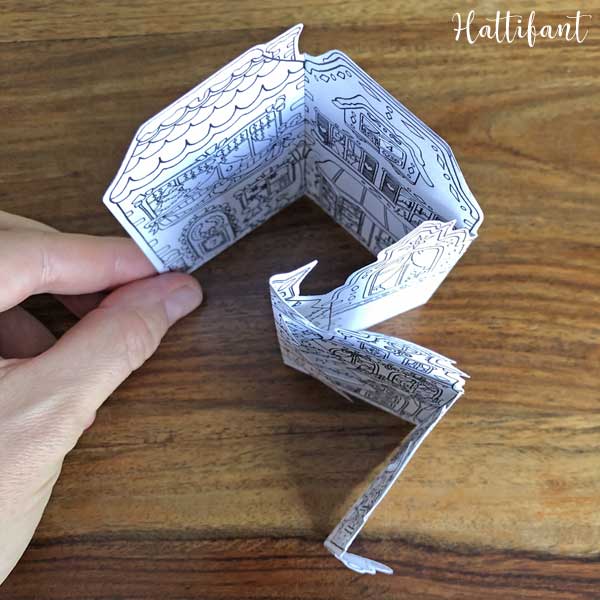
Fold Part A & B as I show in the image above!
Advent Calendar – Gift Box
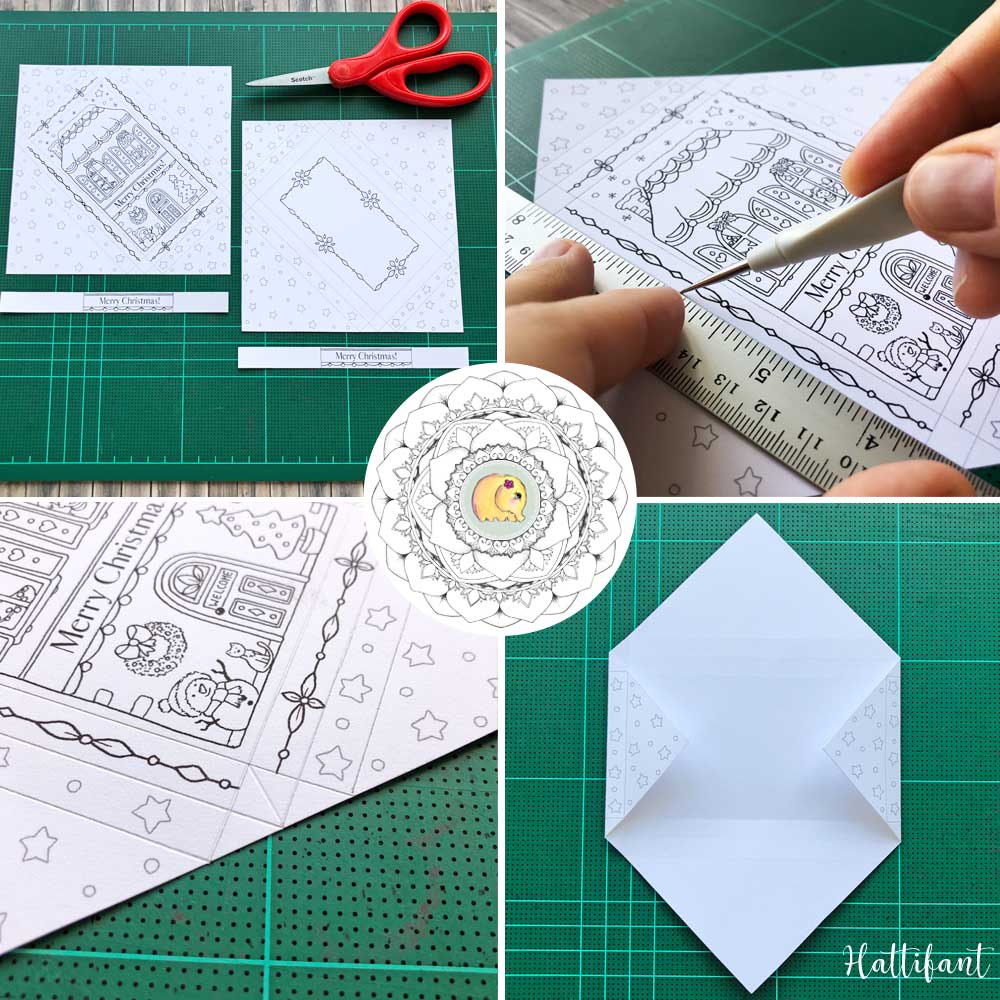
Cut out both squares for the lid and bottom of the box as well as the little paper bands to keep Part A & B shut when placed into gift box. Score all lines on the squares including the little tiny line on the corners of the front and bottom of the box. First fold the smaller triangles.
Fold again to create the side of the lid or bottom. Open up the square again and fold the bigger triangles. Fold again – the longer side of the box is now up.
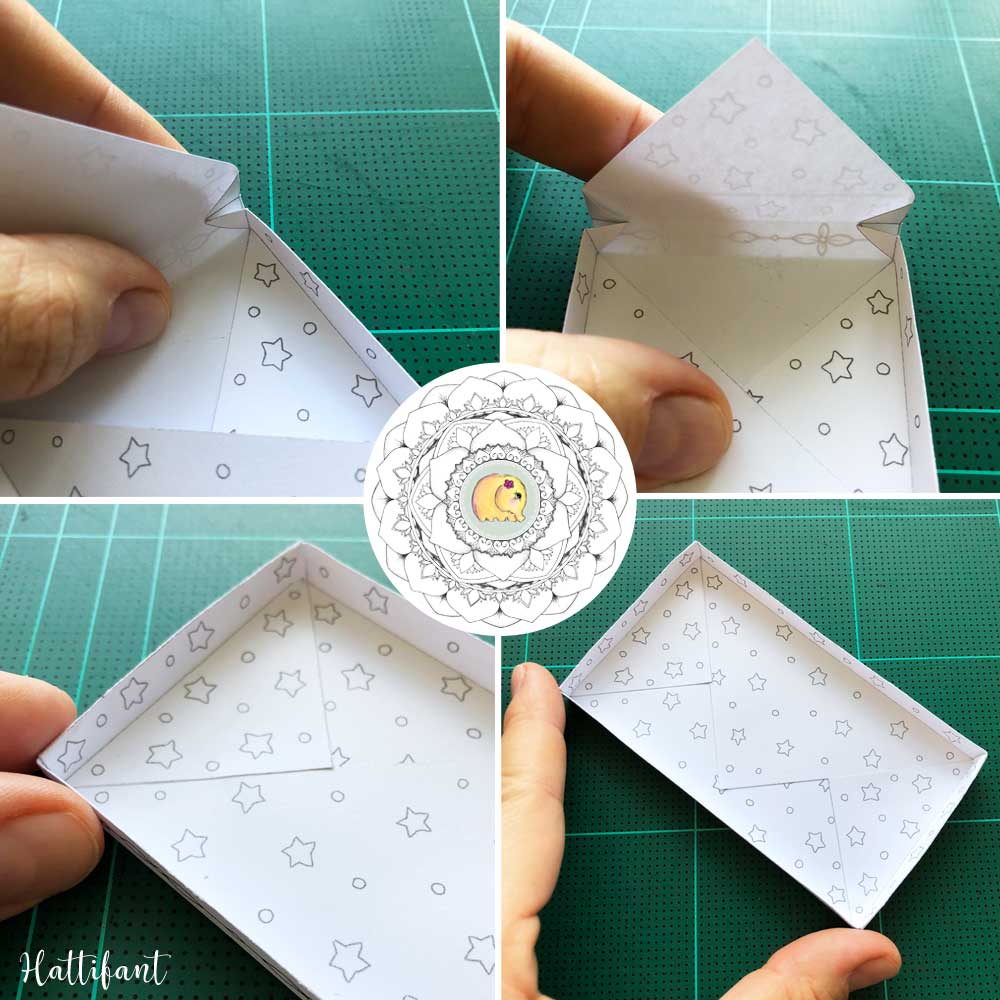
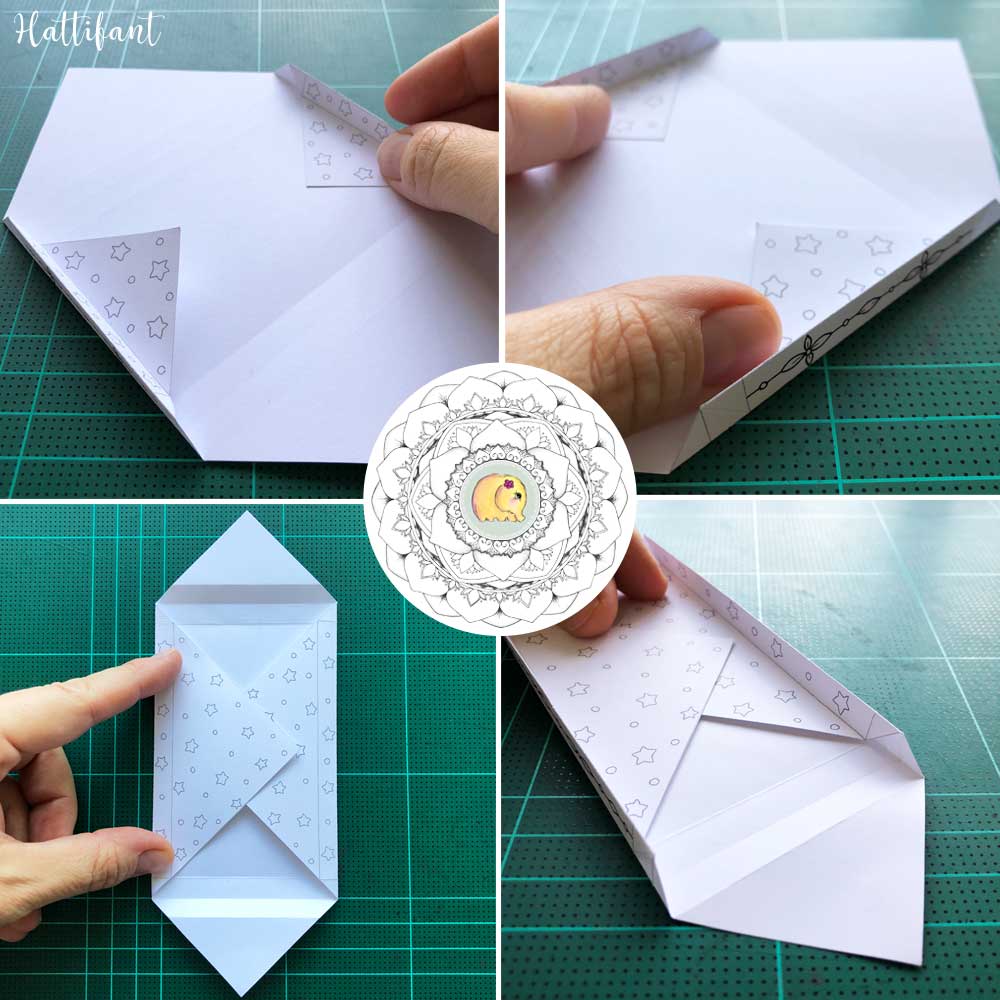
We will now fold the smaller triangle again with pushing the corners inwards (see image above). Then fold the smaller side like the longer before. Repeat with other side of the box.
Congratulations! You have made your own Advent Calendar Christmas Town!
MORE HATTIFANT CRAFTS:


You like Hattifant’s designs, toys & décor? Why not LIKE Hattifant on Facebook and always be up-to-date with Hattifant’s latest adventures…