3D Shadow Frame Bundle| Christmas Cards to Color
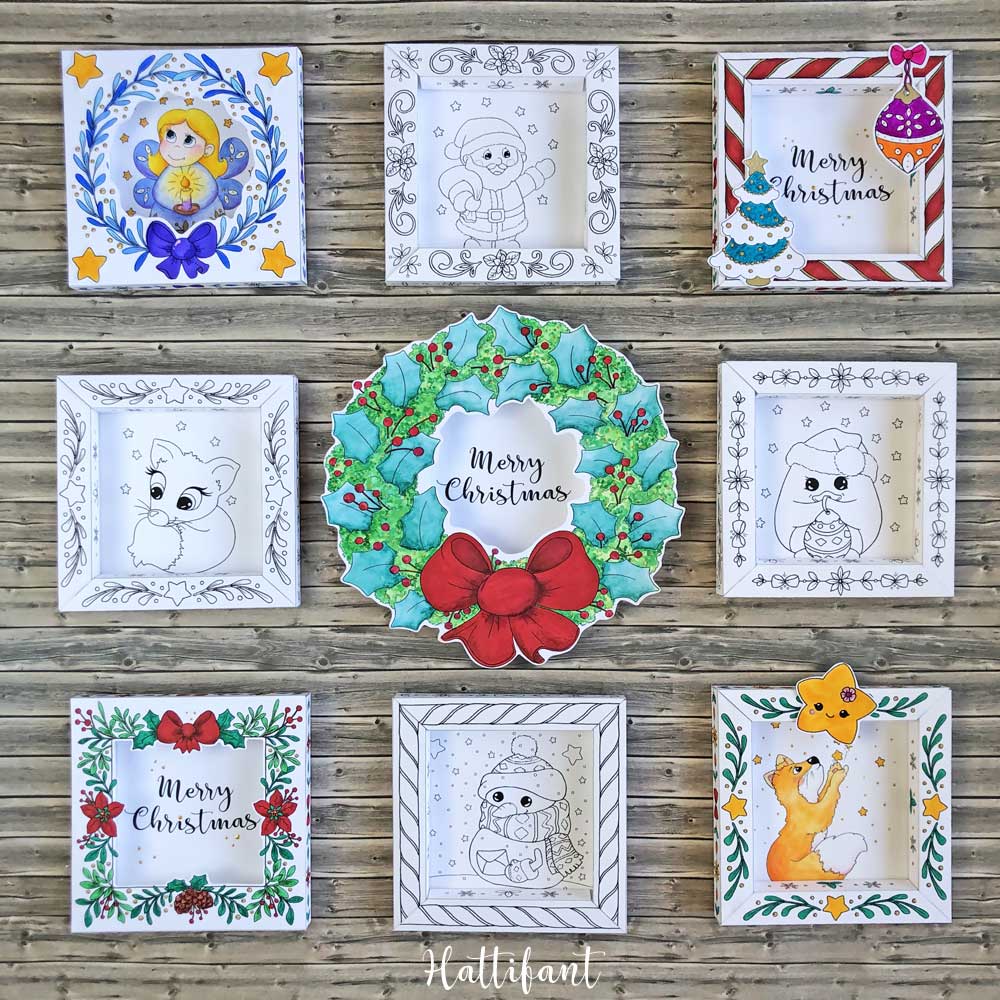
Do you remember Hattifant’s 3D Frame Valentine Greetings? Or the 3D Frame Spring Paper Cut version?! Now, I have prepared some Christmas themed 3D Frames for us! And… they are even more exciting as I added a little something else! Scroll down to find out what that is… Now let me introduce to you Hattifant’s 3D Shadow Frame Christmas Cards to Color!
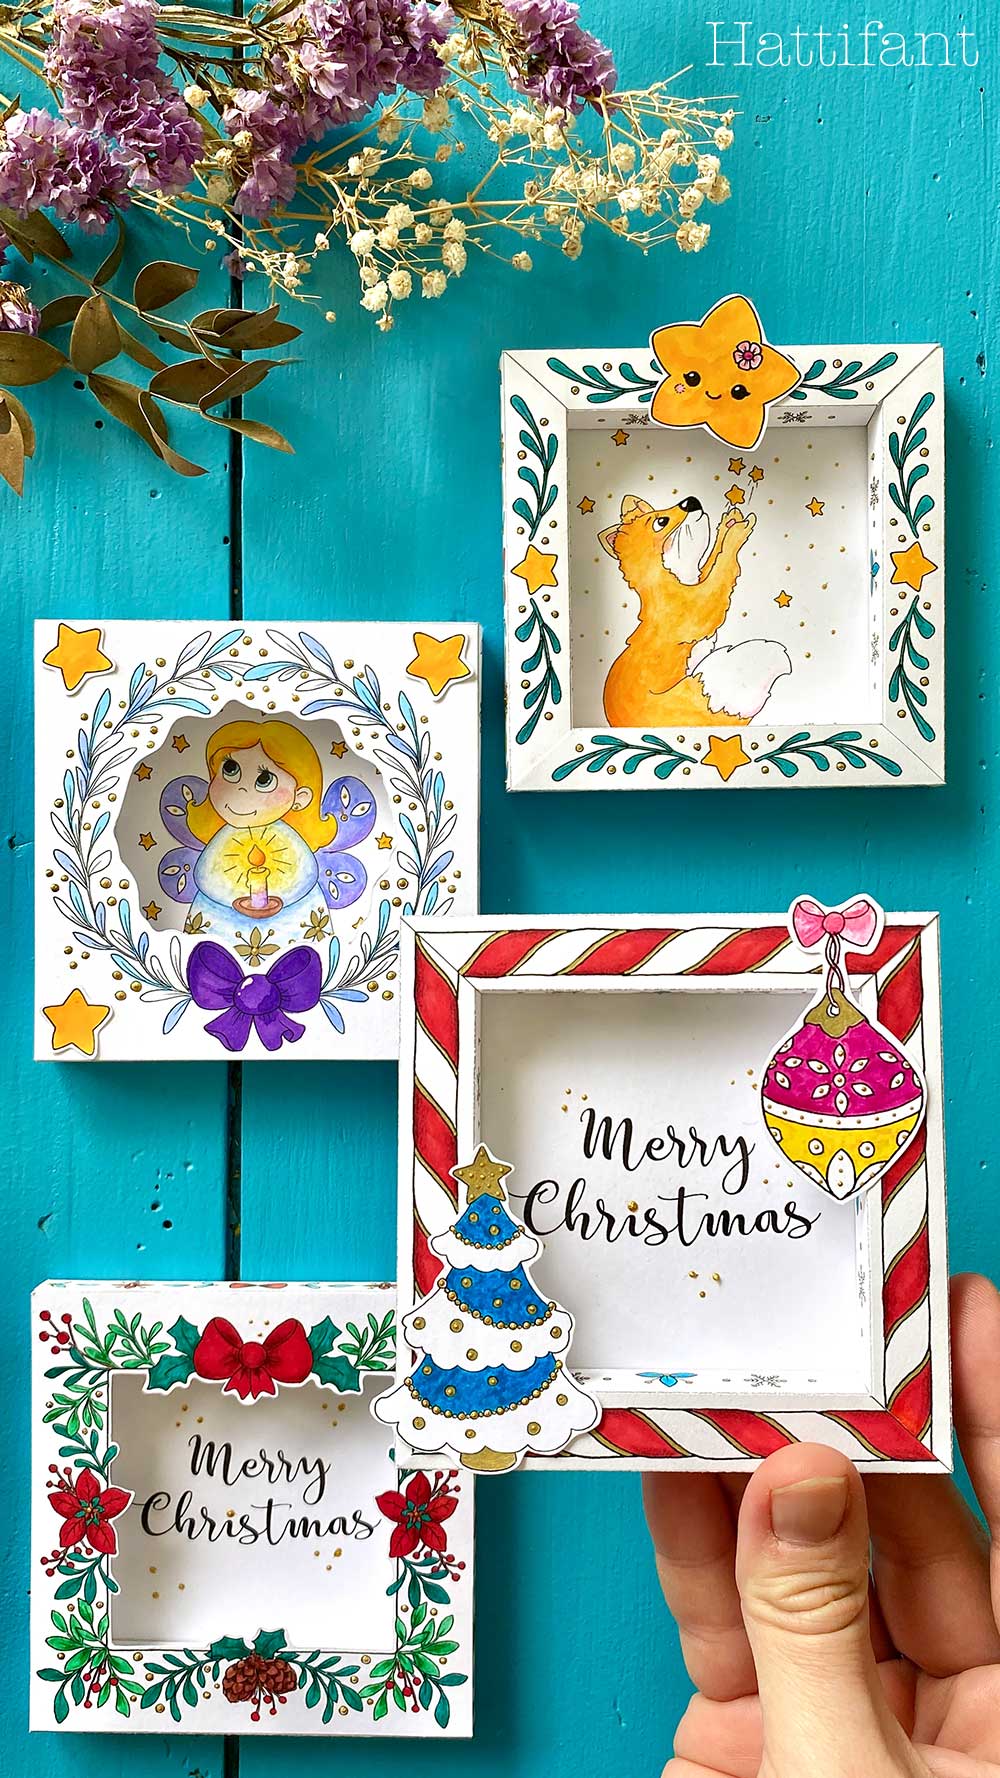
Aren’t they pretty?!
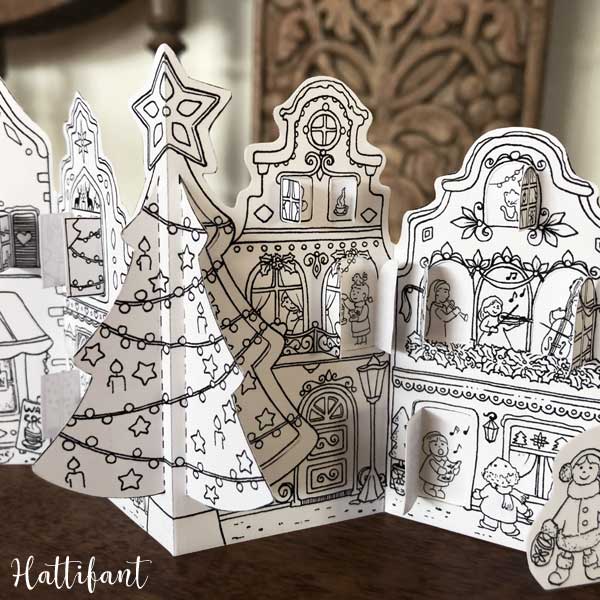
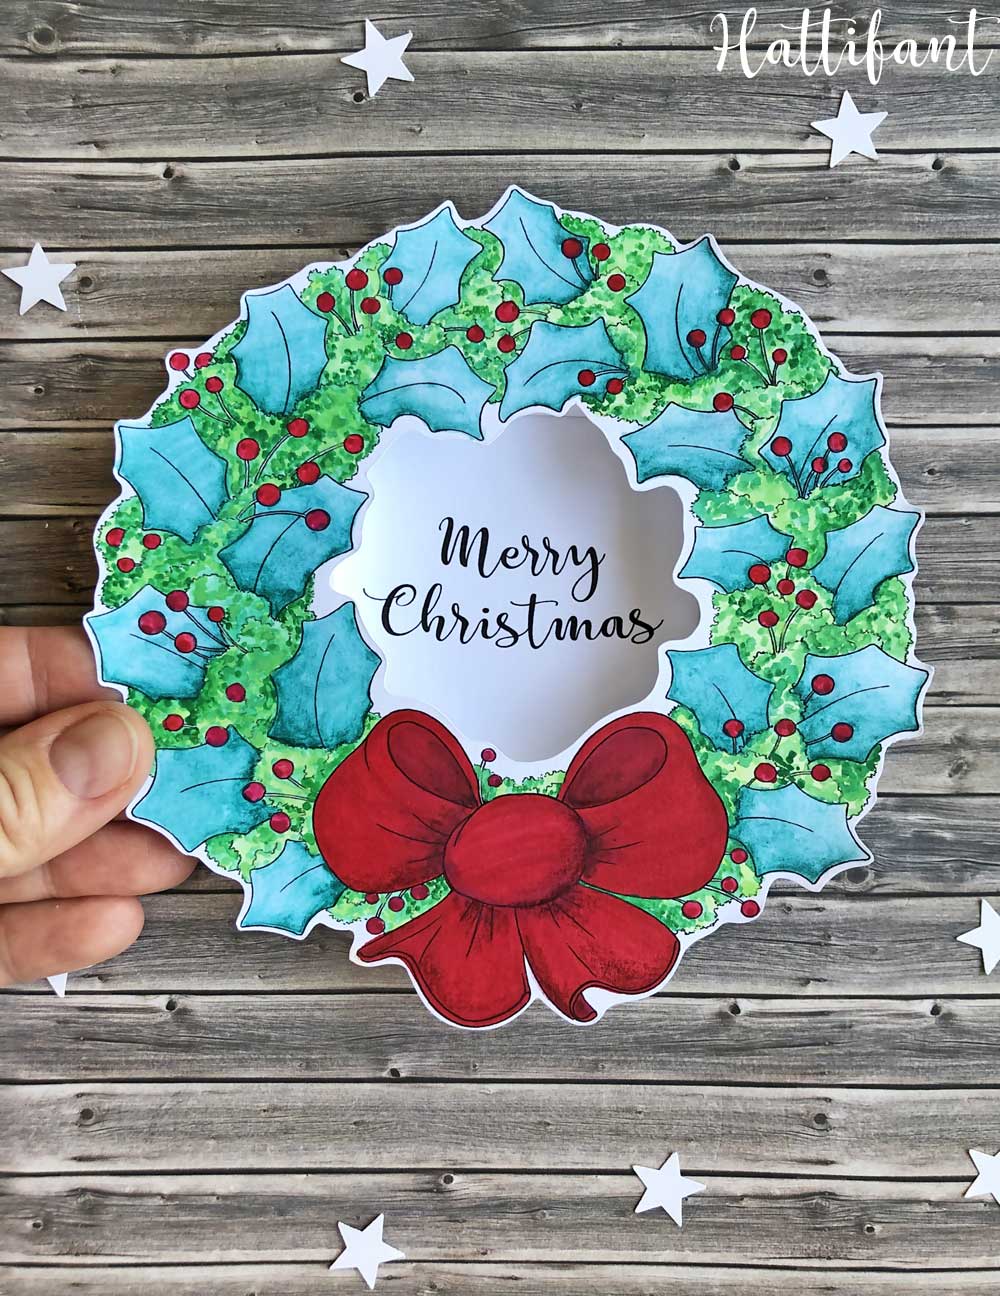
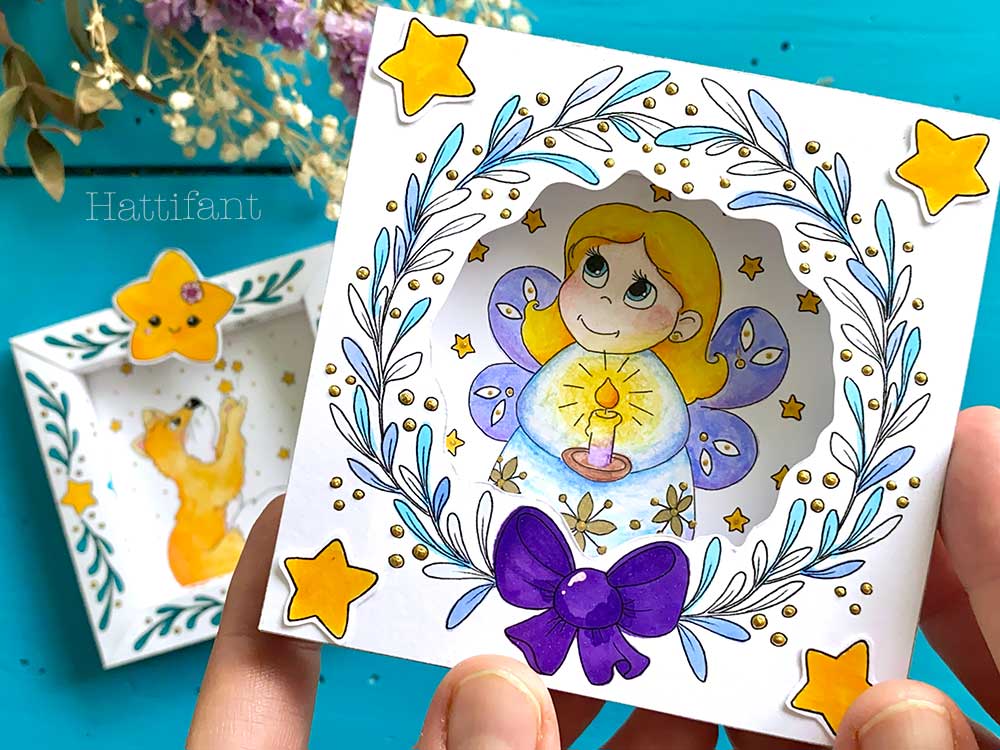
I have created three shadow frame fronts for us to add! What is a Shadow Frame Front you might ask?! This!
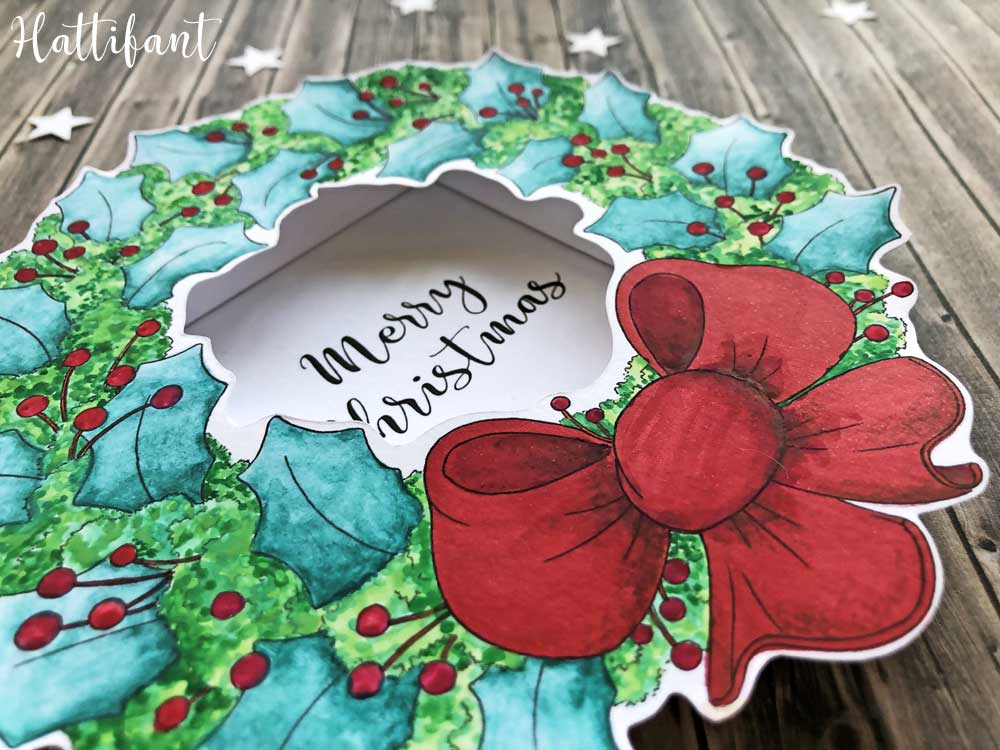
They make these 3D frames even more exciting, give them more depth – simply eye catching!
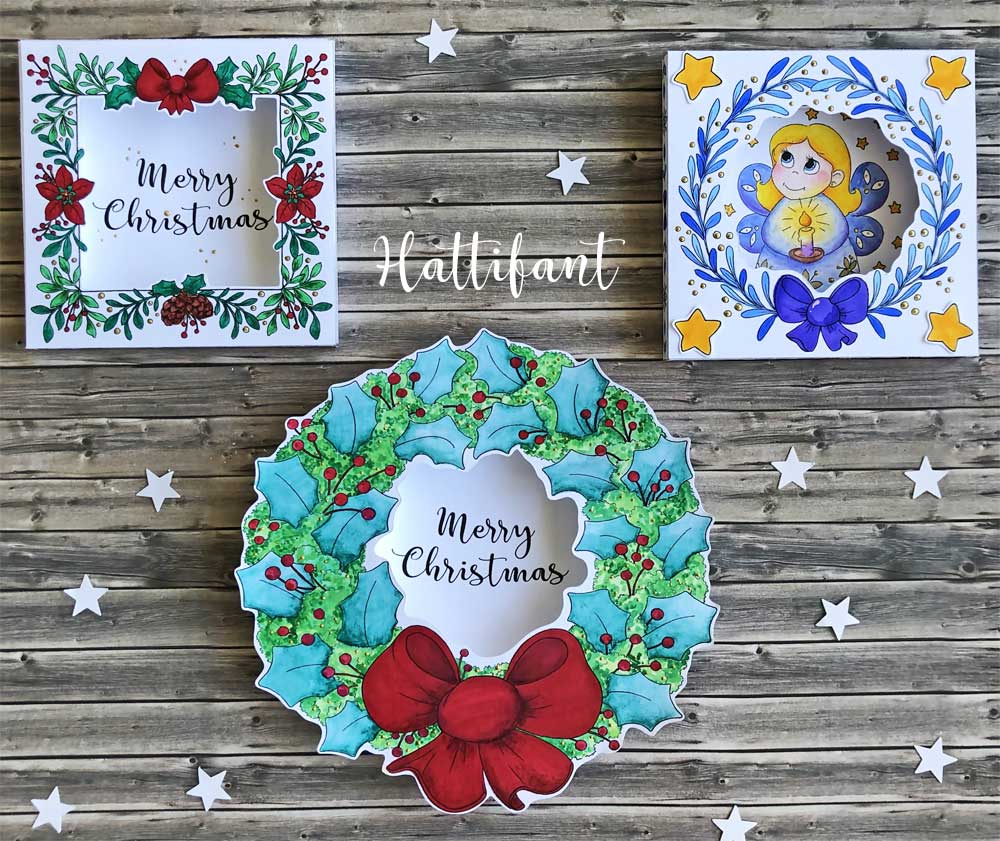
My family is laughing at me how giddy I am over these frames. I hope you will share my joy and excitement! ^_^
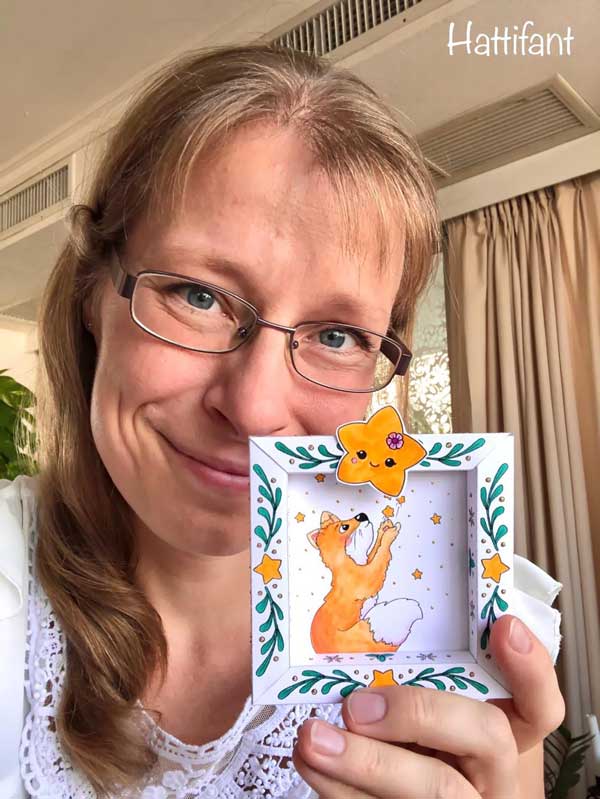
I think this one might just be my favorite: the little fox wishing upon a star! But oh my… look at all the others!!!
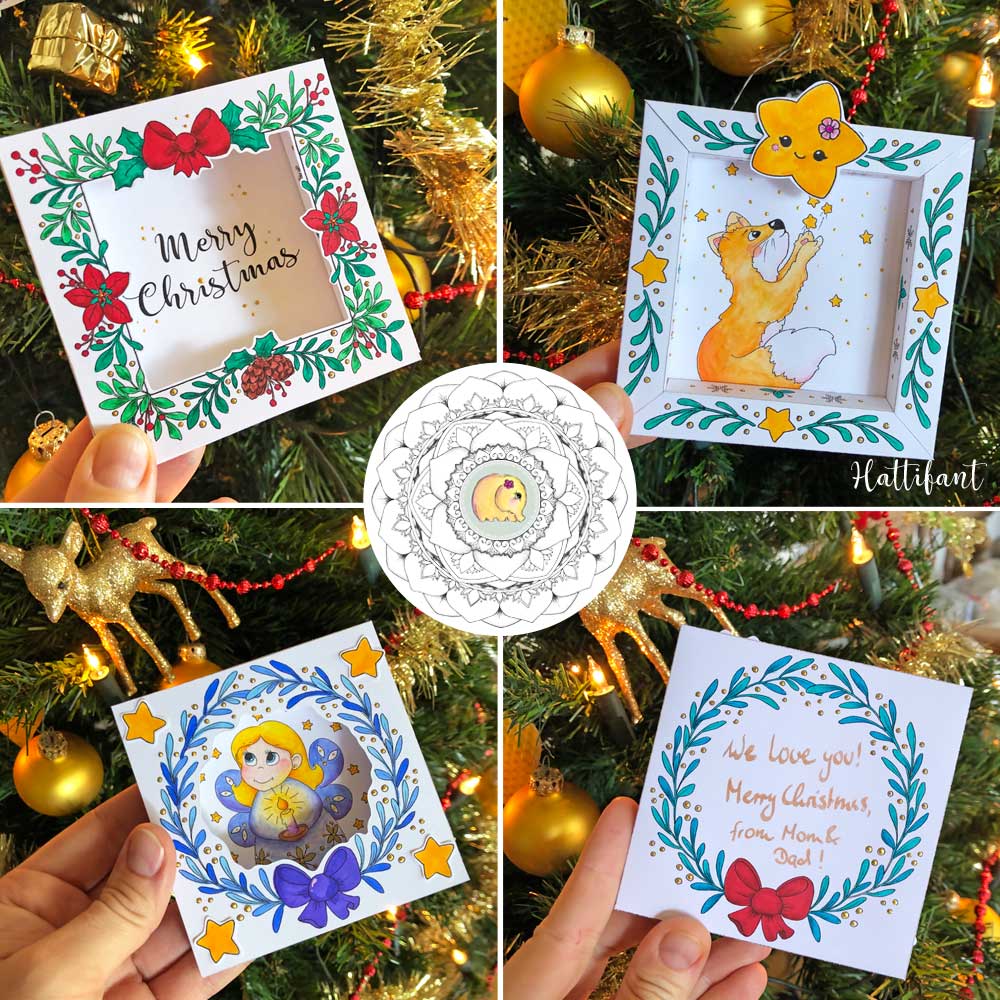
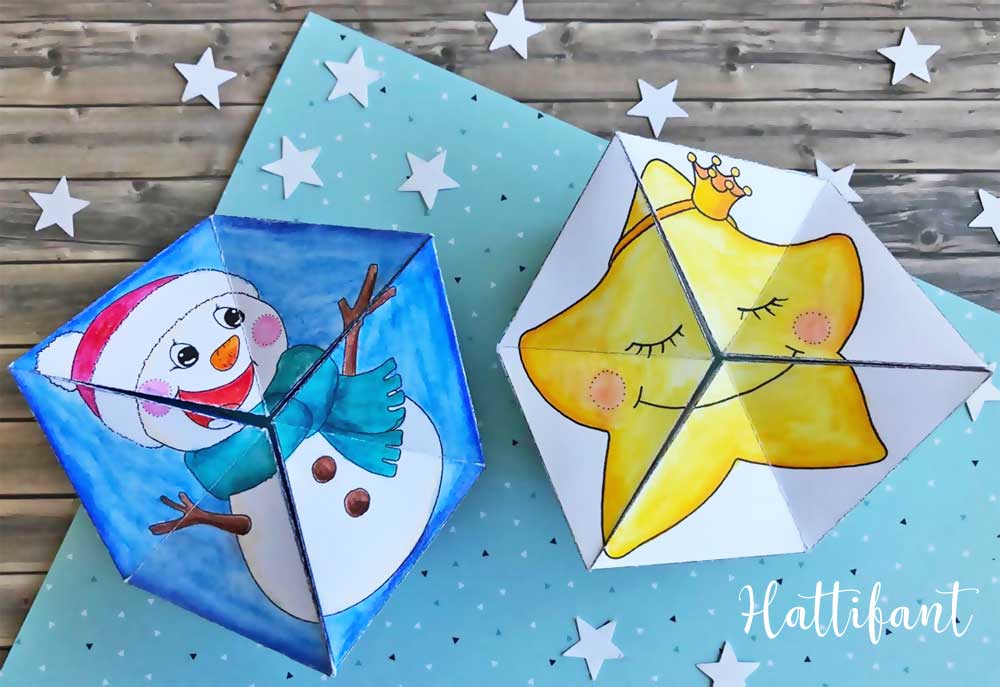
Not only do they make beautiful Christmas decoration, they also serve as greeting card. On the back you can write your personal note.
There are 12 designs to add to 5 different frames. On top of that you also have three shadow frame fronts and accessories to add to your frames.
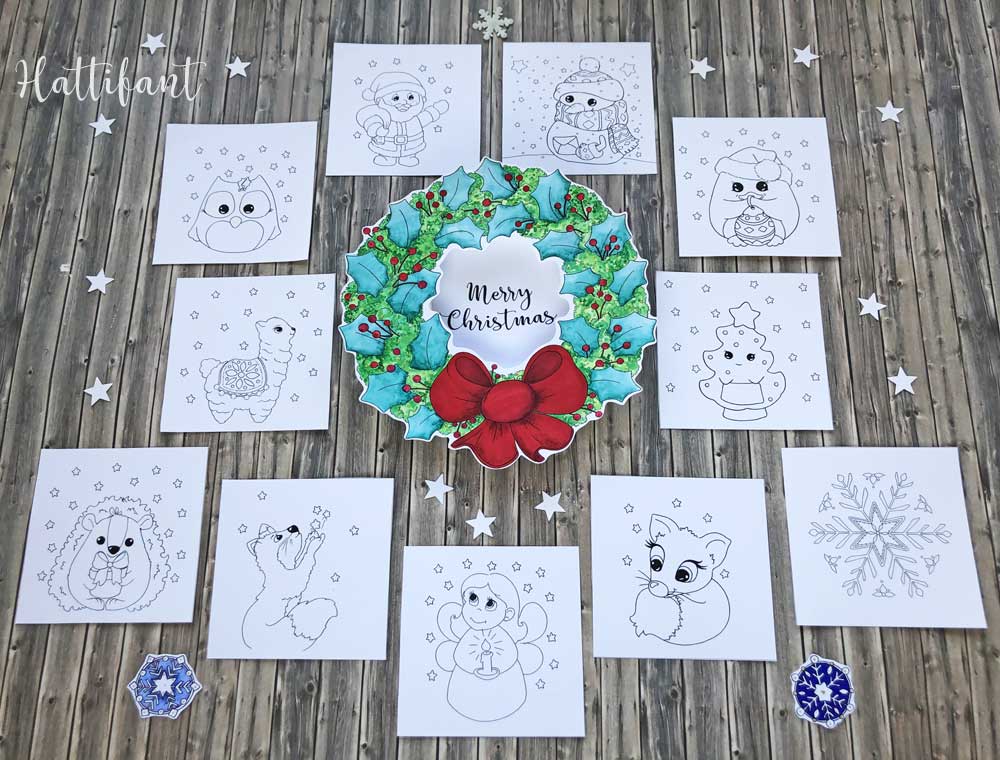
My kids want to use these inner cards to play memory as well! Great idea!
You cannot wait to join me in making your own?
PRINTABLES
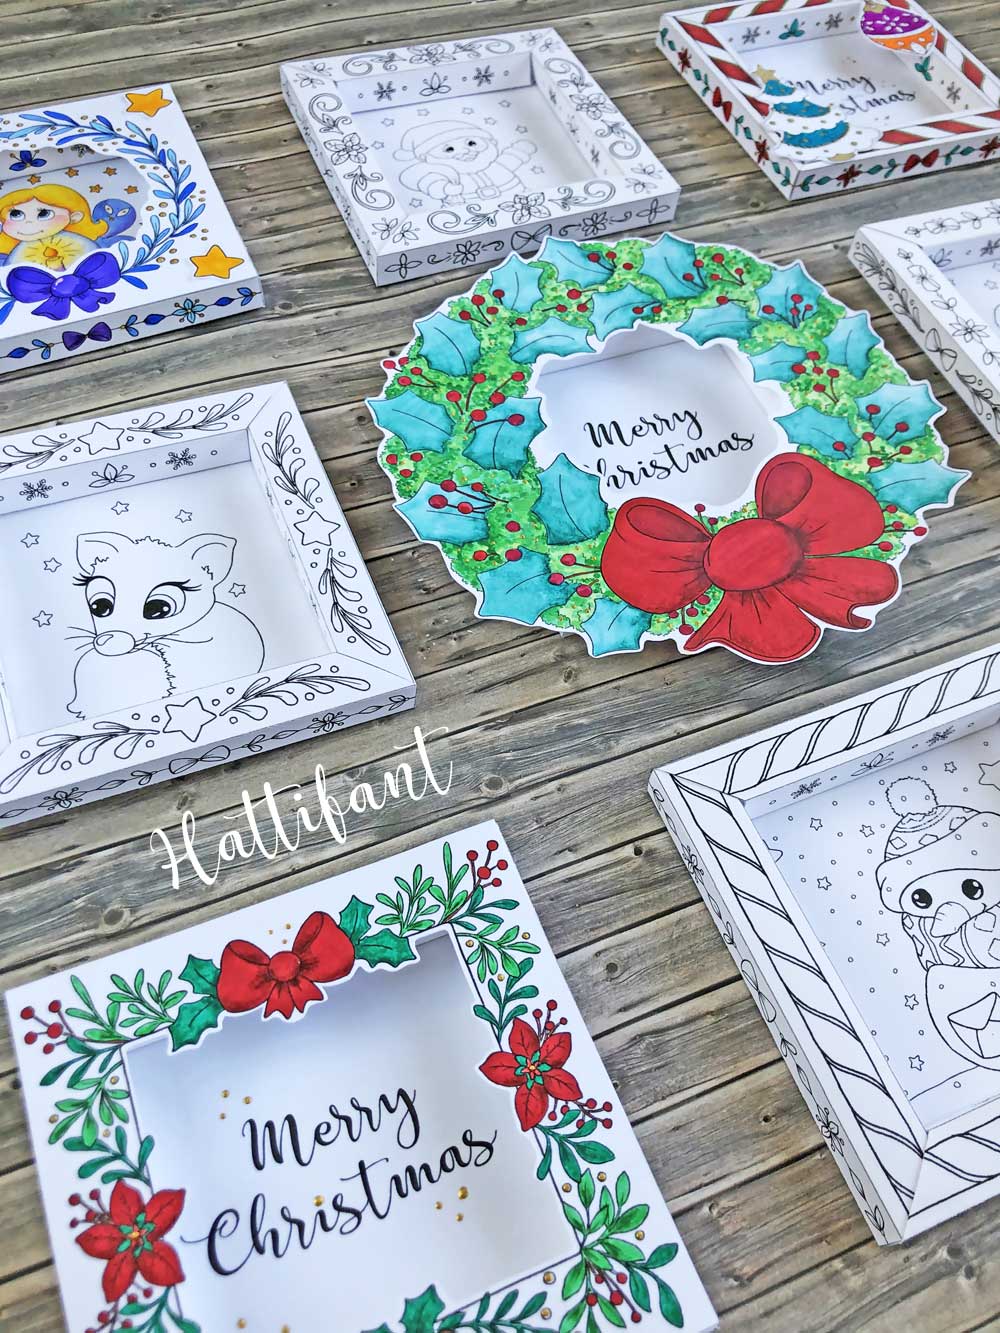
I created a bundle for you. The following is included in the 3D Shadow Frame Christmas Cards to Color:
- 5 frames to color
- 12 designs to fill the frame with,
- 3 shadow frame fronts,
- accessories to add to the frame,
- instructions
The 3D frames will measure appr. 10cm in width.
Now let me show you how to make them. They are not tricky I assure you!
HOW TO:
You will need:
- Paper (120gsm for frames, 180gsm for inner cards, shadow box fronts and accessories)
- Craft knife and safety mat
- Scoring tool & ruler
- Scissors
- Glue
- Coloring Pens
When you have your templates printed, choose if you want to use a shadow frame front or not. If you do, then best to choose one of the frames that state it best to use for accessorizing.
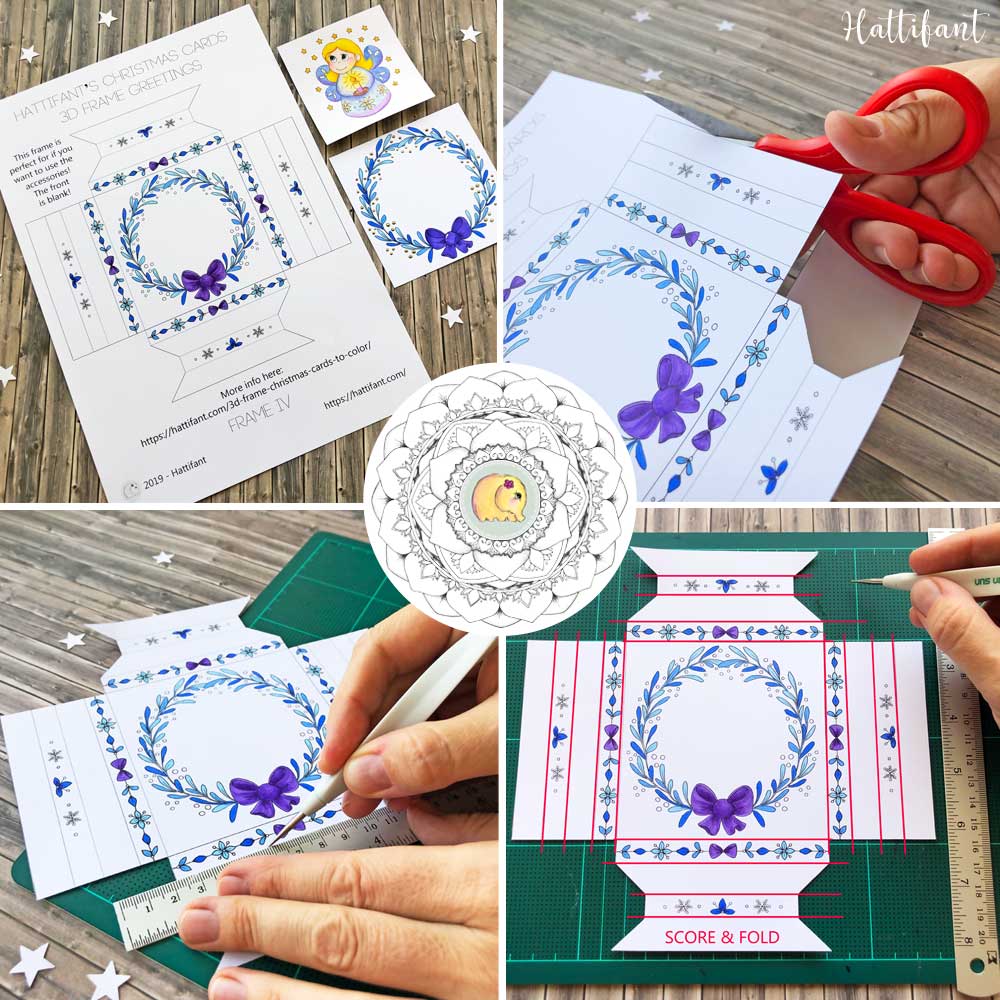
The front of the 3D frame will then be blank. No need to color there as it will be covered by the shadow frame front. All that’s left is to choose your inner card and which shadow frame front you would like to use.
Time to color! Hurray! When finished cut out the frame and score all the red lines as indicated in the picture above.
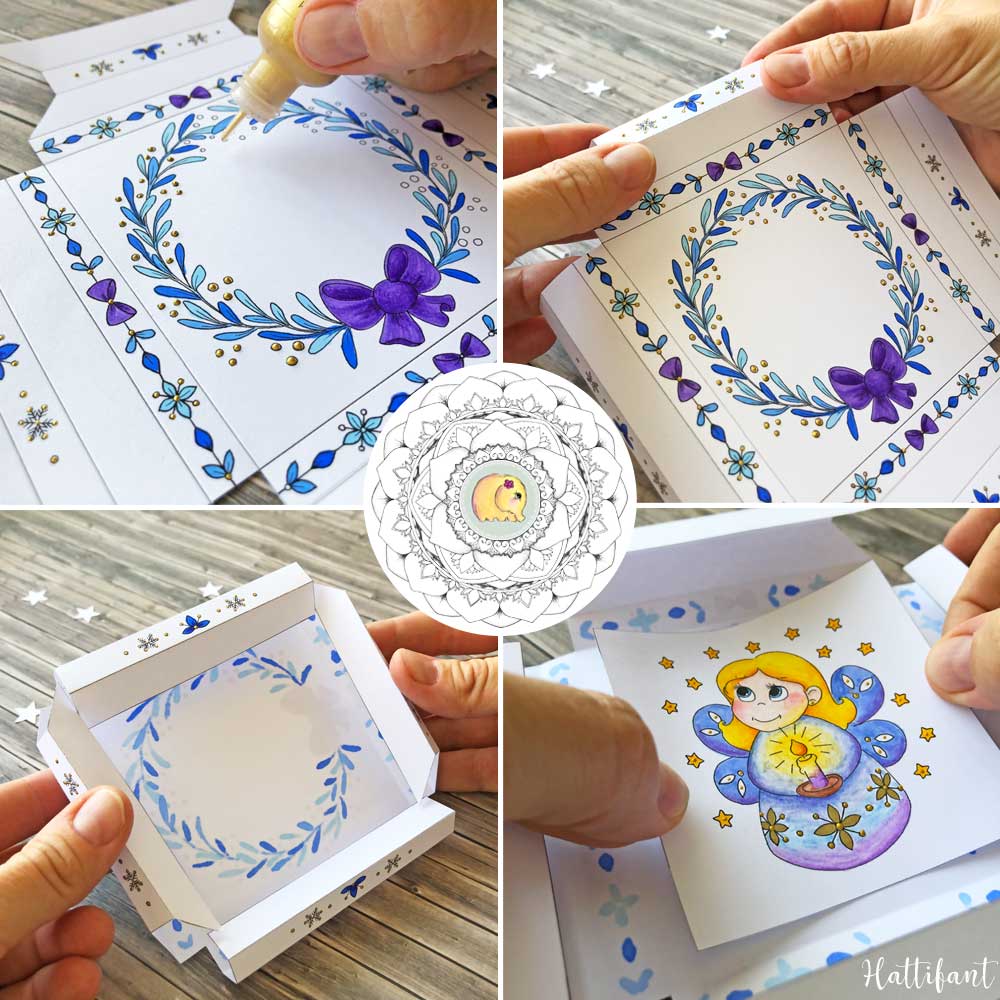
I always make the mistake to add 3D drops/paint before scoring the lines! Wait with that until after! It will be easier! Then fold the lines previously scored. Cut out the inner card and color if you have not yet done so. Place the inner card onto the inside of the frame right in the center. The coloring of the frame will now be on the outside.
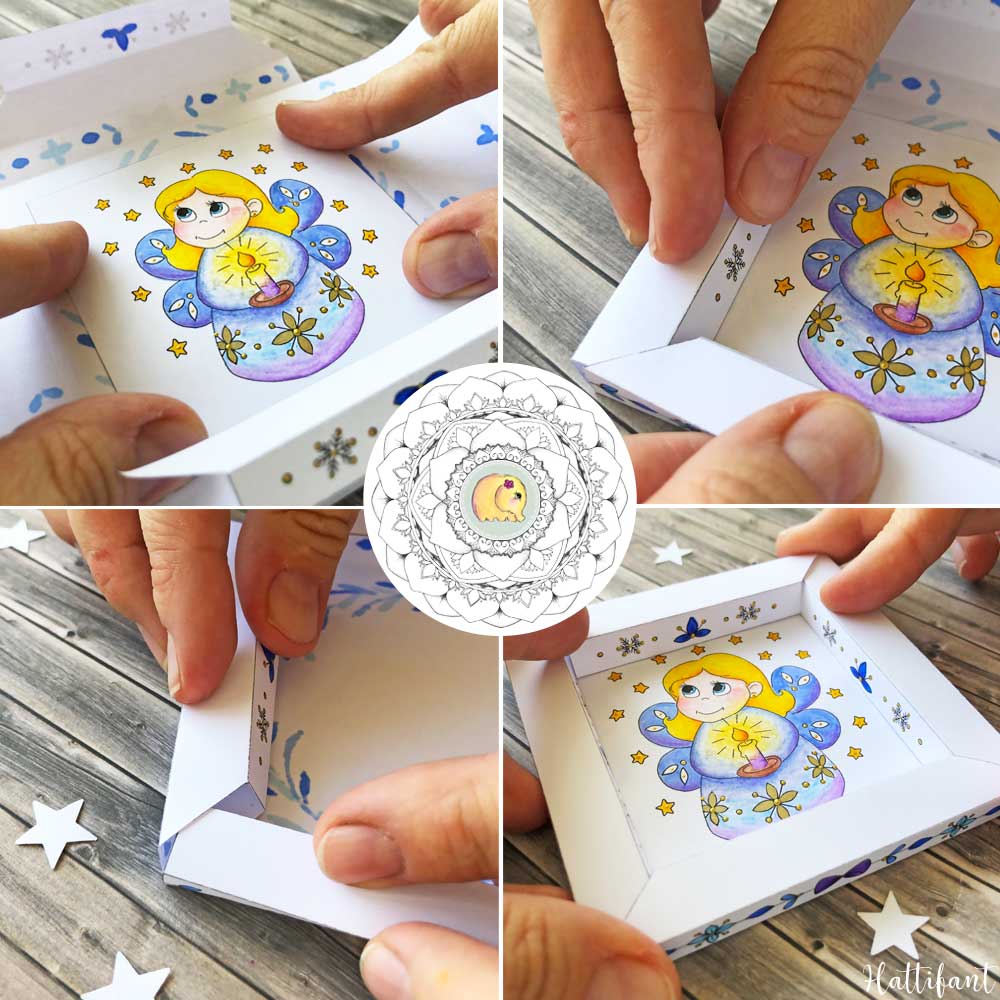
Double check that your frame is the right way around before gluing on the inner card. Not that the image on the back of the frame is upside down.
Now you can easily fold the frame in place and stick the four ends inside each other. You won’t even need any glue here.
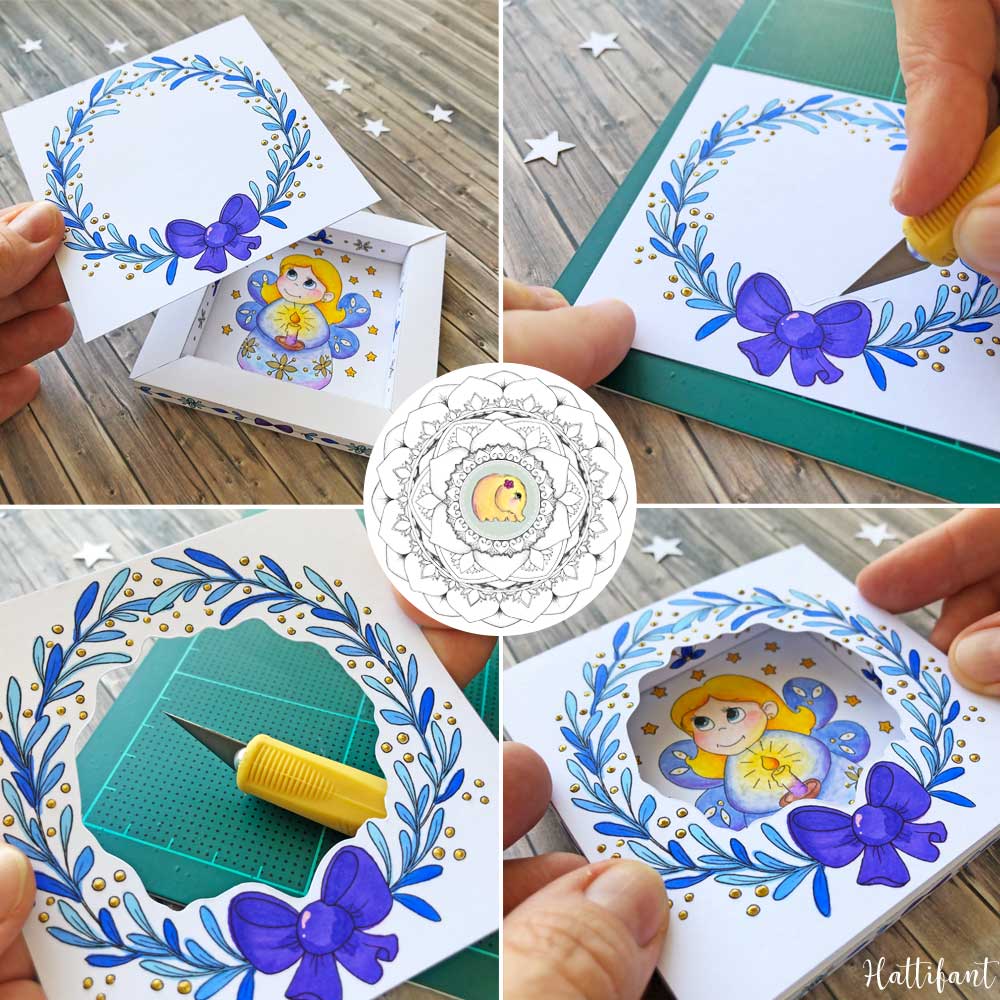
If you have chosen a 3D frame without wanting to add a shadow box front then your job is done here! Congrats!
If not, then it is time for a little paper cutting. Get your craft knife and safety mat and cut out the shadow frame front as seen up in the picture. It will fit perfectly on top of the 3D frame!
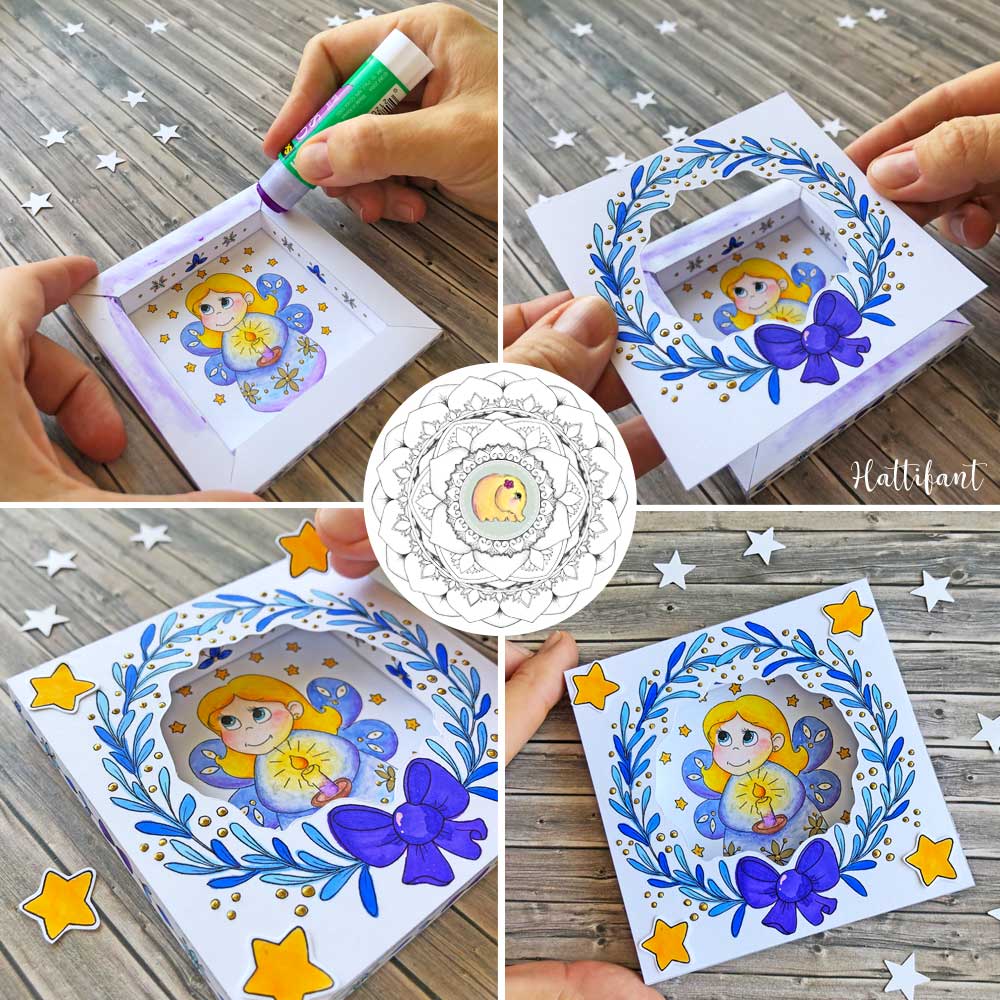
Add glue to the 3D frame front and stick the shadow frame front on top! Done!!!
You want to try something different?
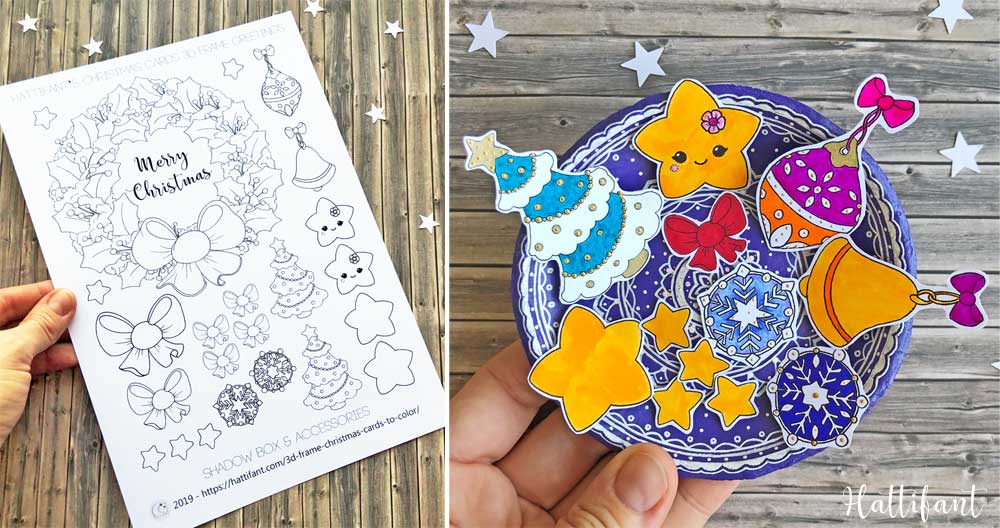
There are accessories you can add! Fun fun indeed! ^_^
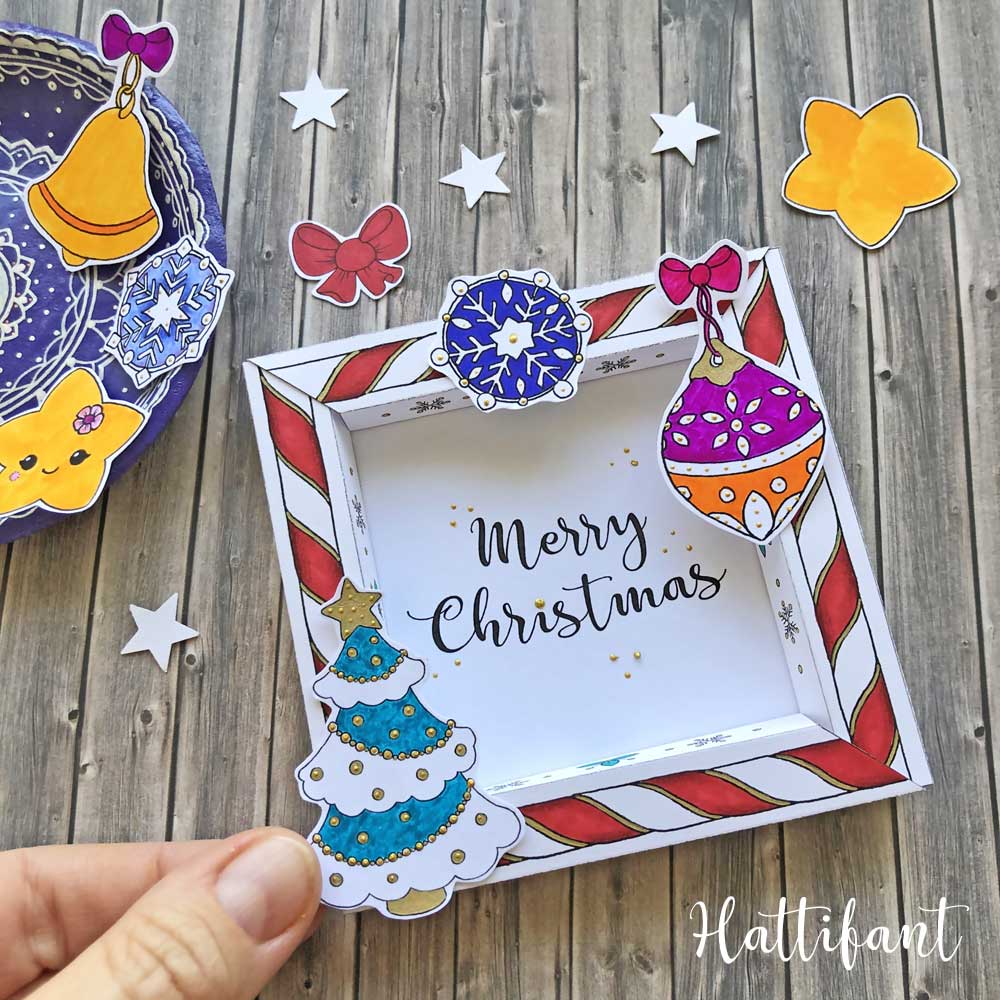
Fantastic right! So many possibilities! Something for everyone… for the whole family!
I hope you will enjoy this fun craft! I wish you and yours a very merry Christmas! Thank you for following my art and crafts and for sharing your creations with us as well!
MORE HATTIFANT CRAFTS:
You like Hattifant’s designs, toys & décor? Why not LIKE Hattifant on Facebook and always be up-to-date with Hattifant’s latest adventures…

