PAPER CUT | 3D Christmas Tree Luminary
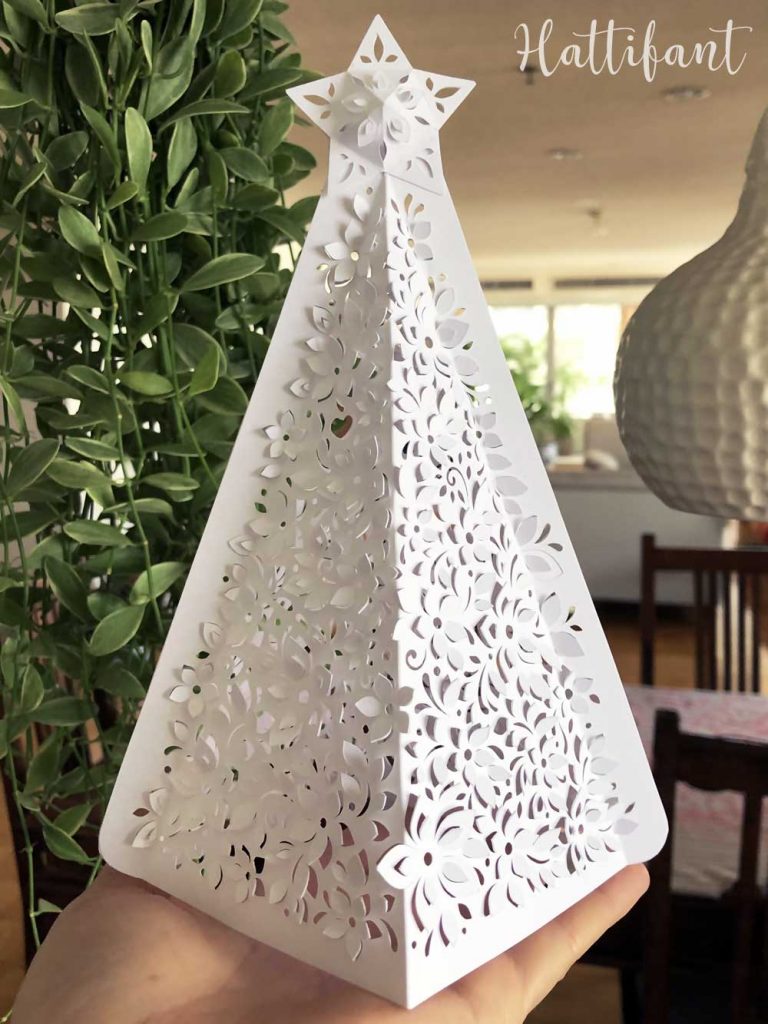
I love Christmas, luminaries…anything cozy, romantic, crafty and paper cutty… Teehee, sorry. Couldn’t resist. So let me introduce to you a new paper cut Hattifant’s 3D Christmas Tree Luminary.
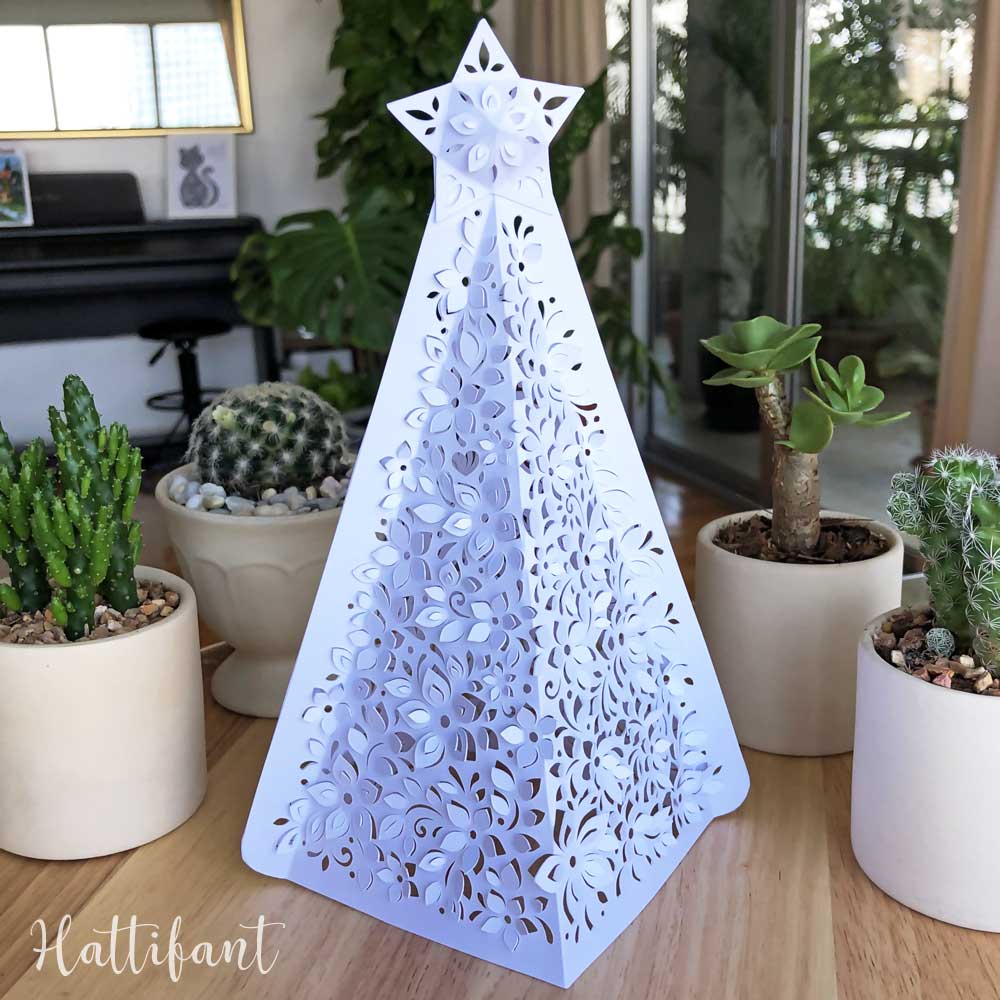
It is so beautiful and I loved every step creating it. It takes a little while to make and since I am not seasoned paper cutter my thumb is still kinda numb a day later. Have you experienced this also? Did I say it is a luminary?! Well yes!

I have these little LED candle lights to put underneath the 3D Christmas Tree Luminary. Of course DO NOT use real tea lights or candles for this!!!
HOW TO MAKE YOUR OWN
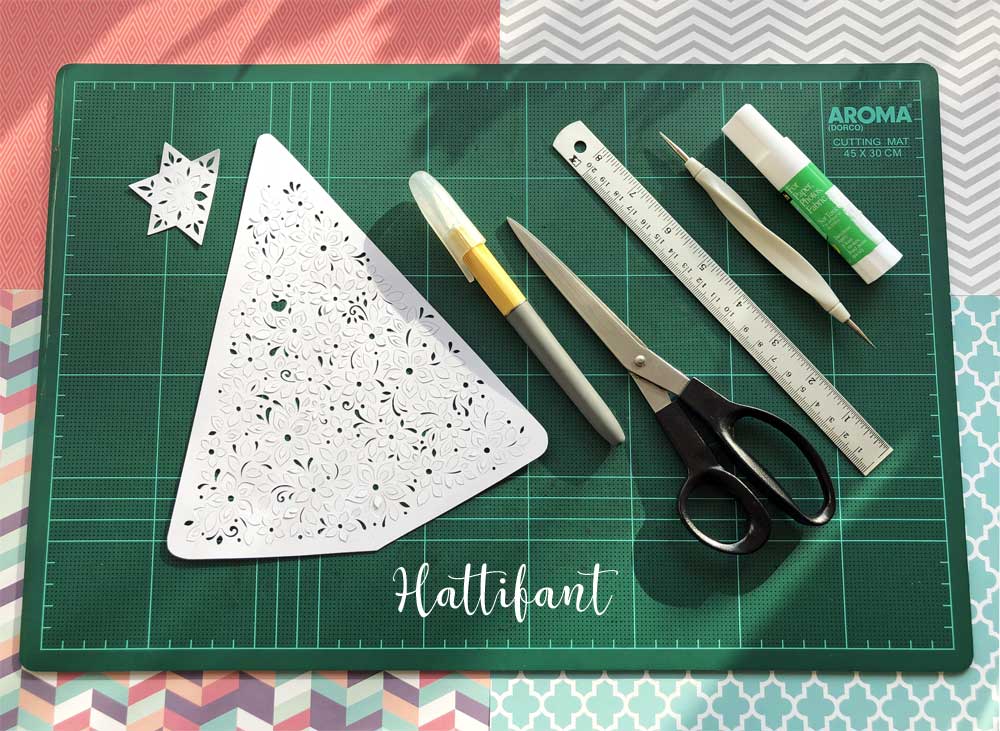
You will need:
- the template (find it towards end of post)
- paper (160-180gsm)
- scissors
- craft knife
- safety mat
- scoring tool
- ruler
- glue
- LED candle light

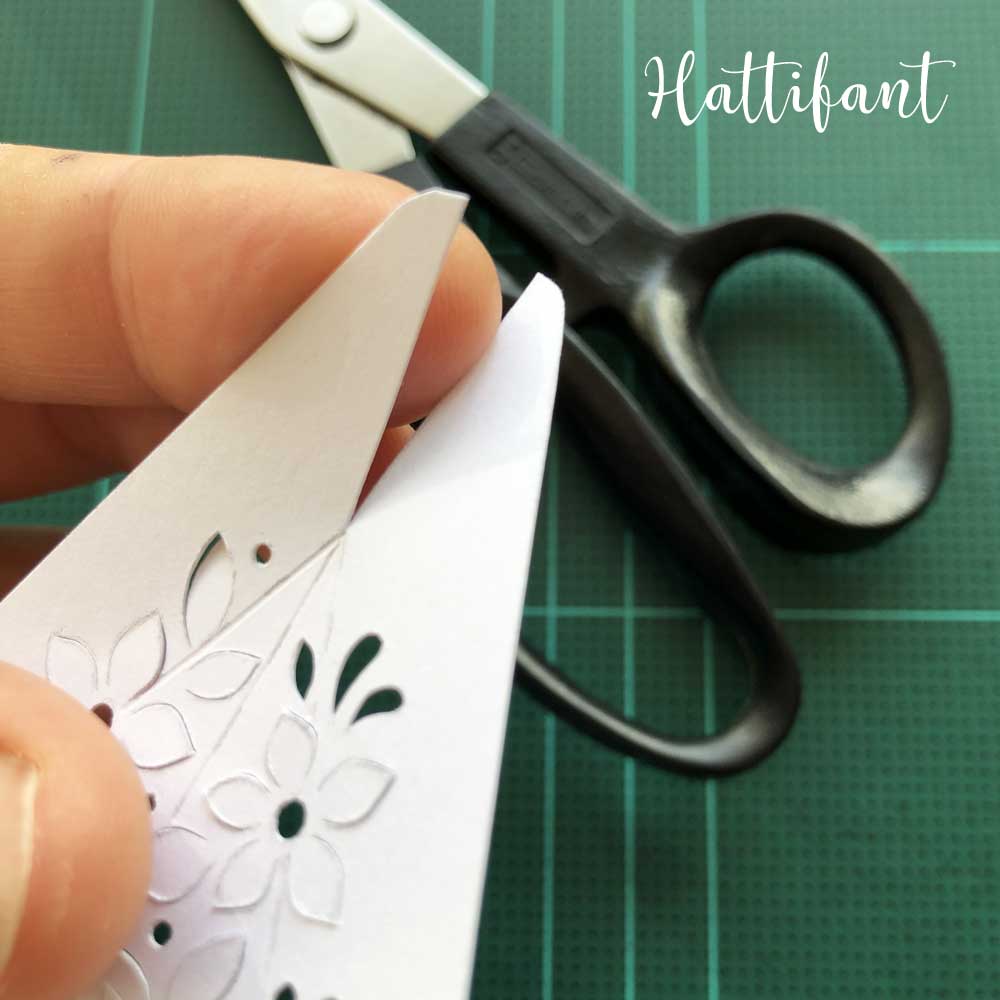
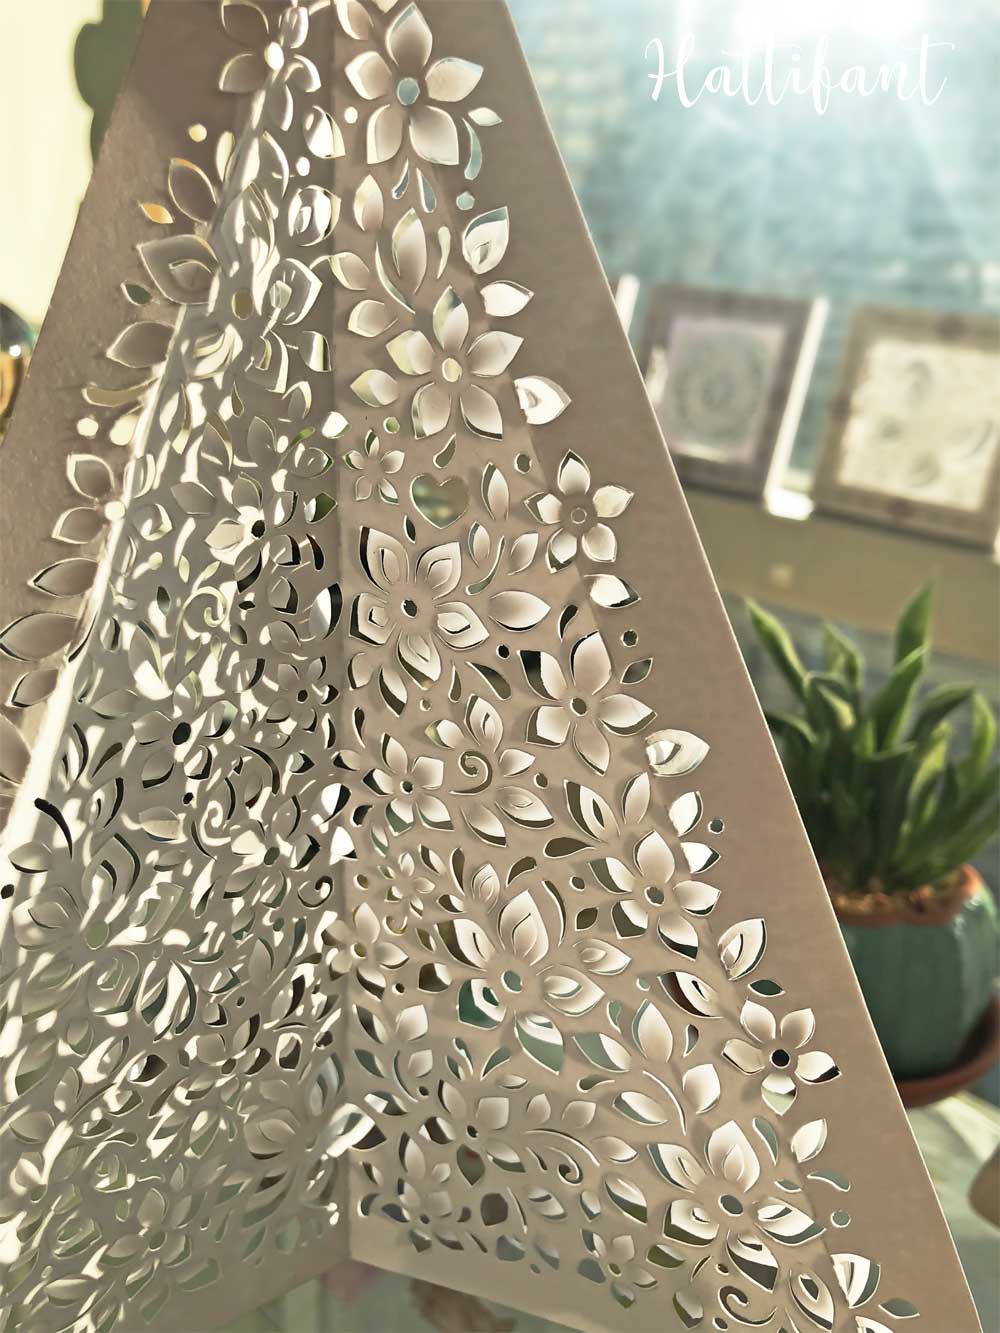
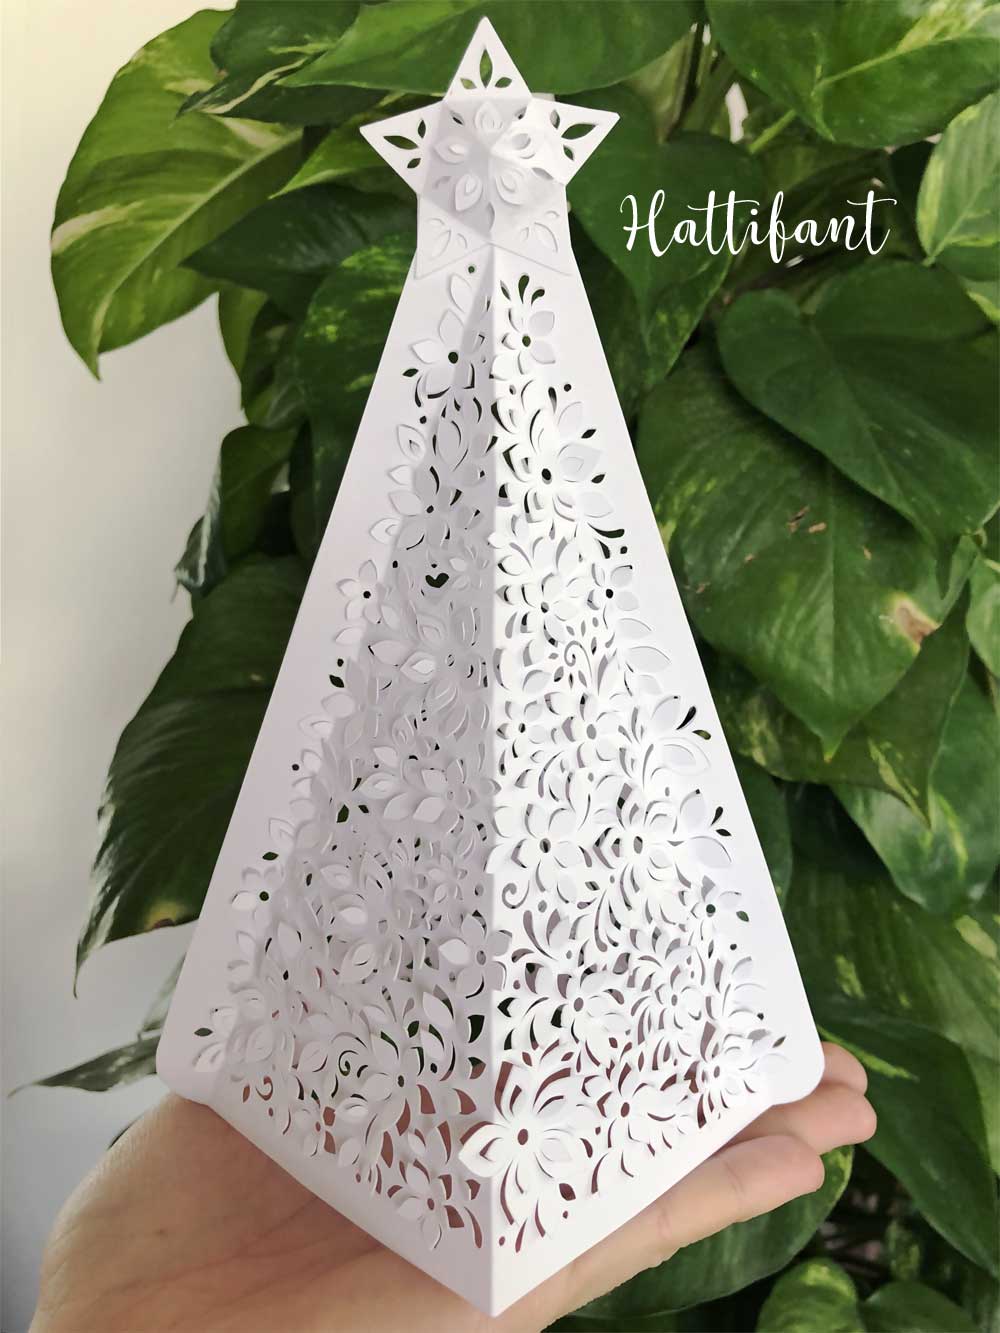
Print off the template and cut! You can choose whether to cut out the tree and star with scissors first and then cut the flower and leafy pattern with the craft knife. Or paper cut first the pattern and then cut out the shape with scissors. It is absolute fun to see how the sun light shines through the pattern. At the end of your cutting session you will have two tree and two star shapes.
Pssst…
Psst… the little dots are gorgeous with the LED candle light later but I find them hardest to cut. I use a blade 11, hold the knife straight up and then very slowly cut out the circle. You will get faster with time, don’t get frustrated. It is worth the hard work!!!
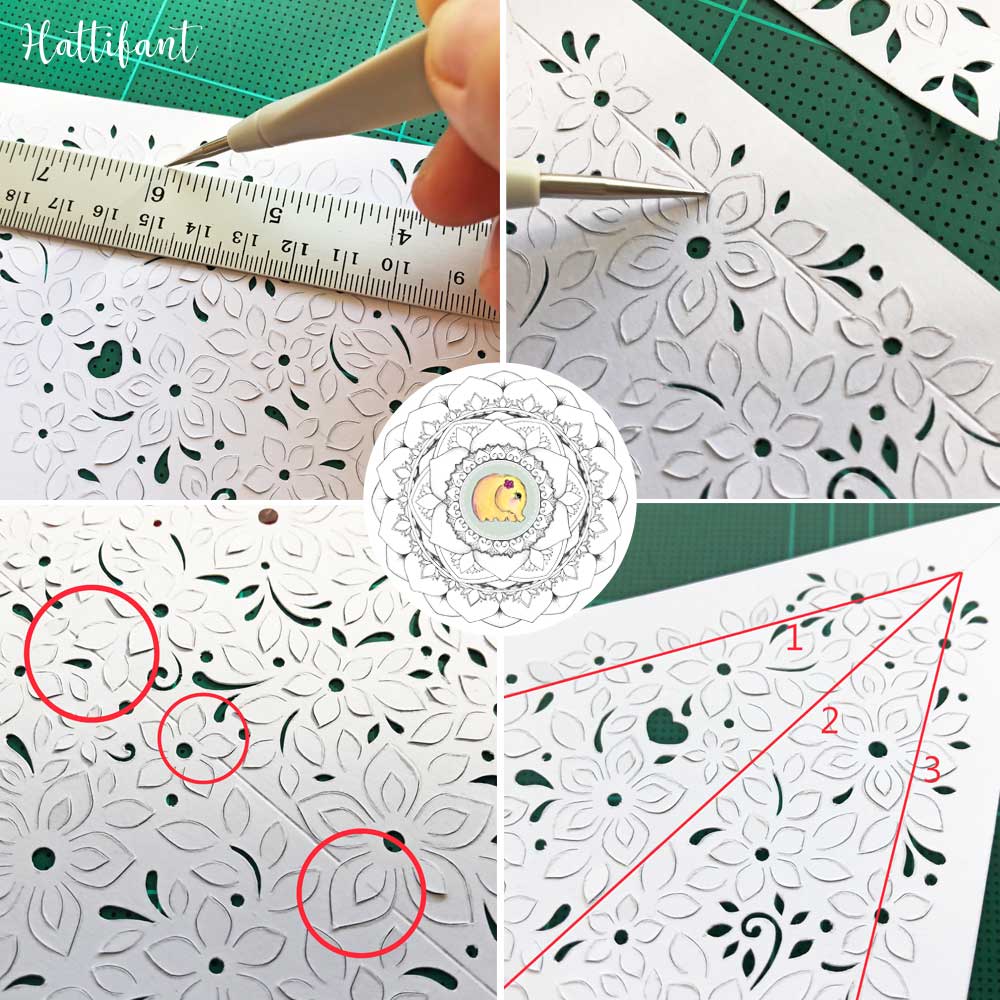
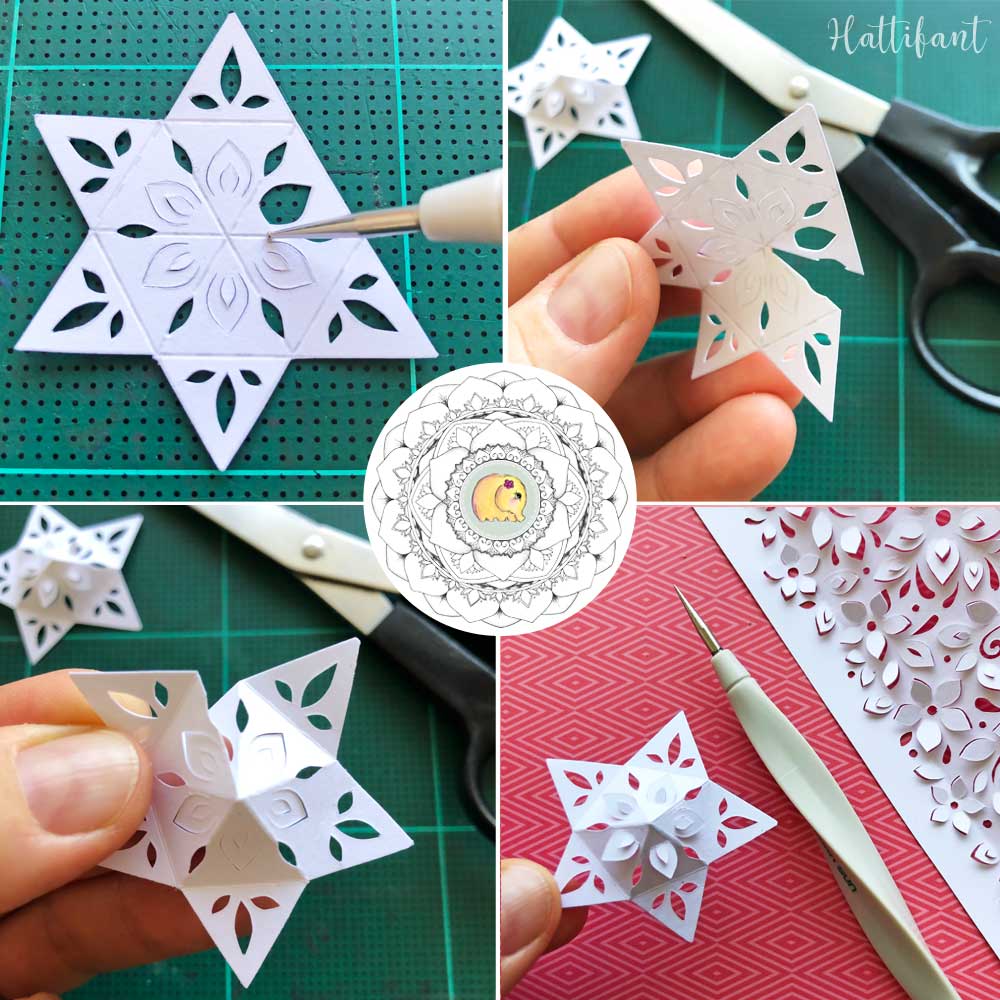
Now we will carefully score three lines on each tree shape. I left out the flower petals and leaves that crossed over the lines to fold as I want to bend/fold them in other areas than those lines (see red circles).
Make a cut at the top of the tree shape right to where the folding lines meet. This cut is necessary for when we fold the lines we scored. The cut will split.

It’s time to fold the lines of our already amazing looking Paper Cut 3D Christmas Tree Luminary.
Do this carefully and leave out the leaves and petals that cross over the line. Remember, we didn’t even score those in the first place. When you have folded the line for the first time, flatten it again and push through the leave and petals to the side that doesn’t have any marking on it. The side with the pattern will be the inside of the luminary.

Then fold the other outside line and finally the middle line of the tree template. Repeat this with the second tree template.
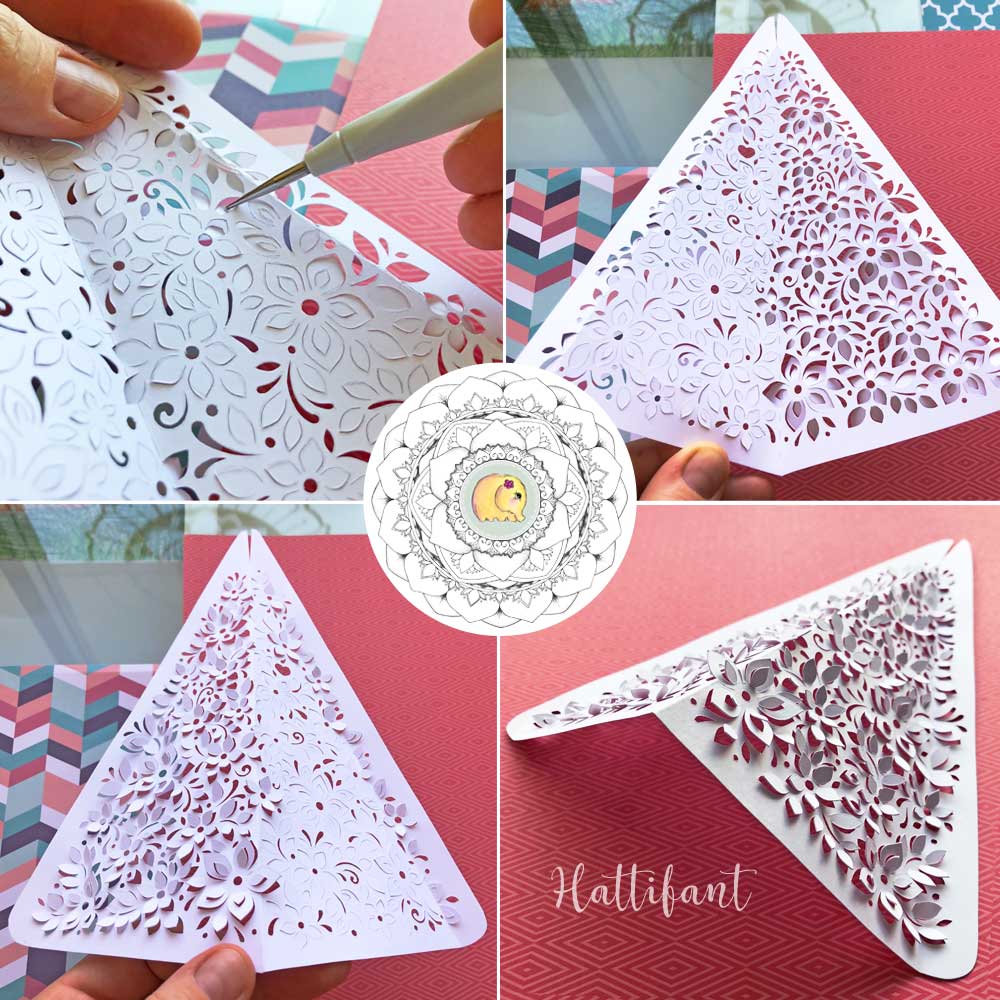
I love this next step: we push with a pointy tool (I tend to use this embossing tool for scoring also) the petals and leaves gently through to the side without marking. In the picture above, upper right hand corner you see half the tree pattern pushed through. And when you turn around the template you will see what the pattern will look from the outside.
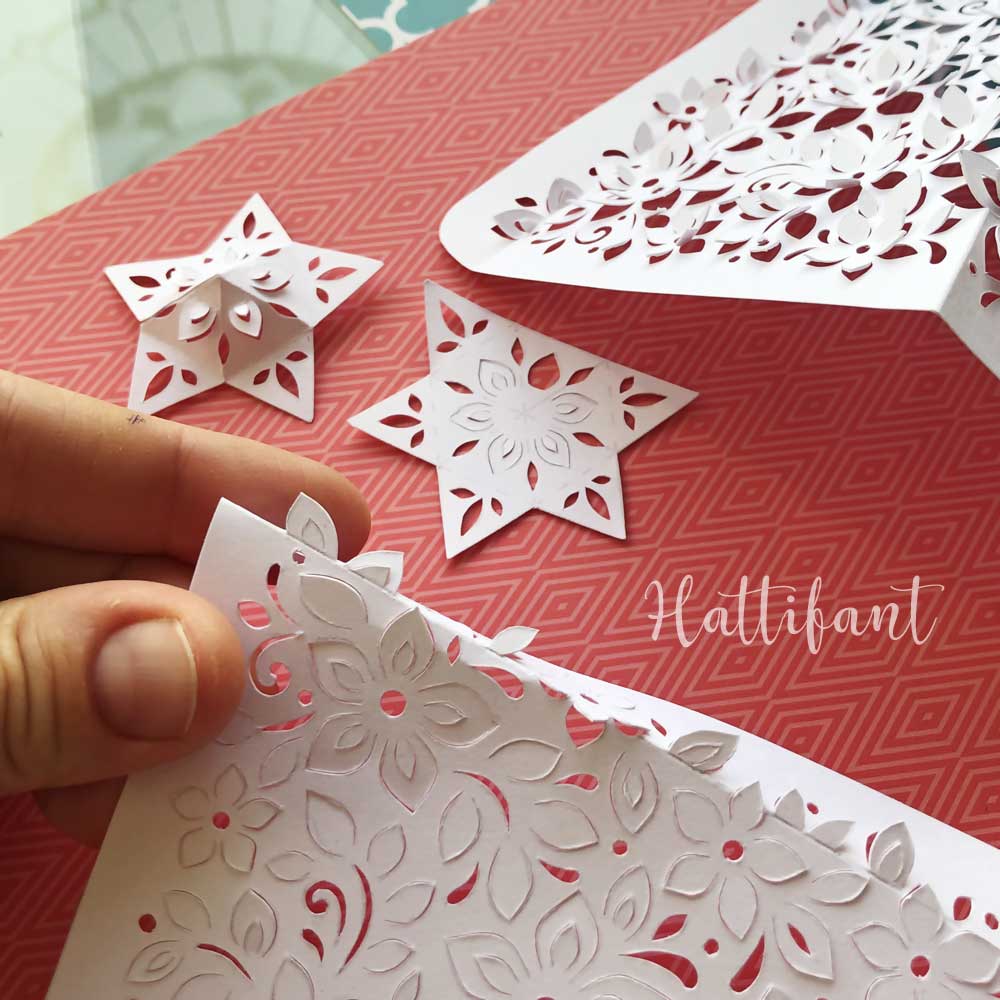
Let’s get the star ready, so that we can connect all templates and create our Paper Cut 3D Christmas Tree Luminary.
Cut out the star shape and paper cut the pattern. As a next step, we need to score all the lines apart from one which we will cut (see picture above). Fold the lines and then fold the part without star point underneath. This way you bring together all 5 star points and create the 3D star. Glue the star shut and push out the petals towards the outside of the star.
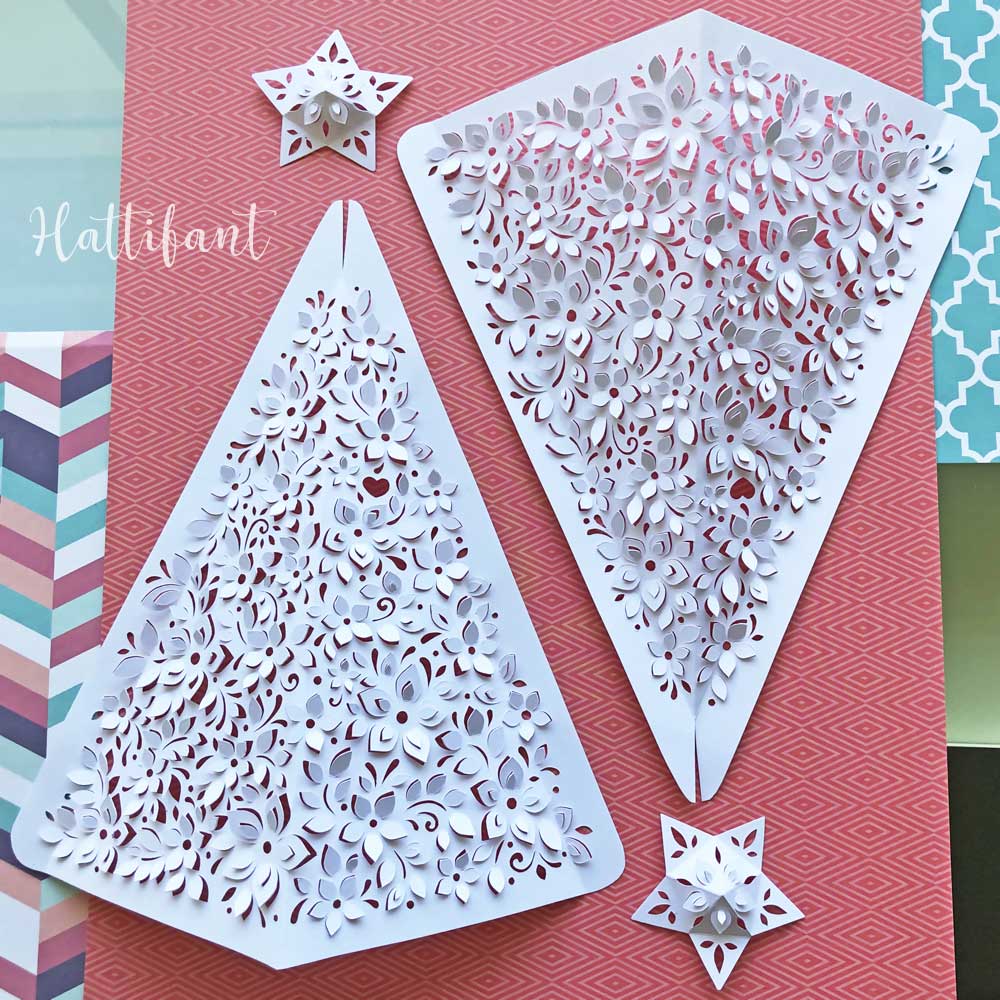
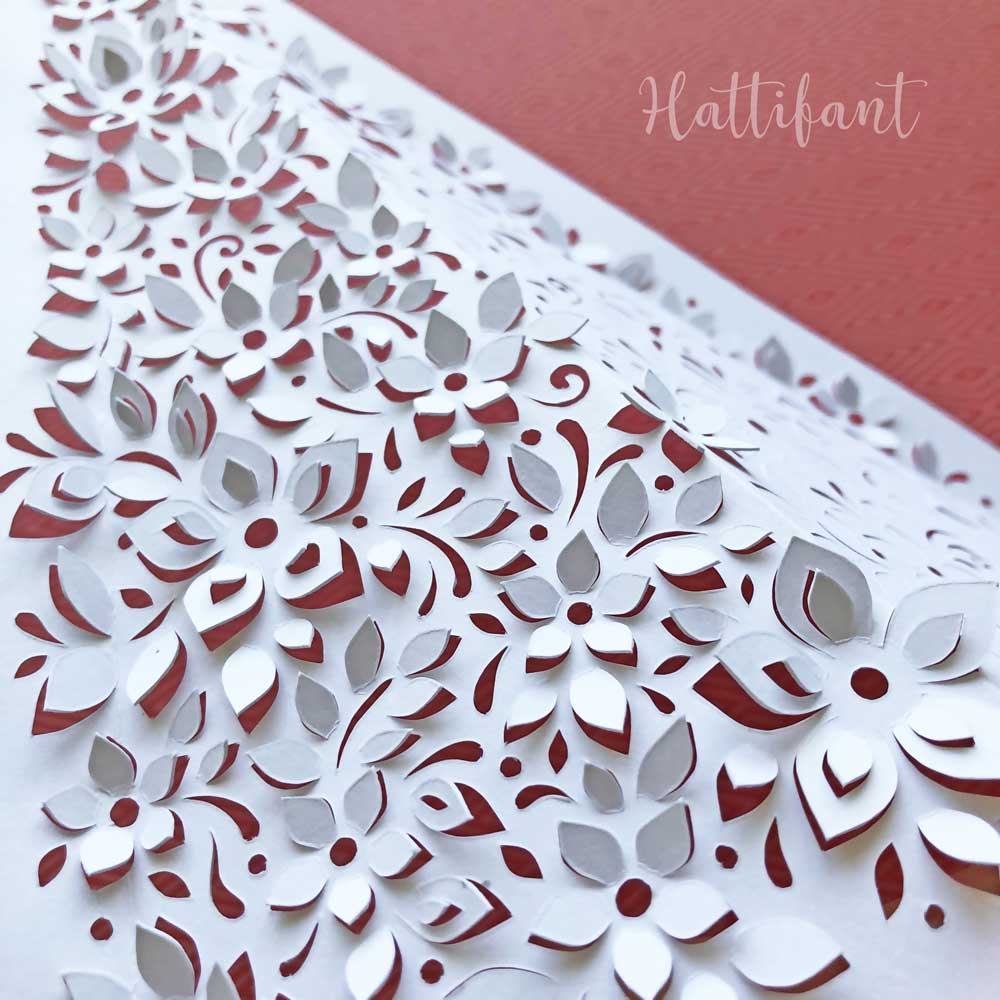
You now have all 4 parts ready to glue them together: front & back of tree and star. But before we glue this beauty together have the sun shine through and take like me a crazy amount of pictures because it is just sooo pretty.
Stop taking all these pictures and concentrate. LOL. You are almost done! Get your glue and carefully add glue to the both sides. Glue both tree templates together. Be careful not to add glue to the petals and leaves that cross the folding line. You want those to stick out afterwards and not be glued down.
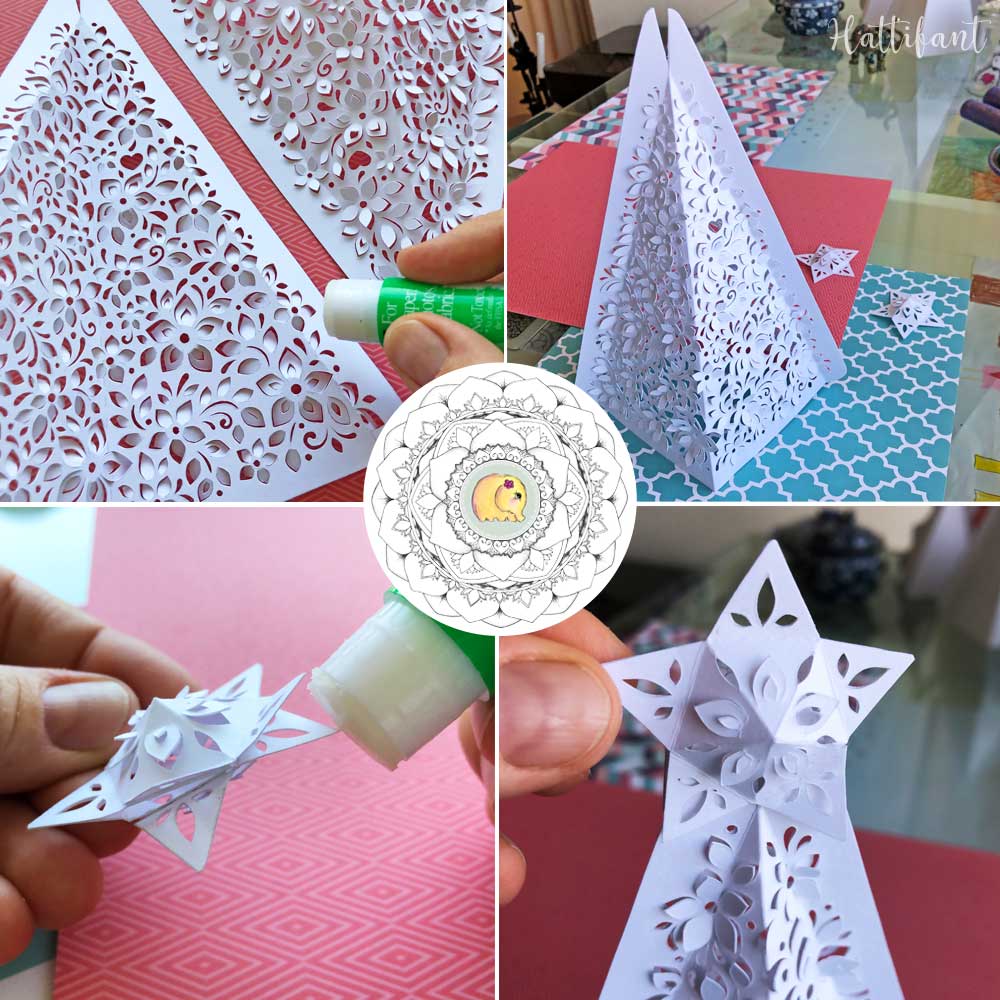
Take one of the star sides and add glue to three points. Glue both star parts together. Two star points remain unglued. This way we can stick the star on top of the Christmas Tree. Add glue to the remaining points before bringing star and tree together.
DONE!!! Hurray!
You made your very own Paper Cut 3D Christmas Tree Luminary!
PRINTABLES
You will receive:
- 1 PDF file with the template (2 pages)
- 1 PDF file with instructions (3 pages)
DOWNLOAD with GUMROAD
or choose to
DOWNLOAD with ETSY
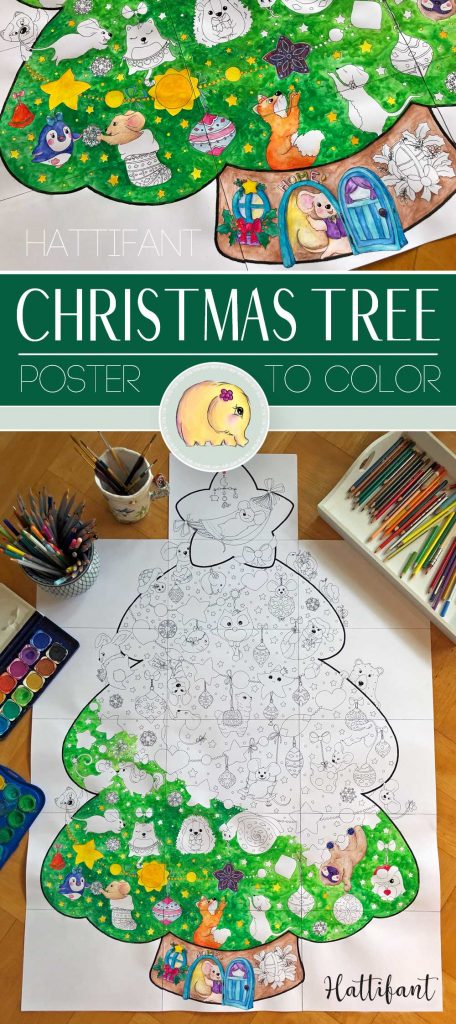
Enjoy the Christmas season filled with lots of crafting and coloring!
MORE HATTIFANT CRAFTS:

You like Hattifant’s designs, toys & décor? Why not LIKE Hattifant on Facebook and always be up-to-date with Hattifant’s latest adventures…