Christmas Sliding Pop Up Cards to Color
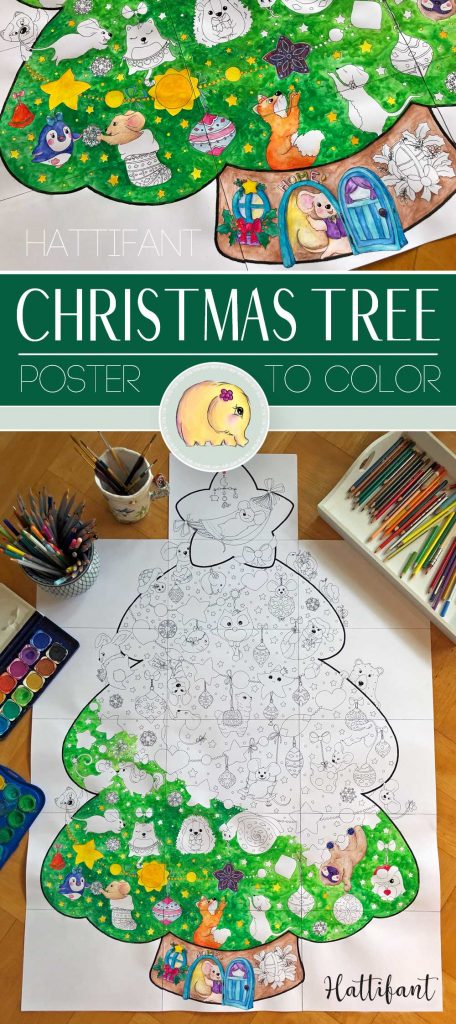
Hello everyone and welcome back to another cute Christmas Craft with Hattifant. We just recently added the cutest GIANT Animal Cutie Christmas Tree Poster and some gorgeous 3D Star Ornaments to decorate your home with. Today, it is about sending our love out into the world to friends and family who might not live near by. Let me present to you Hattifant’s Christmas Sliding Pop Up Cards for you to color and craft.
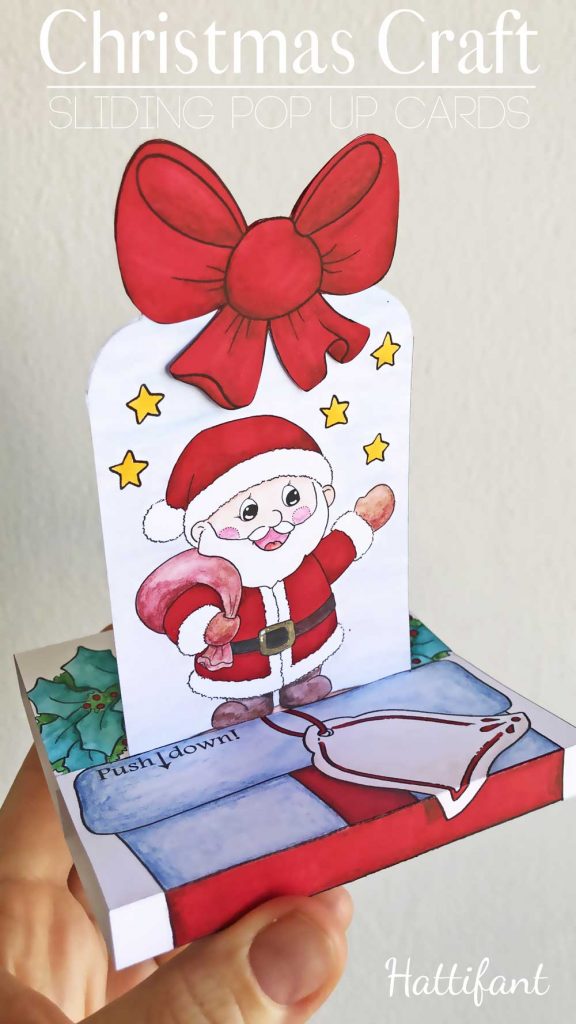
They are really pretty cool! When they are all flat they look like a present but then… you can open up the card and out comes Santa, a Christmas Tree, a llama, hedgehog, owl, penguin, fox, snowman, star or reindeer! You choose! ^_^
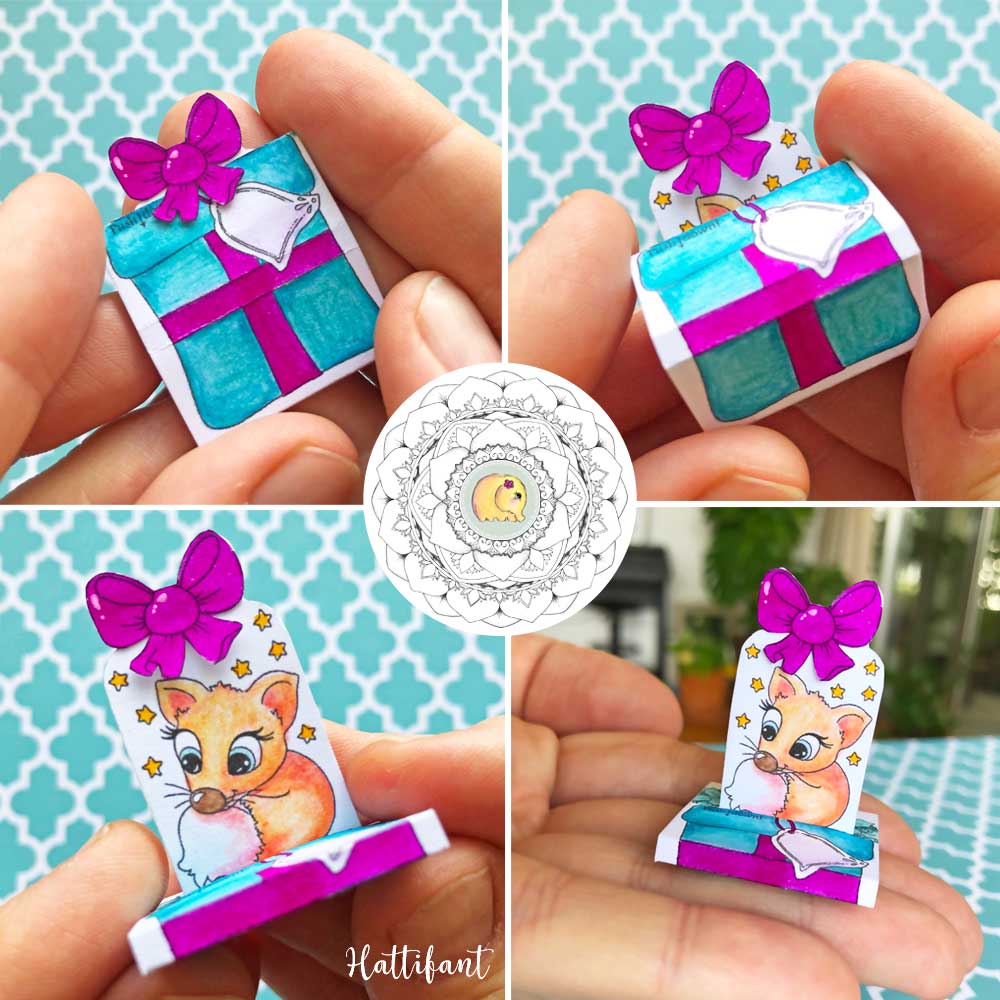
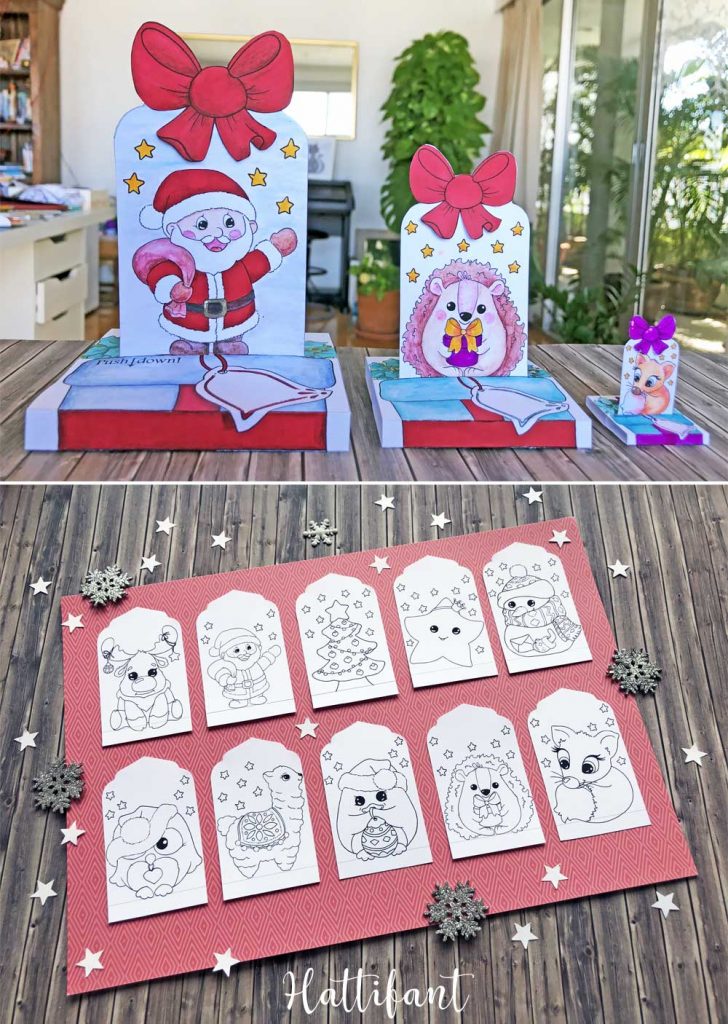
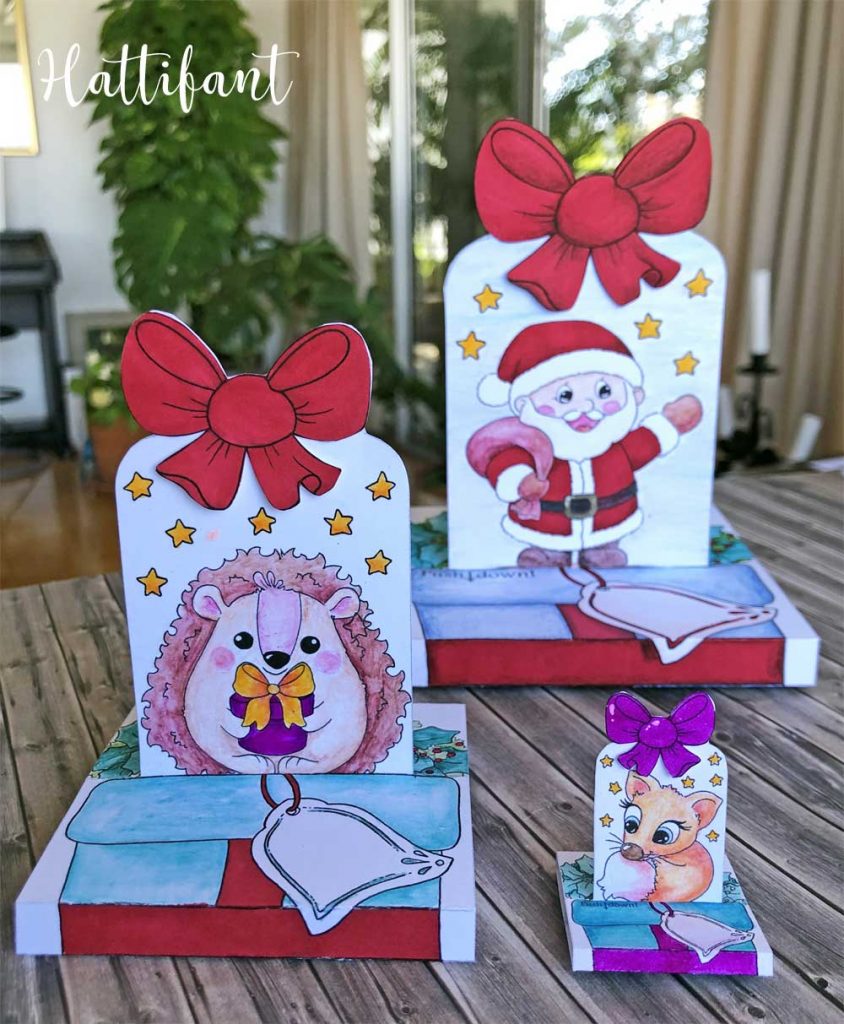
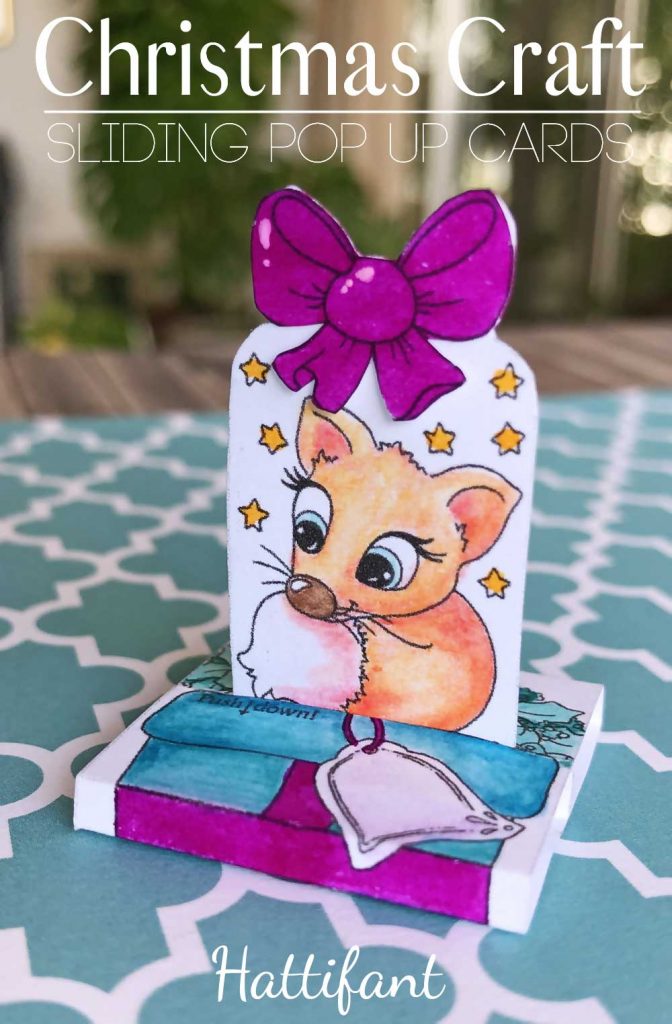
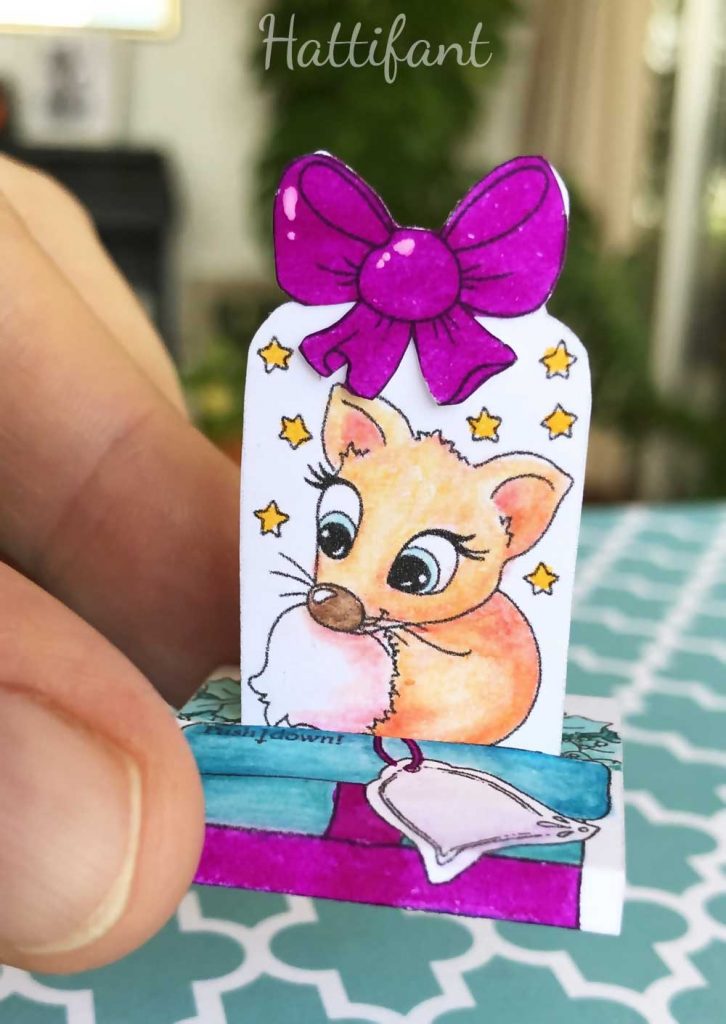
See?! And… yes! I made them in 3 different sizes for us. The biggest one prints on a normal A4 page/ US Letter sized page. The smaller size on A5 – so I could fit two of the cards on one normal computer page. (We’ve got to think of the environment, right?) And then there are the little collectables – mini cards. The one above – the little fox – is an example of that size. Sooo cute, I tell you!
You can add your text on the back of the inner card. You just need to be careful not to use pens that bleed through. I was reminded when I colored the Santa with my favorite red Sharpie.
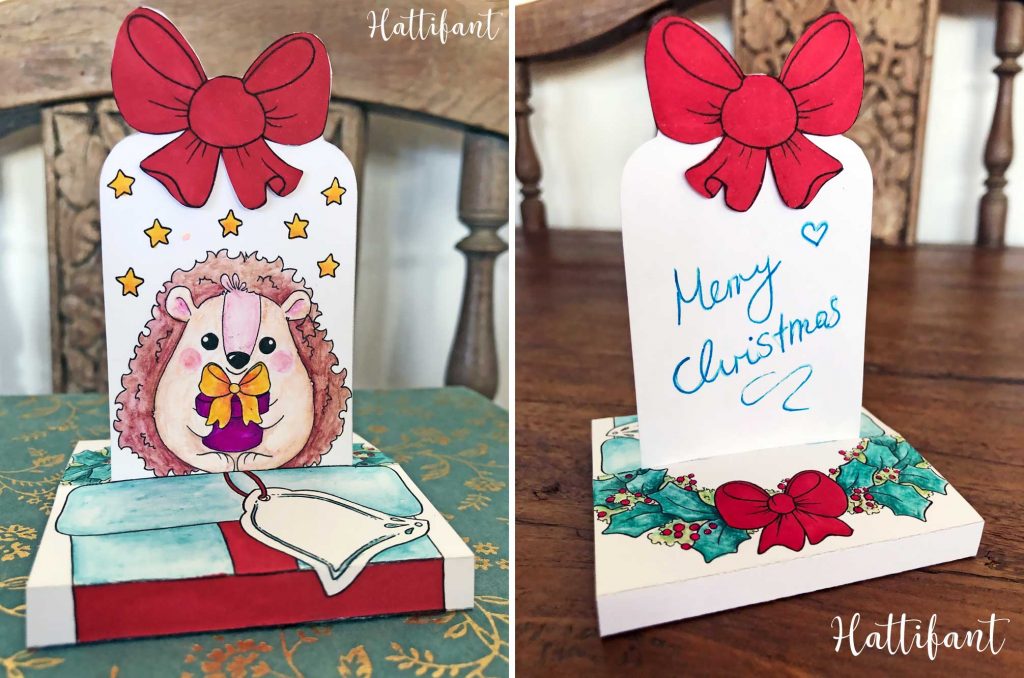
I have added SANTA in color for you for when you are busy and do not have time to color!
You want to make your own? Then get your bundle here.
PRINTABLES
I created a pretty bundle for you which contains:
- 10 Big Sliding Pop Up Card templates (10 A4 pages in 1 PDF file)
- 10 Small Sliding Pop Up Card templates (same illustrations as big ones but A5 size) – (5 A4 pages in 1 PDF file)
- 1 Big Sliding Pop Up Card SANTA in COLOR template (1 PDF file)
- all 10 Cards as mini version (1 A4 page in 1 PDF file)
- instructions
DOWNLOAD via Gumroad
or
DOWNLOAD via Etsy
Ok, now that you have your templates lets show you how you make them!
HOW TO:
You will need:
- templates
- paper (180gsm / cardstock)
- scoring tool and ruler
- craft knife with safety mat
- scissors
- glue
- coloring pens
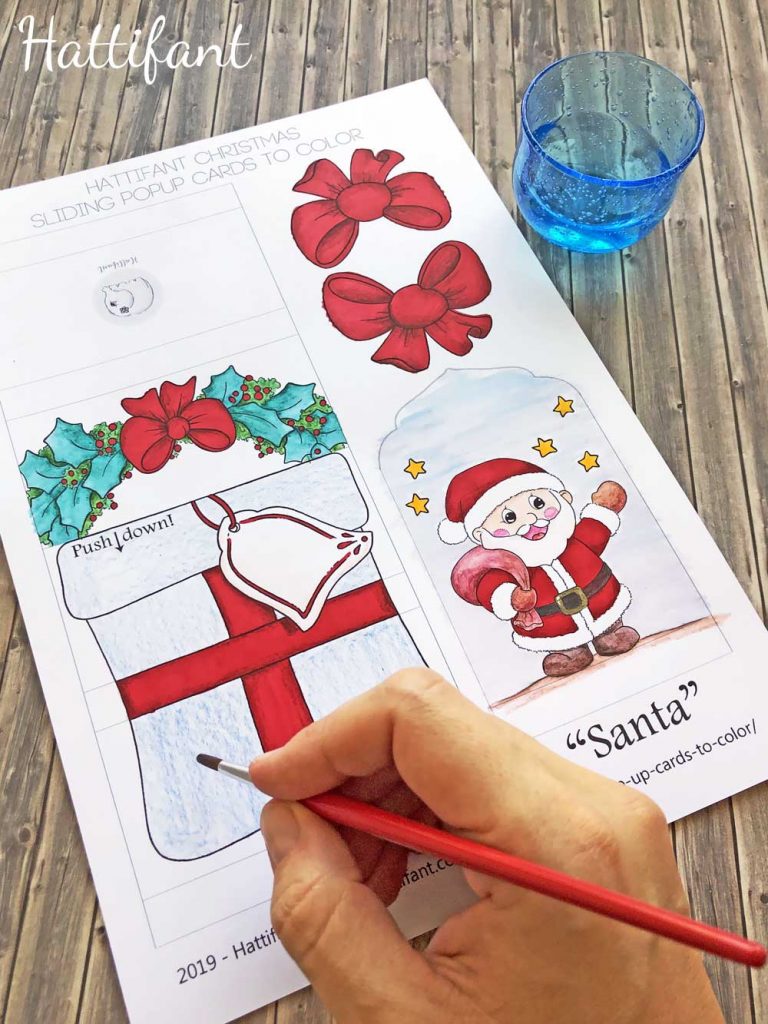
As always. we start off by coloring our heart out. Remember to be careful with your coloring pen choice if you want to write on the back of the inner card!
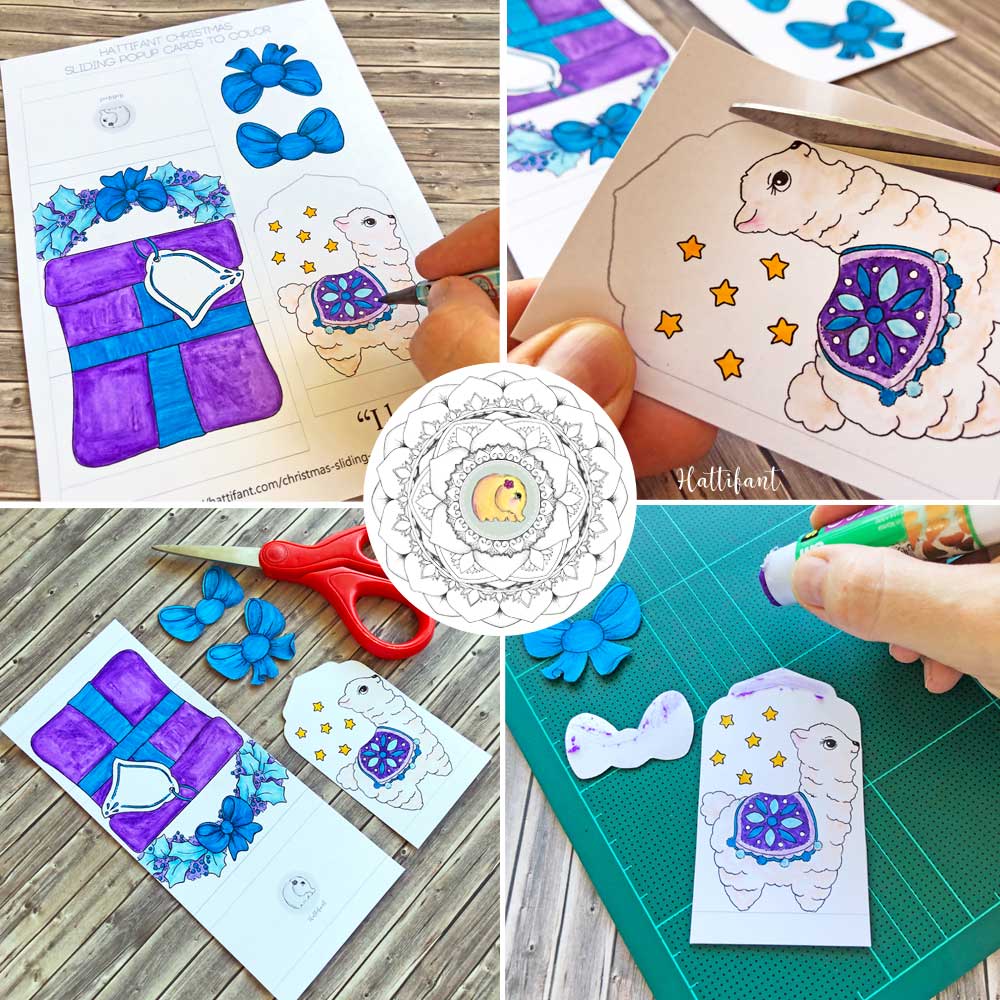
After coloring, we will cut out the individual parts: main card (outside), inner card (the part with one of the 10 “itms” such as llama or Santa), and two bow parts.
Take the inner card and the bow parts. We will glue those together. You do so by adding glue to the upper part of the inner card and the upper half of the bow. Do NOT add glue to the whole bow as the tails of the bow shall remain detached from the inner card.
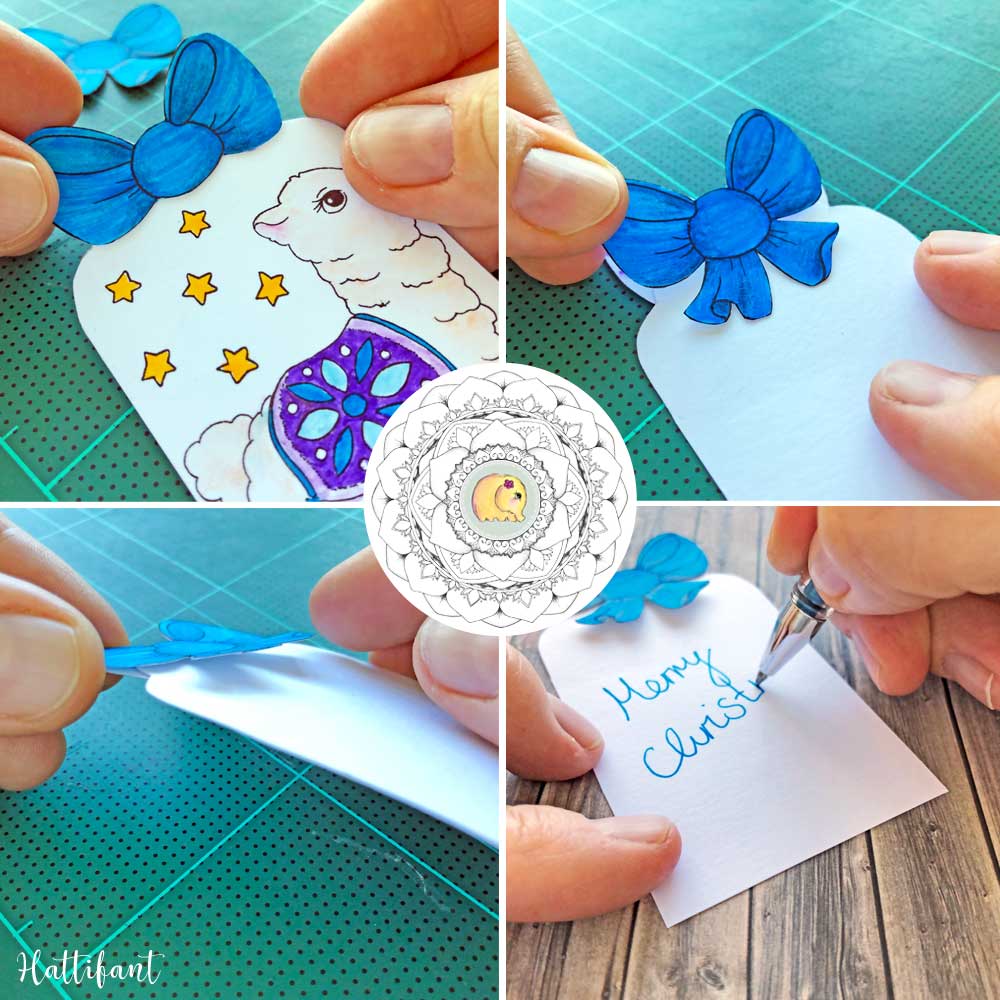
The llama, snowman and Christmas Tree do not have bow tails. But as you can see above in the lower left hand corner image the tail remains detached from the card. Add the back part of the bow to the back side of the inner card. Write your message now. It won’t be easy to do when the card is done.
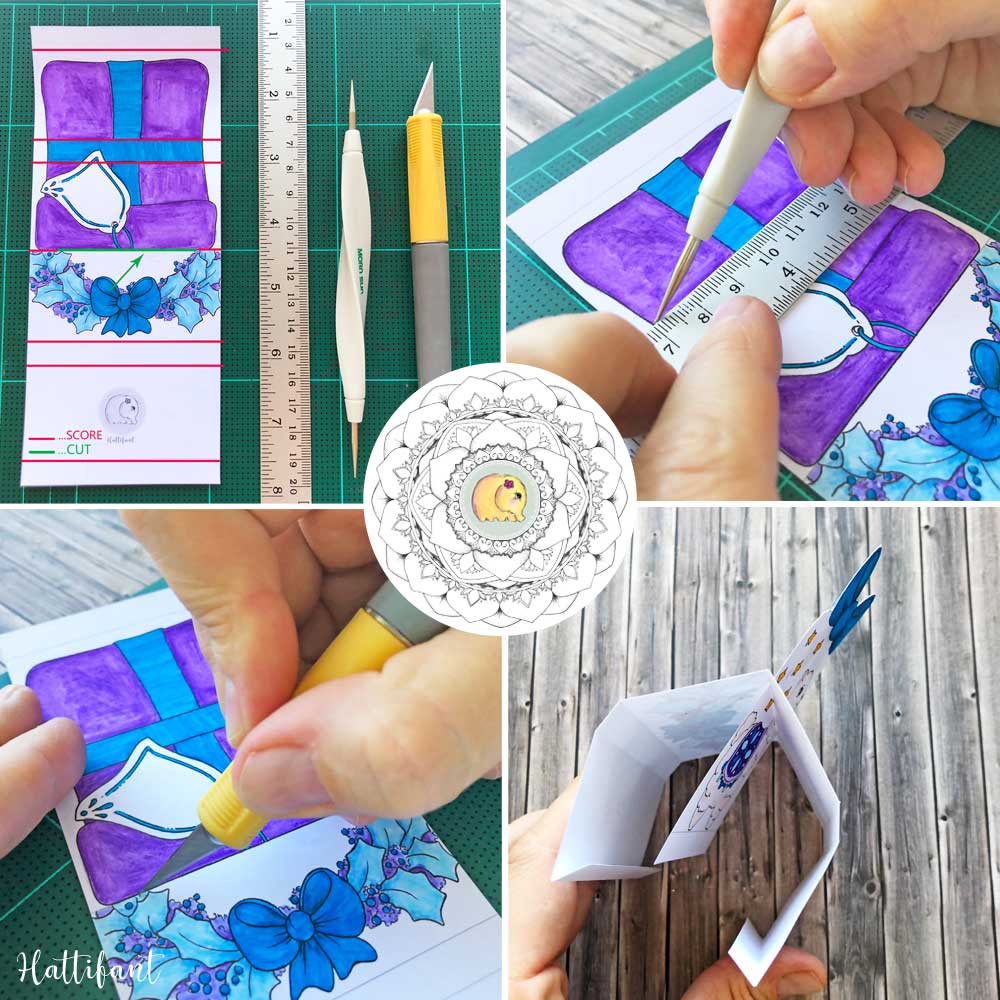
Let’s focus now on the outer part of the card. See the red lines in the upper right hand picture? These lines we need to score before we fold them. There is also a green line indicating a cut. This is where the inner card will slide through. So be careful not to cut too far. There are tiny lines on your printable that indicate where to cut.
When you have made that cut and folded your card slide the inner card through that gap. The Santa, llama or other face towards the present side of the outer card!
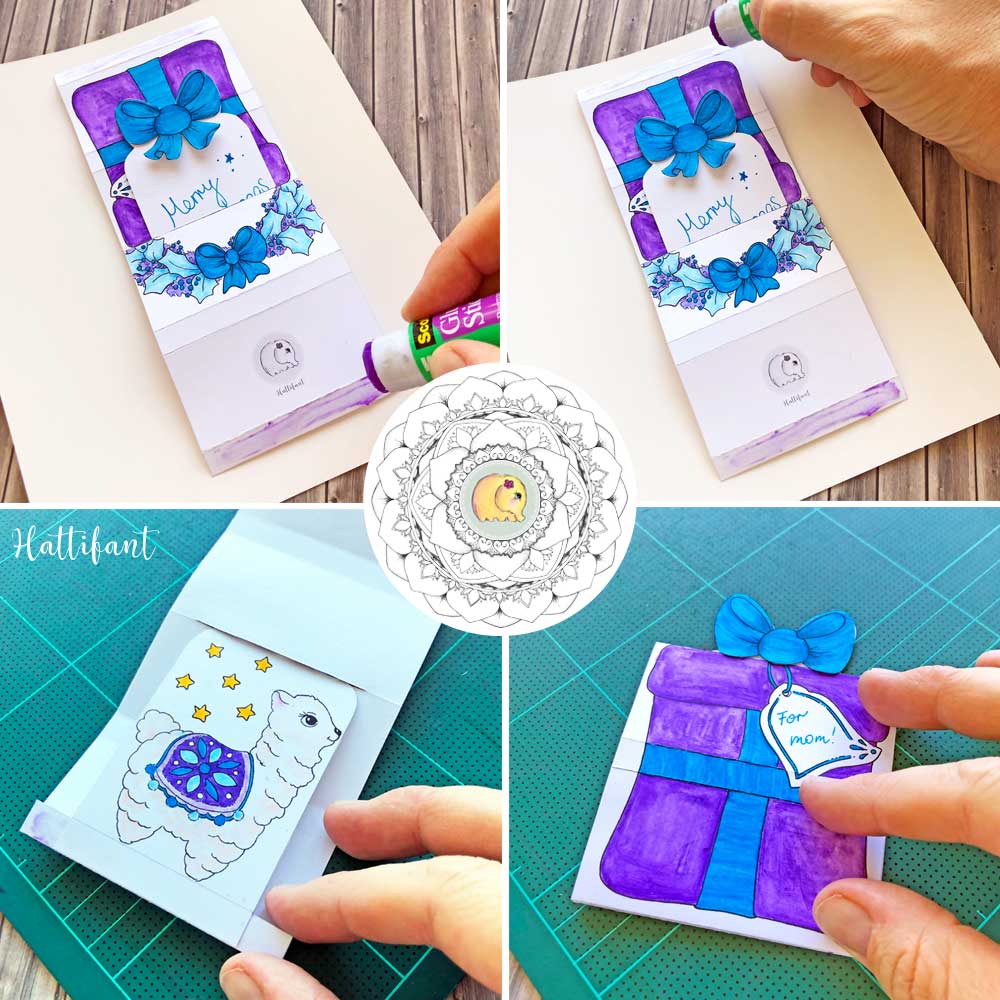
Lie the card flat and add glue to the top and bottom of the outer card. Place the inner card on to one end and fold the outer card shut closed. Let it dry!!!
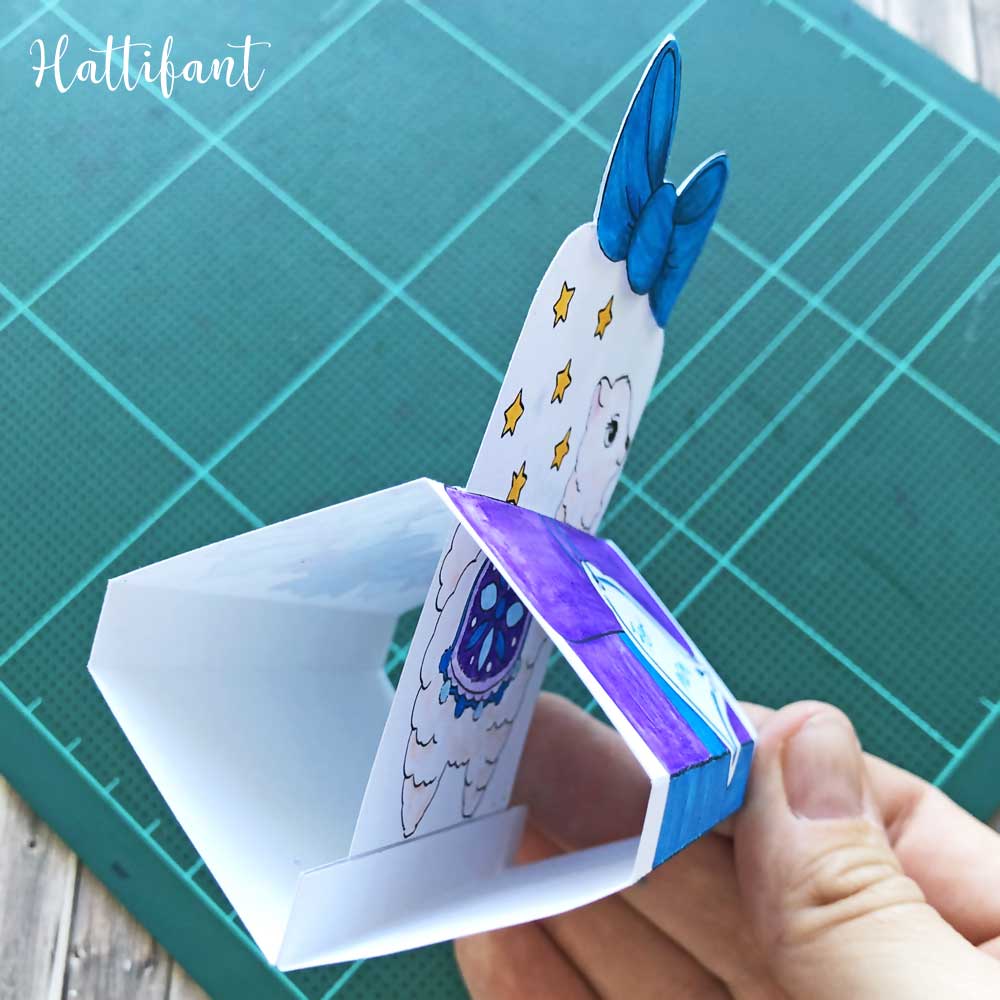
And that’s it! You can now slide the outer card up and down and turn your card from present to surprise.
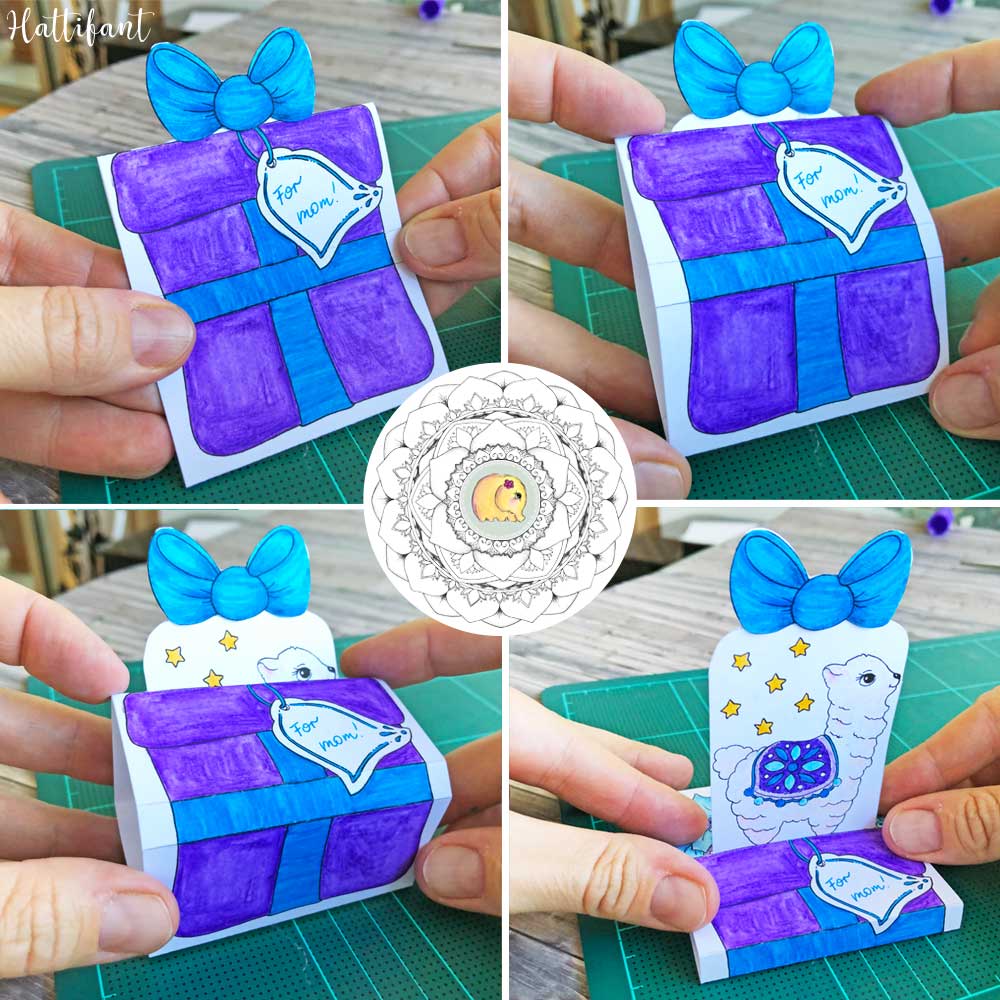
Fun right? Enjoy!
DOWNLOAD via Gumroad
or
DOWNLOAD via Etsy
MORE HATTIFANT CRAFTS:
You like Hattifant’s designs, toys & décor? Why not LIKE Hattifant on Facebook and always be up-to-date with Hattifant’s latest adventures…

