3D Mandala Christmas Tree Ensemble to Color
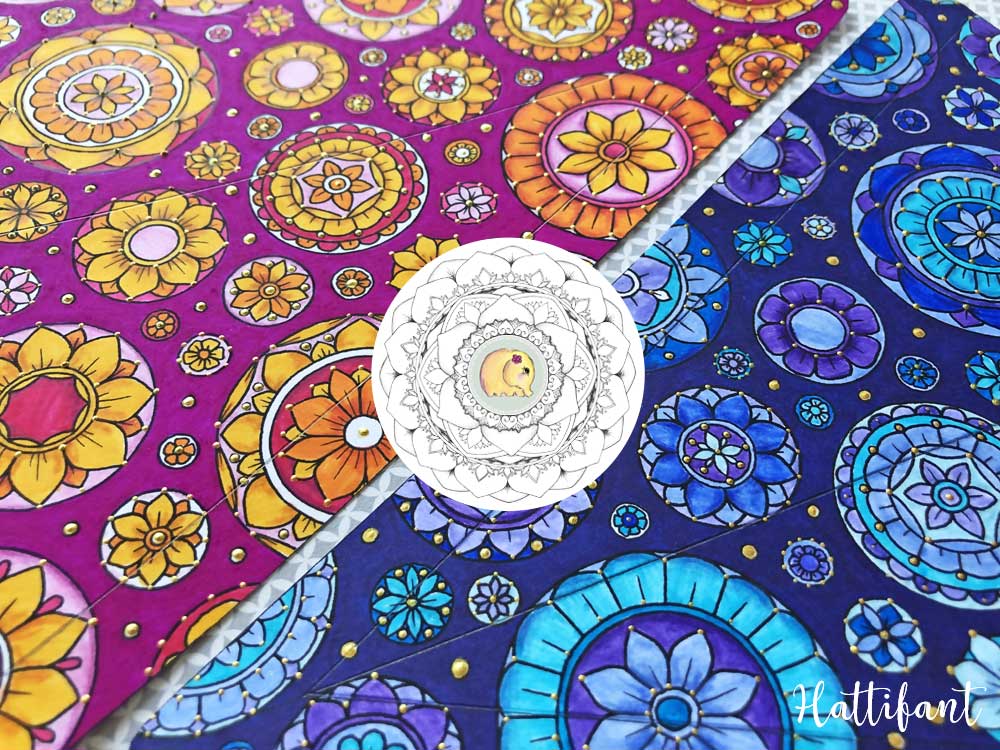
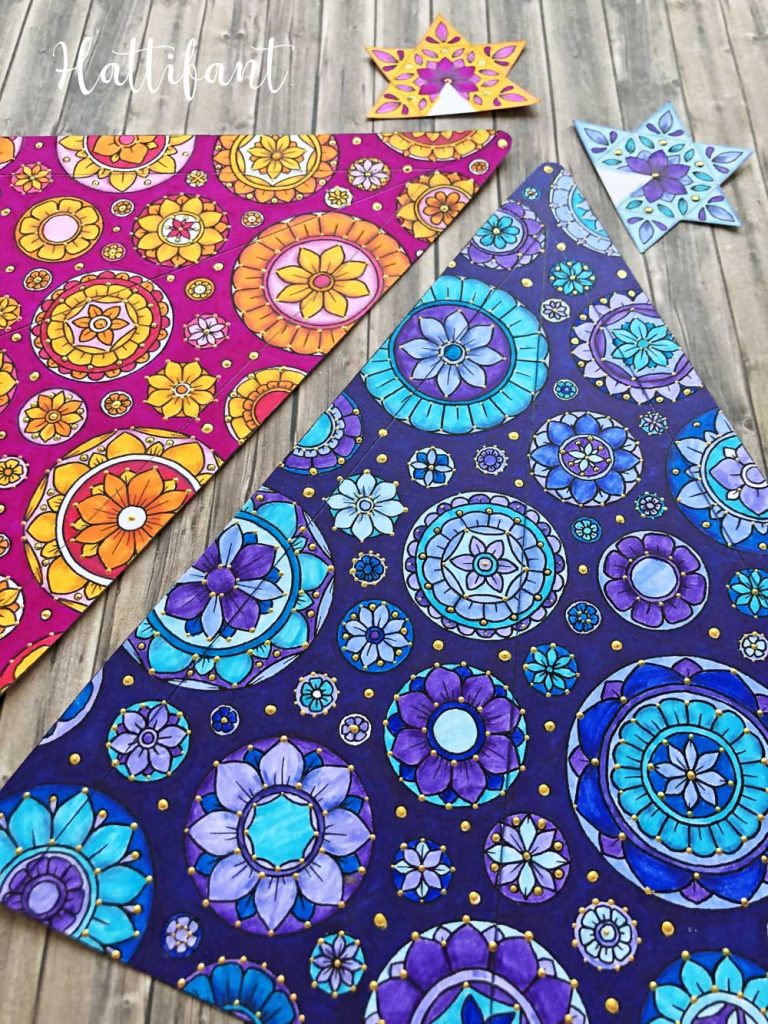
Hello everyone to a brand new Christmas craft – this time for our coloring lovers! Last week I introduced to you Hattifant’s 3D Christmas Tree Luminary which hit home with many paper cutters. Today, I want to show you the Hattifant’s 3D Mandala Christmas Tree Ensemble to Color.
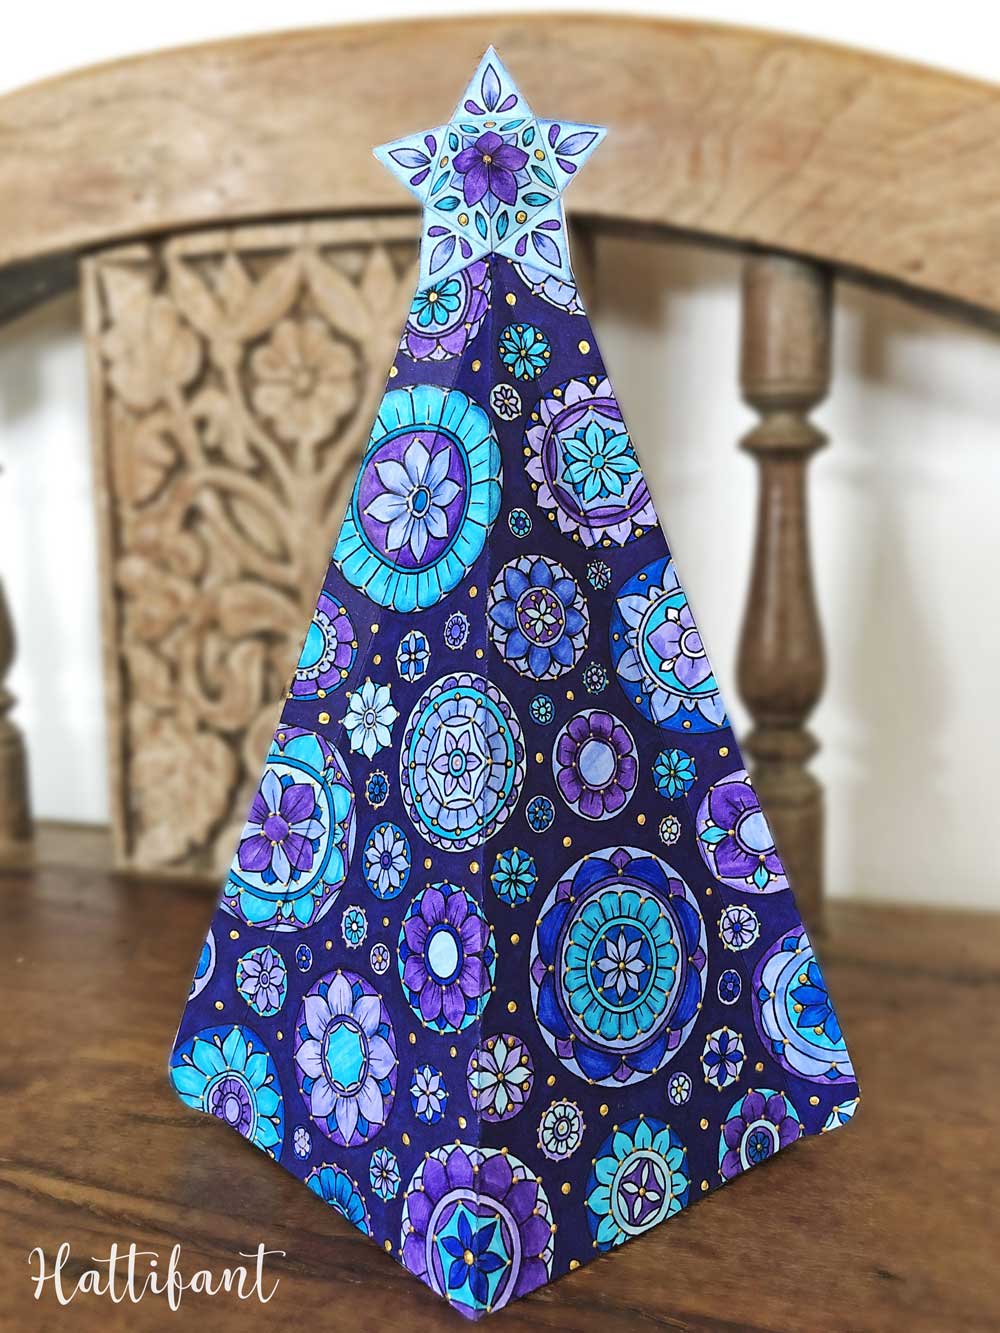
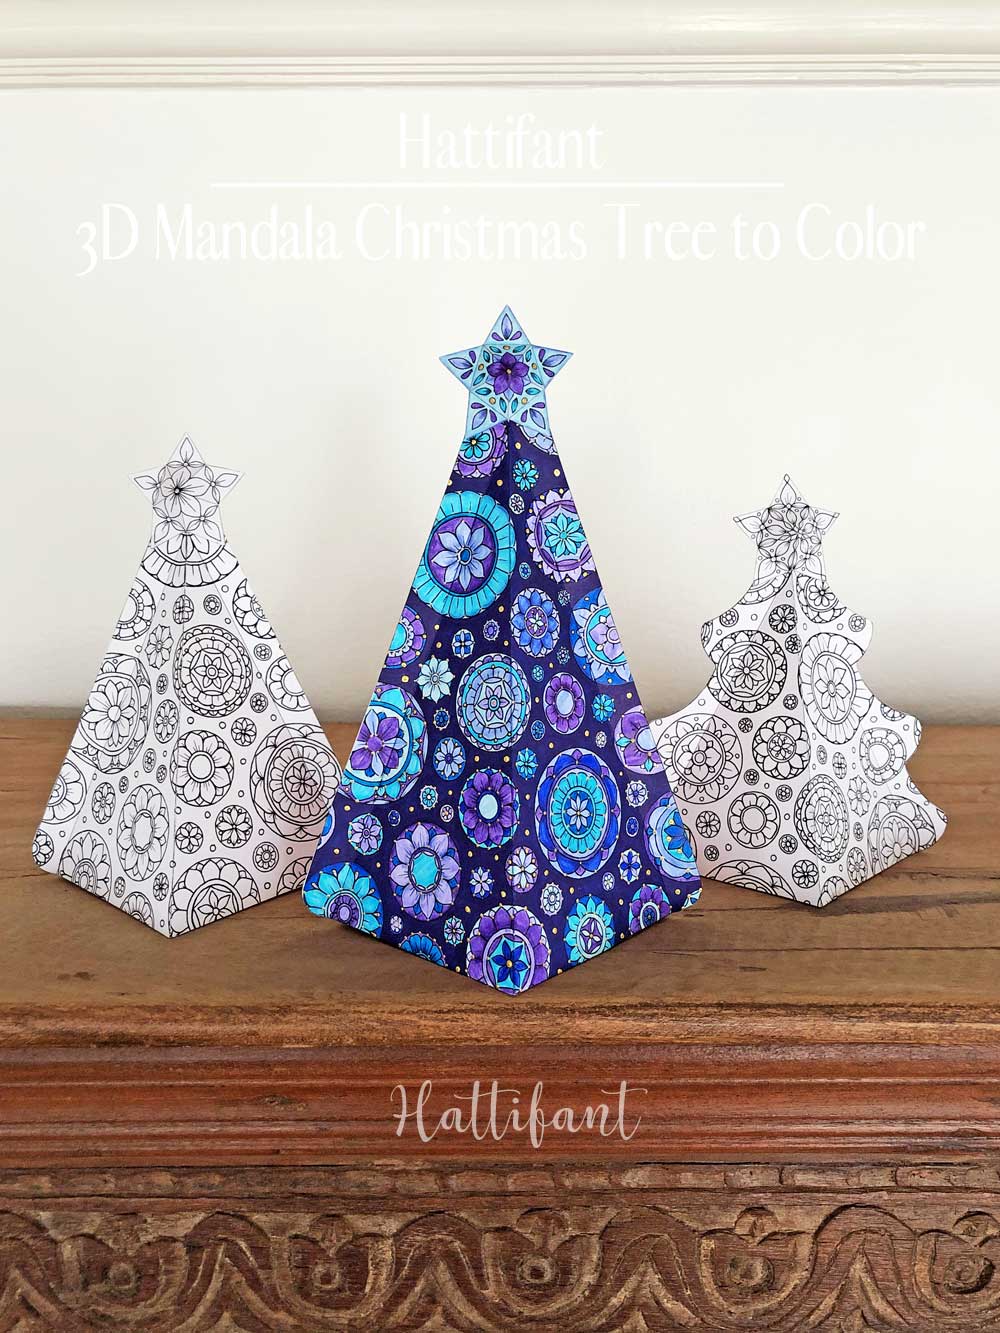
The big 3D Mandala Christmas Tree stands beautifully tall with 24cm. The middle one measures approximately 19cm and the little one around 17cm.
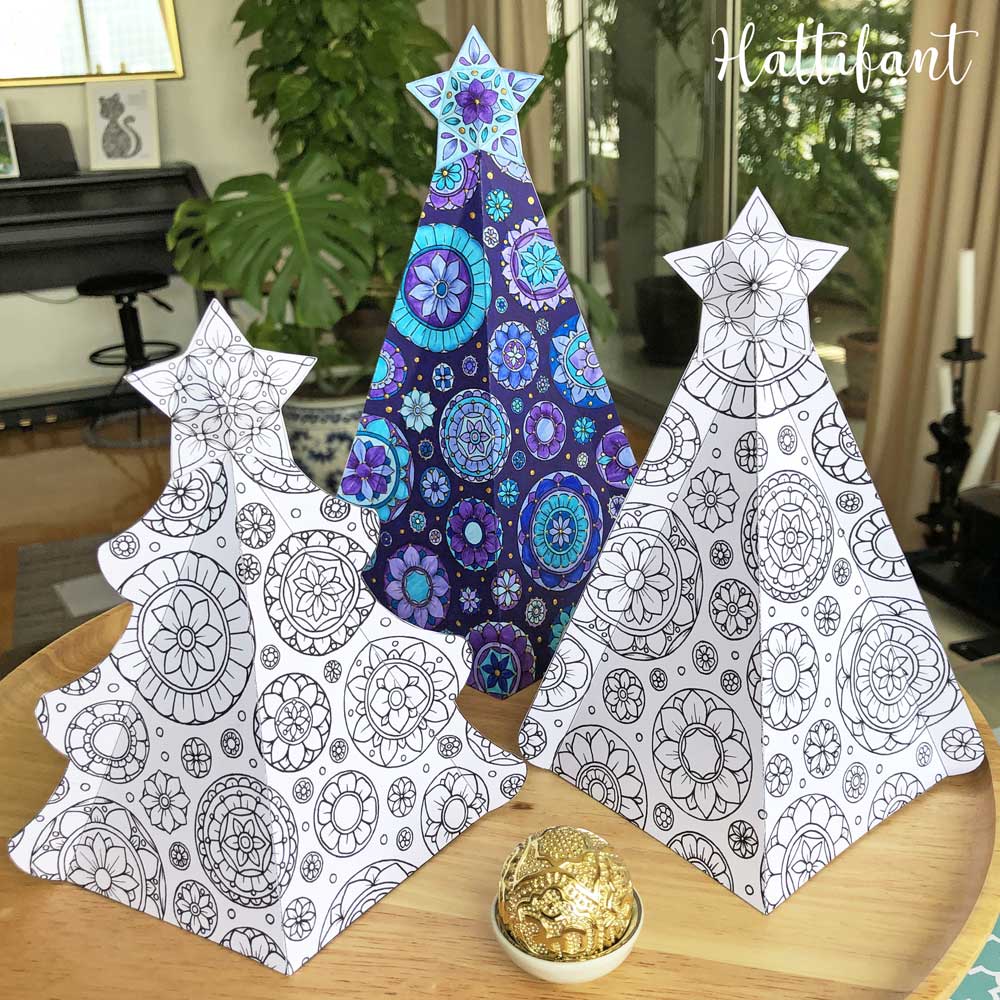
I cannot wait to color the other two but let me show you first how to make your own so you can join me in this Mandala coloring feast.
HOW TO:
You will need:
- the template (find it towards end of post)
- paper (160-180gsm)
- scissors
- safety mat
- scoring tool
- ruler
- glue
- coloring pens
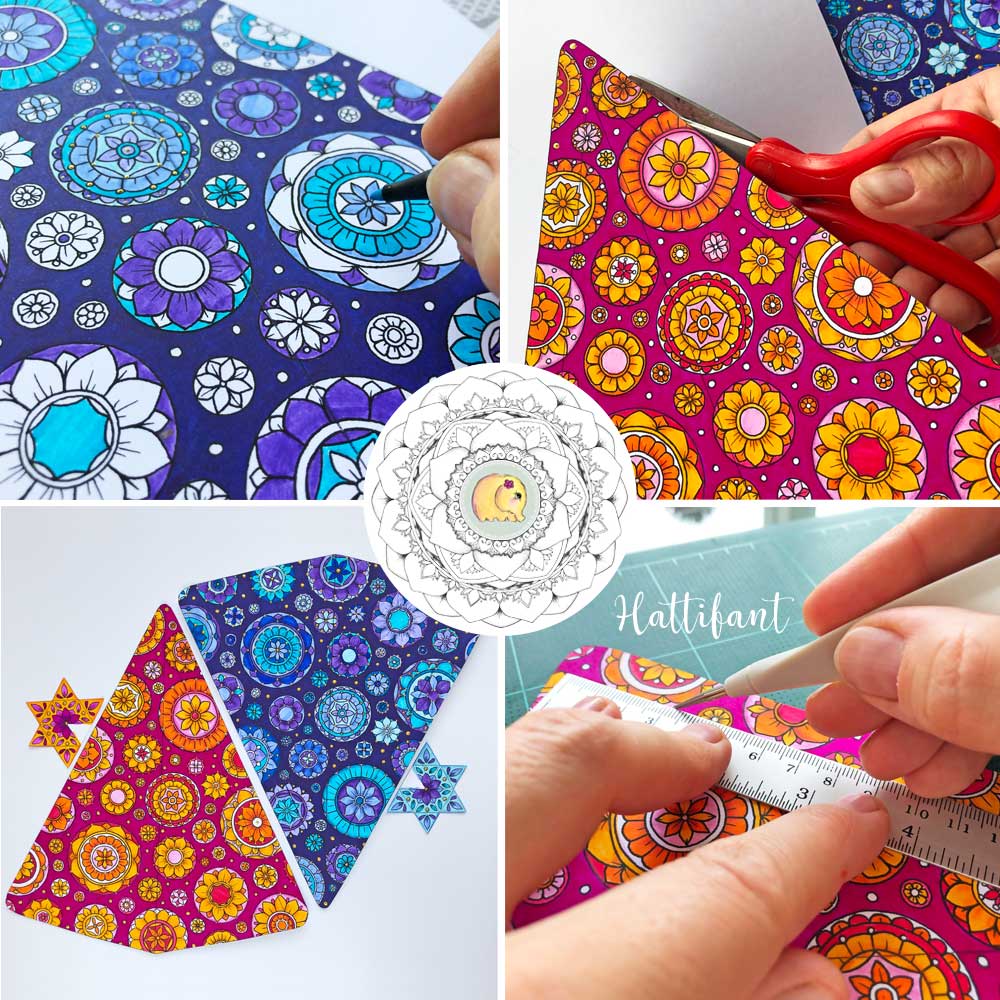
Start off by coloring front and back of the main body tree shape and star. Any 3D drops/markers put on hold until after cutting and scoring to not smear anything.
When you have finished coloring cut out the two tree shapes (front and back) as well as star shapes (also front and back). Next, we will score three lines.
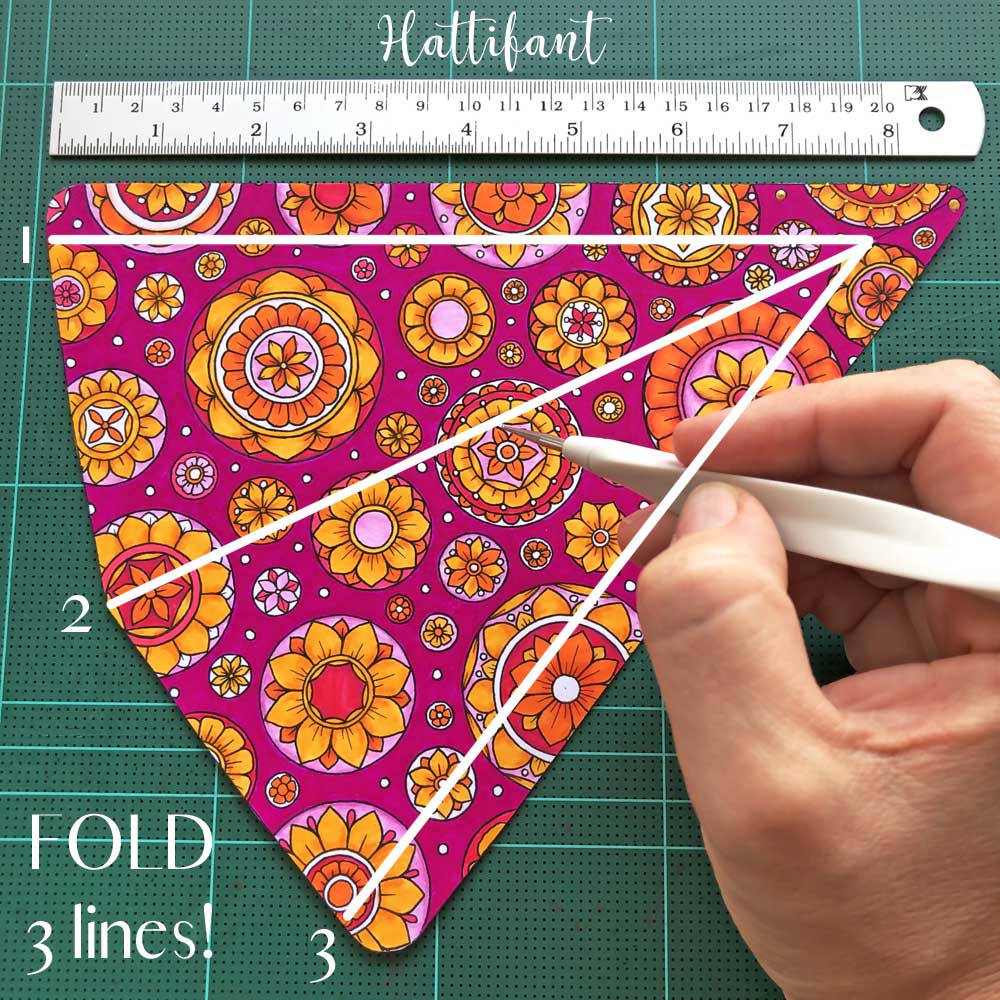
After you have scored those lines you can go ahead and add any 3D paint. But do make sure to wait until it’s dried up before you proceed. I am only saying this because I can be very impatient and have to force myself to sit still and wait.
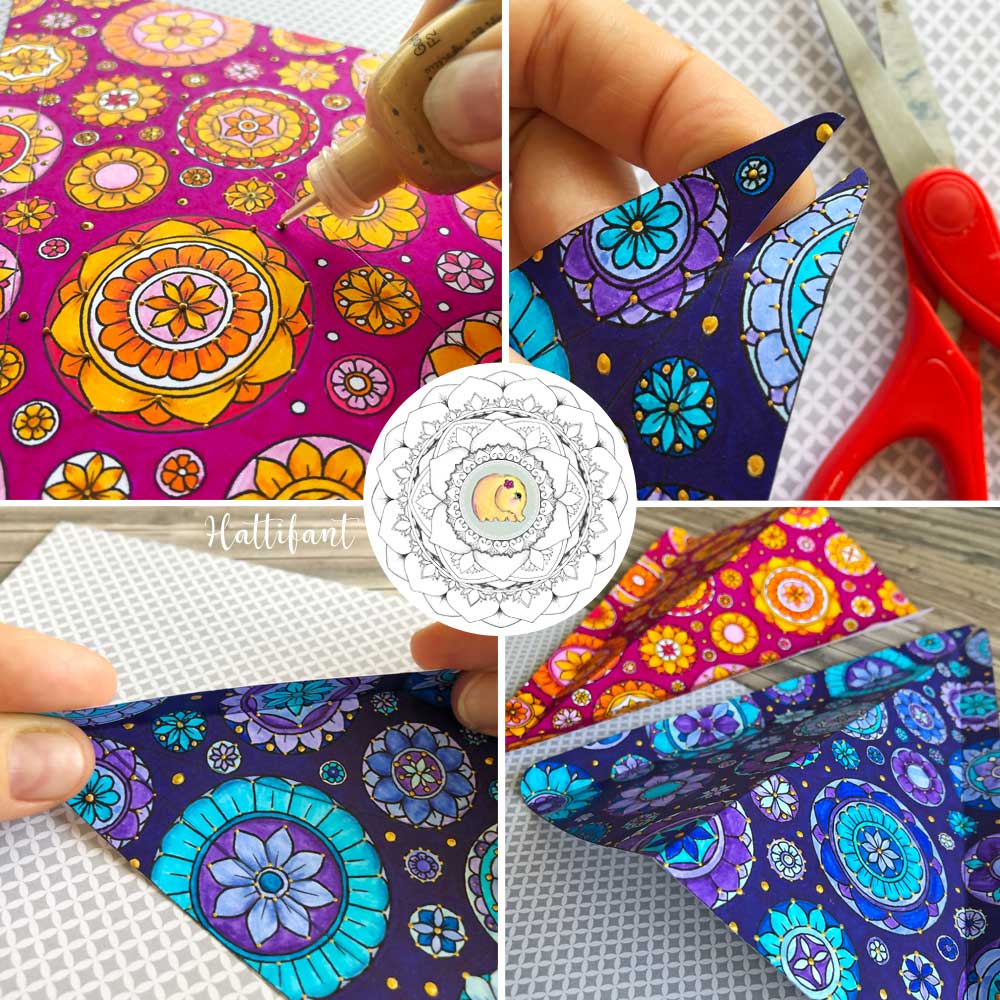
As a next step, we will make a cut into the top of the tree. The cut will open up when we start folding the lines we previously scored. The cut allows us to create the 3D shape in the first place. Only cut up to the point where the three scored lines meet. That’s enough. Fold the lines.
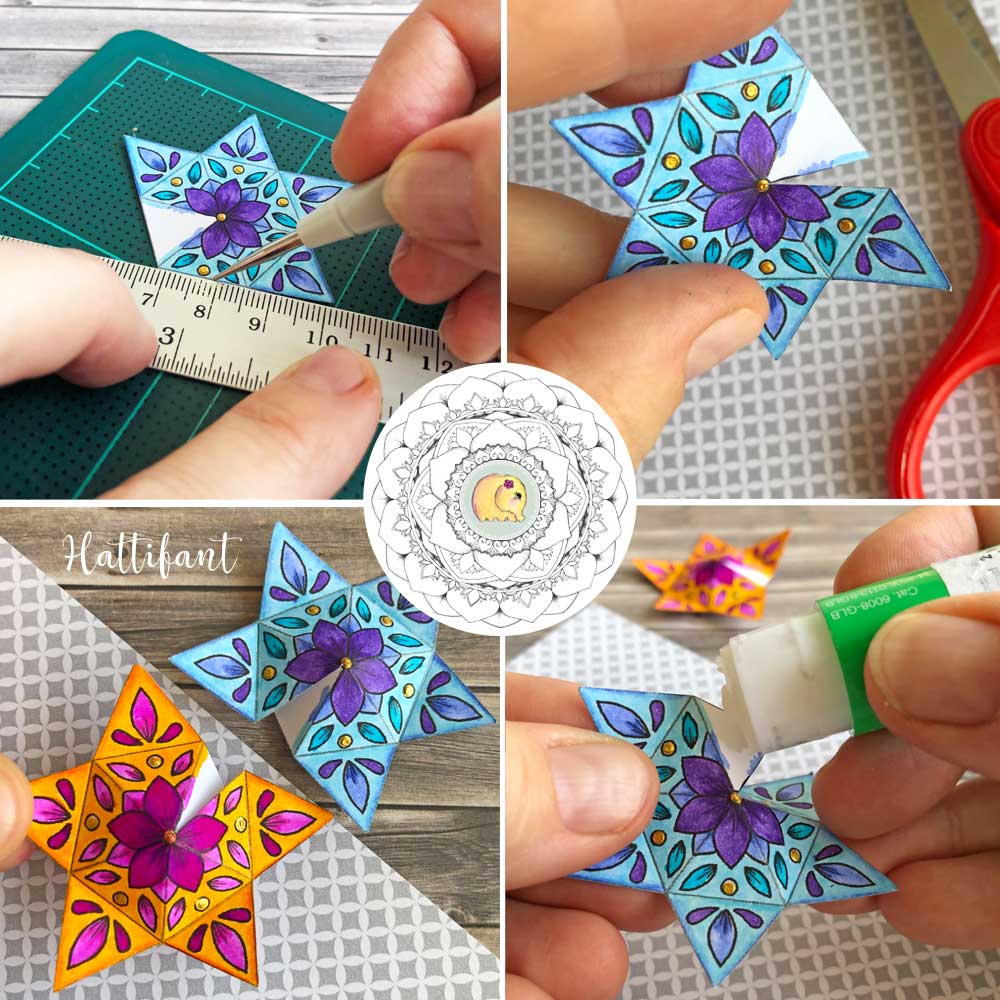
Let’s have a look at the star! When you have colored the star and cut it out it is time to fold the lines. One side of the star does not have a pointy end. Here we will make a cut as seen in the picture above.
Fold all scored lines and push the little triangle of the star with no point attached underneath so that two triangles overlap. This creates the 3D effect of the star. Glue together those overlapping parts. You now have a star with 5 points and a 3D inner body.

We will now glue both star (front and back) parts together. We start off with adding glue to THREE not all five points of the star. The other two points will be glued onto the tree later.
Add glue to the outer parts of the tree and glue both tree parts together. When dried we can stick the star on the top of the tree. Add glue to the remaining star points and glue it shut to the top of the tree.
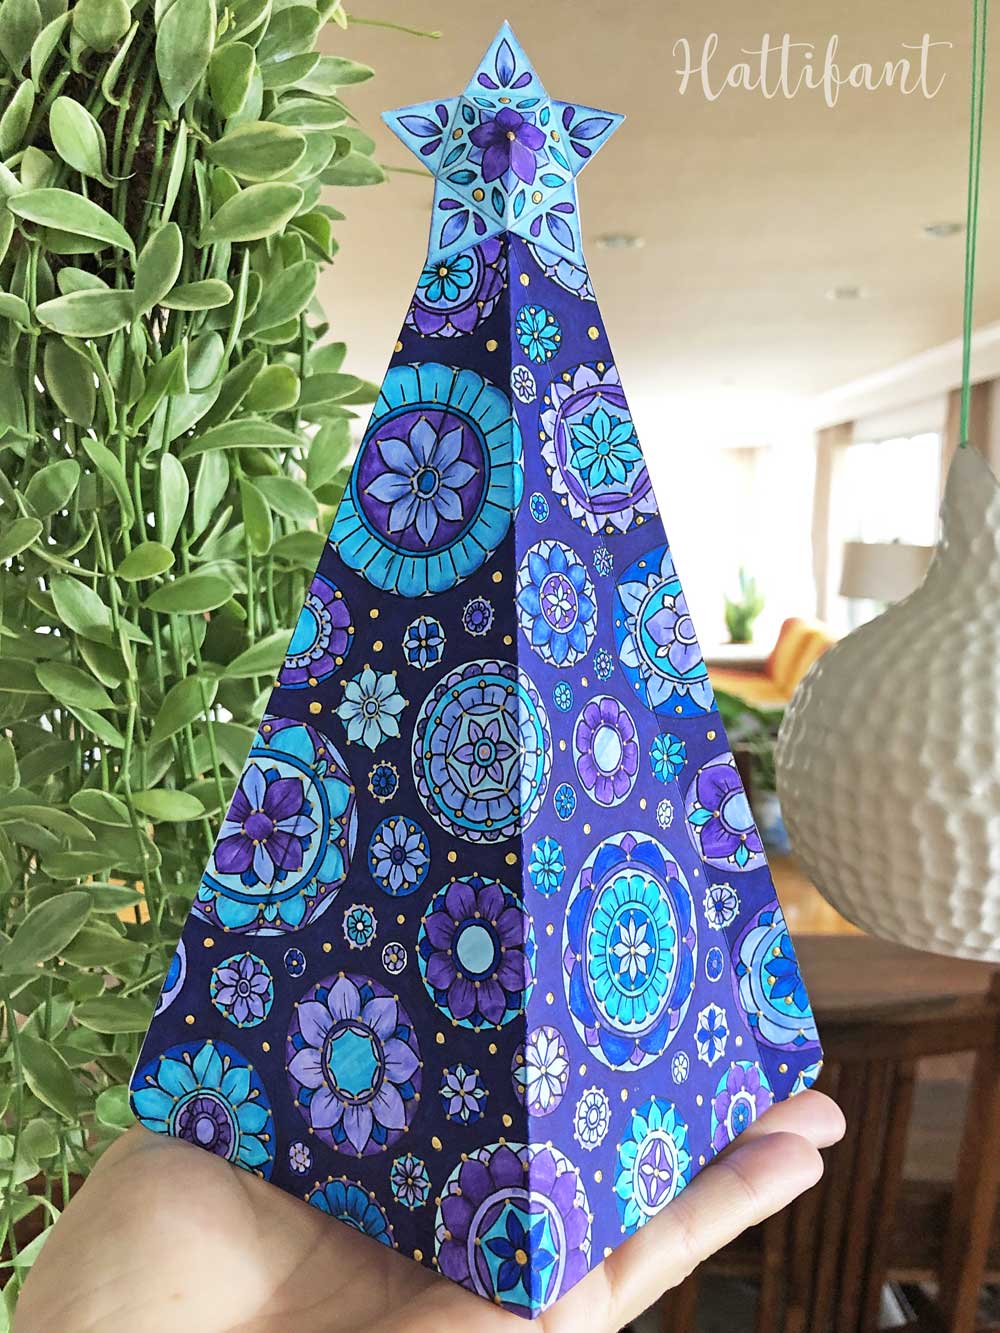
DONE!!! ^_^
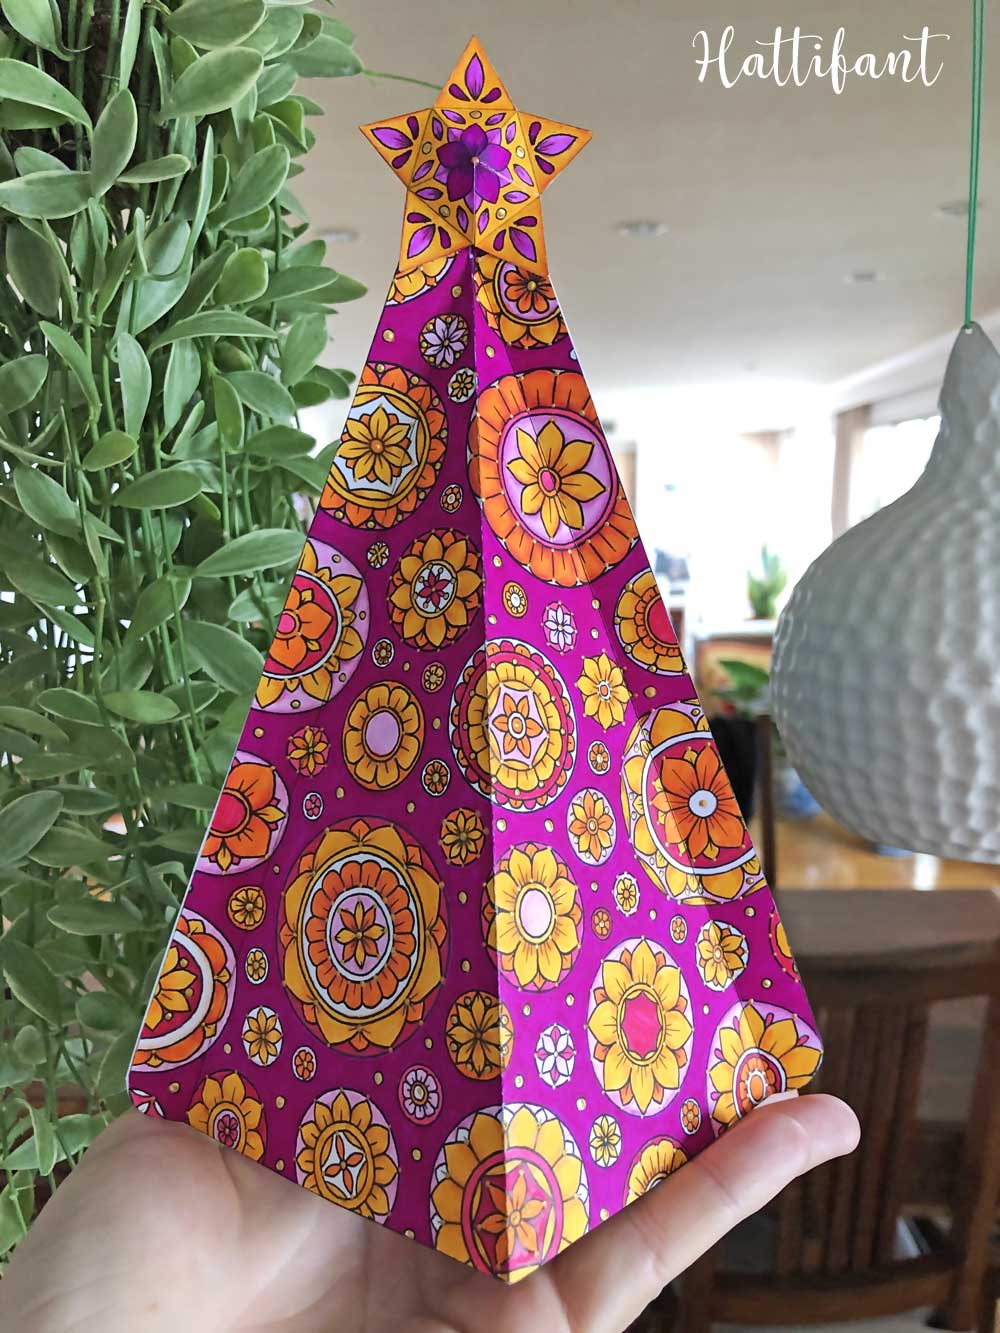
PRINTABLES
I have added this gorgeous bundle to both Etsy and Gumroad.
In the bundle you will find:
- Instructions (1 PDF file with 3 pages)
- Templates for 3D Mandala Christmas Trees TO COLOR (1 PDF file with 6 pages for all together 3 trees – big, middle and small)
- Template for big 3D Mandala Christmas Tree IN COLOR as seen in the picture although the color might vary a little depending on your printer and paper. (1 PDF file with 2 pages)
DOWNLOAD with Gumroad
or
DOWNLOAD with ETSY
Happy Coloring and Crafting wishes you Manja, the Hattifant Craft Chief.
MORE HATTIFANT CRAFTS:
You like Hattifant’s designs, toys & décor? Why not LIKE Hattifant on Facebook and always be up-to-date with Hattifant’s latest adventures…

